

3rd Gen Ram Seat Swap Guide: Installing 4th Gen Seats (Ram DS)
So you’ve finally decided to ditch the flat, worn-out factory seats in your 3rd Gen (2002-2009) Dodge Ram. It is one of the most impactful upgrades you can make to your truck's interior.
The 4th Gen upgrade is a well-documented swap that fits surprisingly well with just a few modifications. If you are upgrading your 3rd Gen workhorse, this guide will walk you through exactly how to adapt the brackets and power up the seats so you can enjoy your new interior.
Tools & Materials Required
Before you start, gather these essentials. Having the right tools ready makes the job significantly easier.
The Essentials:
- Socket Set & Ratchet: Standard metric sizes (13mm, 15mm, 18mm) and a T50 Torx bit.
- Multimeter or Test Light: Crucial for verifying your power source (12V) and ground.Primary Wire (12-14 AWG): To run the main power feed to the new seats.
- Wire Strippers & Crimpers: For secure electrical connections.

The Technical Breakdown: Why This Works
The floor pan architecture between the 3rd Gen (2002-2008) and 4th Gen (2009-2018) Ram trucks is remarkably similar.
- The Fitment: All of the four mounting points on the front seats line up perfectly with the factory holes.
- The Conflict: The jumpseat bracket on the 4th Gen seats is angled differently and will collide with the transmission tunnel/cupholder area in the 3rd Gen cab.
- The Electrical: 3rd Gen trucks use simpler wiring. 4th Gen seats often have complex modules. Fortunately, for basic movement, you usually only need to supply Power (12V) and Ground to the main input wires to wake the seat up.
Step-By-Step Install

Phase 1: Mechanical Fitment
Step 1: Removing Old Seats
Unbolt your factory 3rd Gen seats. This is the perfect time to deep clean your carpet!
Step 2: Modify the Front Inner Bracket
This is the "secret sauce" of this swap. The front inner bracket on the new 4th Gen seats is angled in a way that hits the 3rd Gen floor console.
- The Rotation Method: Locate the nut holding the jumpseats driver side front mounting bracket. Loosen it and turn the bracket 90 degrees so it rests underneath the jumpseat.
- The Result: The bracket is now hidden and supporting the jumpseat vertically.
Step 3: Test Fit
Place the driver and passenger seats into the truck. Align the rear studs/holes first. You may notice the front holes are slightly off (by partial inches). Because the floor sheet metal has some flex, most installers find that once the rear bolts are started, you can "persuade" the front brackets into place or slightly widen the mounting hole on the bracket itself.
Install the center seat last, fastening it to the passenger seat with the L-shaped mounting brackets, and included 10/13mm bolts. If you never plan on using this as a seat, you'll probably call it "finished" here. The jumpseat sits steady with no real additional work needed for "console" usage. If you want to use it as a functional seat you must through-bolt the (now rotated) driver's front bracket and driver's rear bracket to the floor pan.

Phase 2: Electrical Hookup
1. Identify Your Wires:
On the seat-side connector of the 4th Gen seat, you are looking for two thick gauge wires (usually larger than the rest).
- Power (+): Often Red or Red/Orange.
- Ground (-): Always Black.
2. Supply Power:
If you had factory power seats in your 3rd gen, you can re-use the power seat circuit in your 4th Gen upgrade. ID the power and ground wires similarly to the 4th Gen instructions above.
If you don't have power under your seat, run your fused 12V line (from your fuse box or battery) to the Power (+) wire on the seat. Connect the Ground (-) wire to a solid chassis ground point.
3. The Jump Seat (Center Console):
If you are installing the 4th Gen center jump seat, the USB panel is essentially useless. 12V Outlets can be hooked up relatively easily - just trace the wires from the outlet with a continuity check!
Summary
Upgrading to 4th Gen seats is a massive improvement in ergonomics and durability. With just a little persuasion on the brackets and two simple wire connections, you can modernize your ride significantly.
If you are looking for a set of seats to start this project, check out our current inventory below.


Ram Truck Interior Upgrades
3rd Gen Ram Seat Swap Guide: Installing 5th Gen Seats (1500 DT)


3rd Gen Ram Seat Swap Guide: Installing 5th Gen Seats (1500 DT)
3rd Gen Ram Seat Swap Guide: Installing 5th Gen Seats (1500 DT)
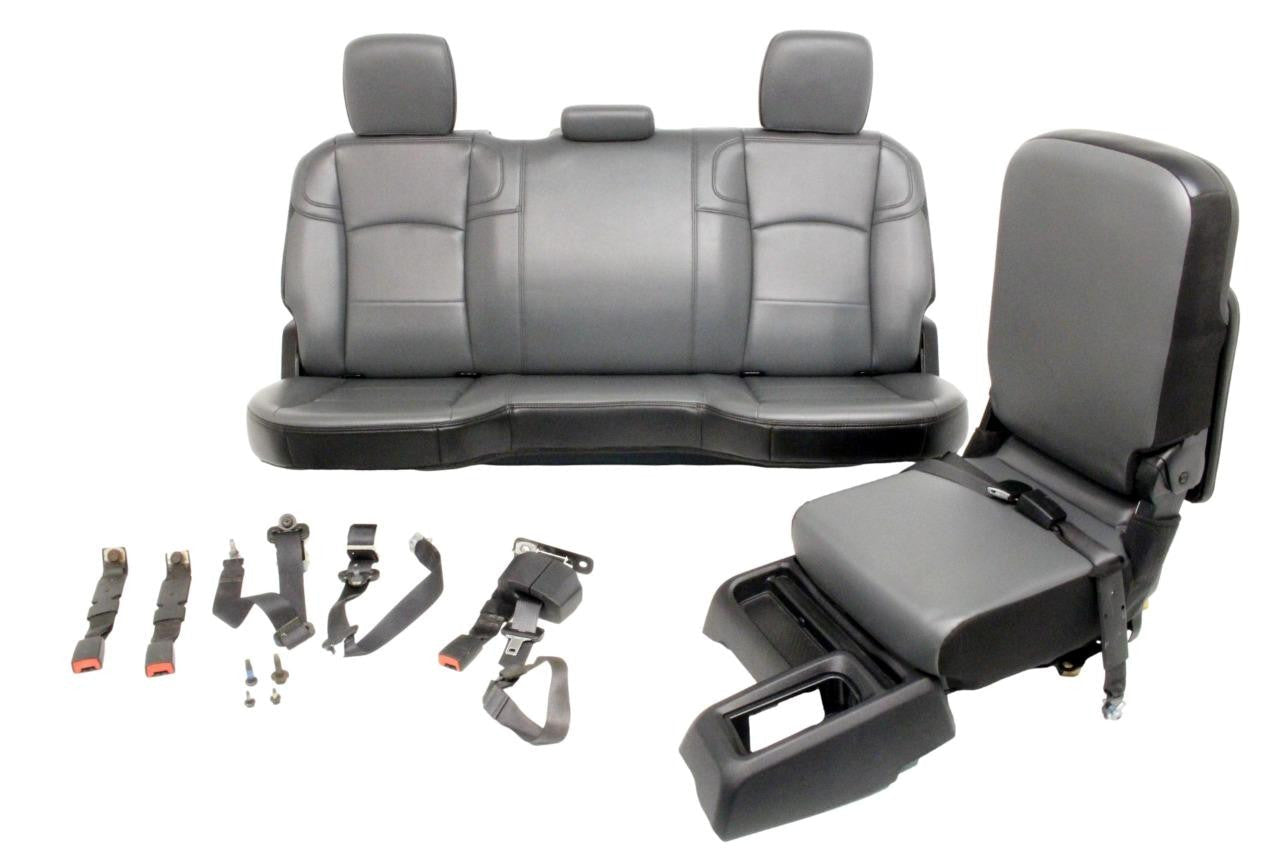
3rd Gen Ram Seat Swap Guide: Installing 4th Gen Seats (Ram DS)


3rd Gen Ram Seat Swap Guide: Installing 4th Gen Seats (Ram DS)
3rd Gen Ram Seat Swap Guide: Installing 4th Gen Seats (Ram DS)
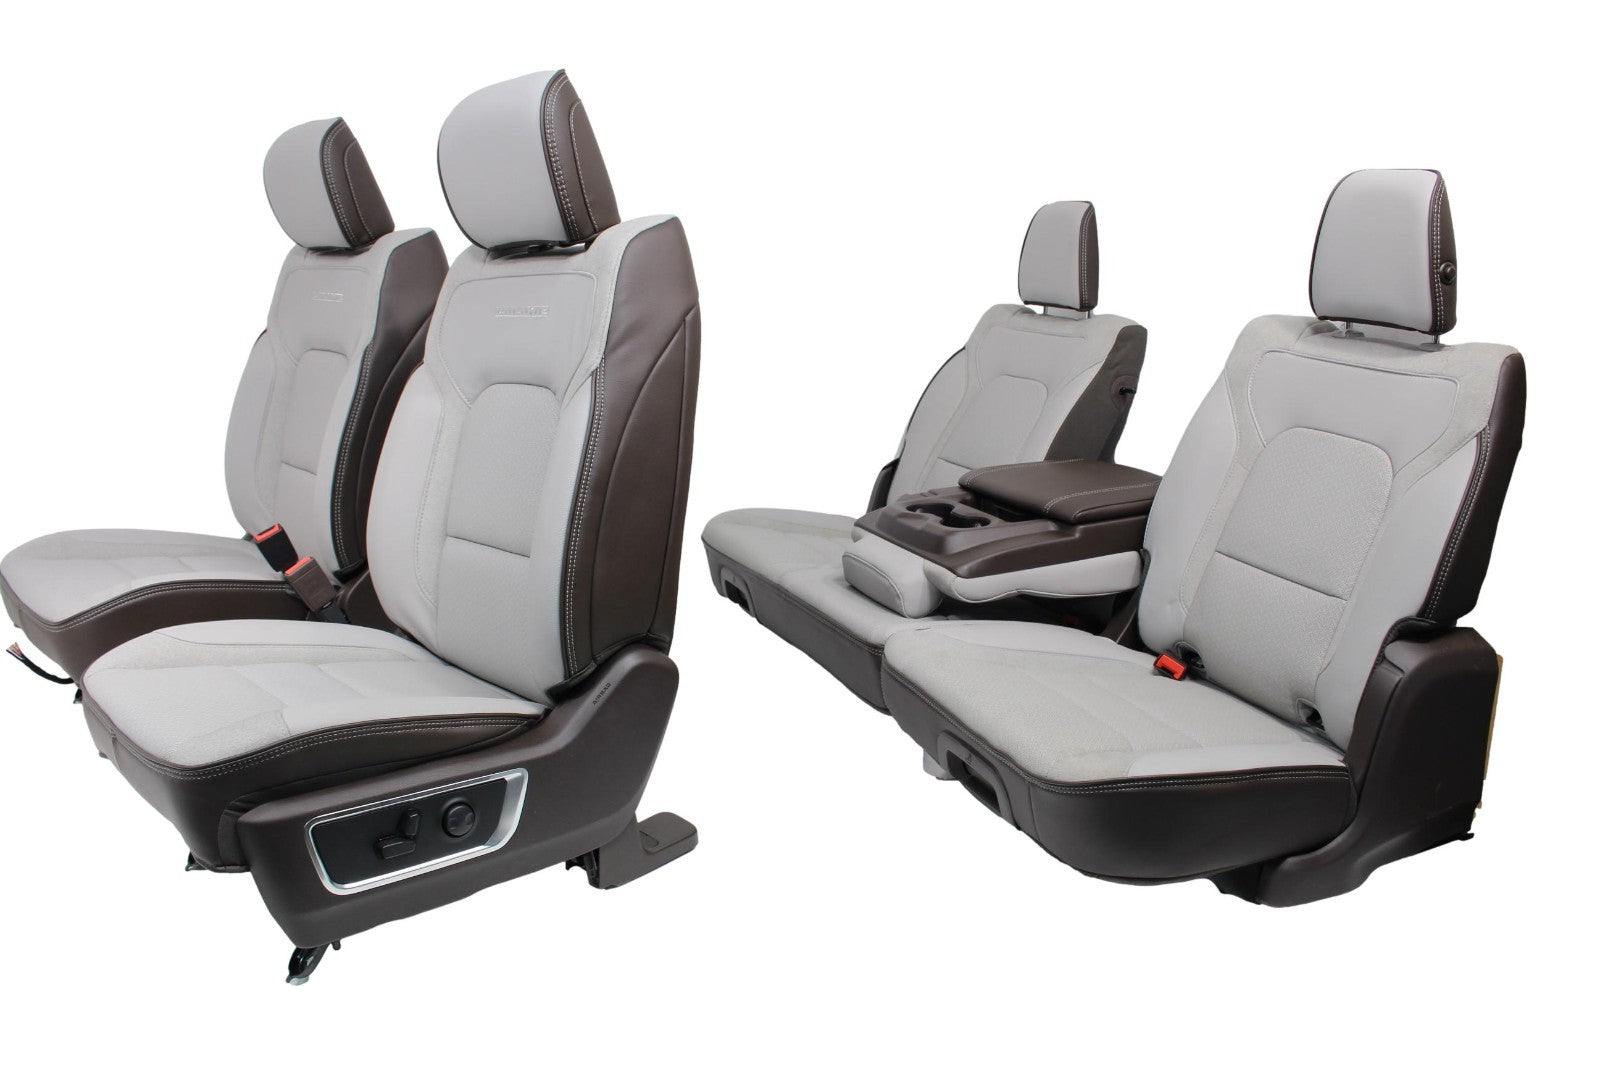
Ram 1500 Seat & Console Upgrade Guide ('19 - '25)


Ram 1500 Seat & Console Upgrade Guide ('19 - '25)
Ram 1500 Seat & Console Upgrade Guide ('19 - '25)
Ram Heavy Duty Truck Seat & Console Upgrade Guide ('19 - '25)


Ram Heavy Duty Truck Seat & Console Upgrade Guide ('19 - '25)
Ram Heavy Duty Truck Seat & Console Upgrade Guide ('19 - '25)
Ram 1500 Classic Seat & Console Upgrade Guide ('19 - '25)


Ram 1500 Classic Seat & Console Upgrade Guide ('19 - '25)
Ram 1500 Classic Seat & Console Upgrade Guide ('19 - '25)
4th Gen Dodge Ram Seat & Console Upgrade Guide ('09 - '18)


4th Gen Dodge Ram Seat & Console Upgrade Guide ('09 - '18)
4th Gen Dodge Ram Seat & Console Upgrade Guide ('09 - '18)
3rd Gen Dodge Ram Seat & Console Upgrade Guide ('02 - '09)


3rd Gen Dodge Ram Seat & Console Upgrade Guide ('02 - '09)
3rd Gen Dodge Ram Seat & Console Upgrade Guide ('02 - '09)
RAM Power Driver Seat Conversion Instructions for 2009 - 2018 Style DS


RAM Power Driver Seat Conversion Instructions for 2009 - 2018 Style DS
RAM Power Driver Seat Conversion Instructions for 2009 - 2018 Style DS
Custom Dodge Ram Laramie Jumpseats for 4th Gen Trucks (09-18)

