

Ram 1500 Classic Seat & Console Upgrade Guide ('19 - '25)
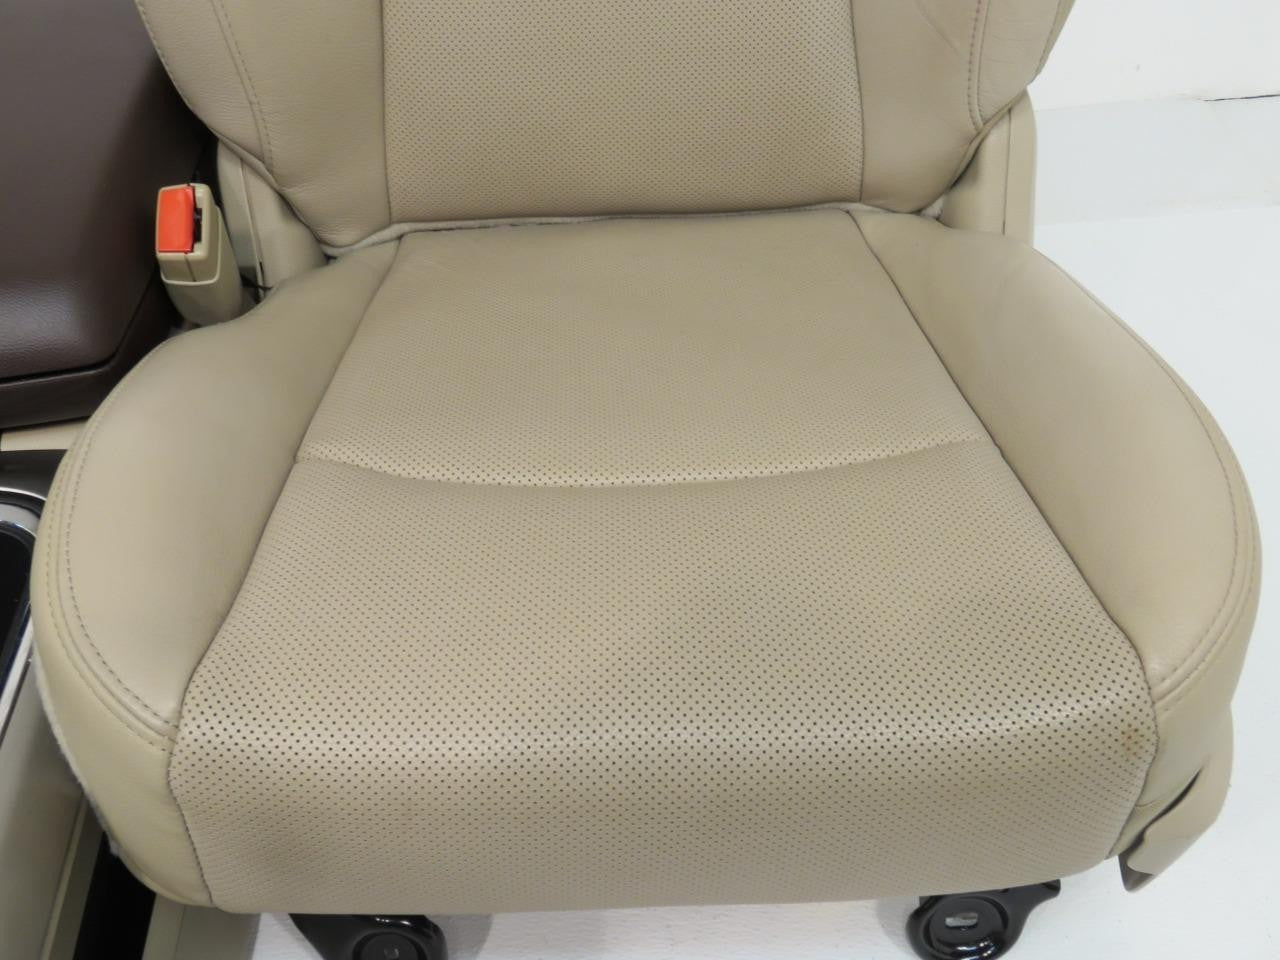
Step 1: ID What You Have
To get you the right set of seats, we have to know what we're trying to match. Identifying the exact interior you have helps us make sure we get you the right thing the first time!
Continue reading below to begin your DIY swap, or give us a call for a full-service experience!
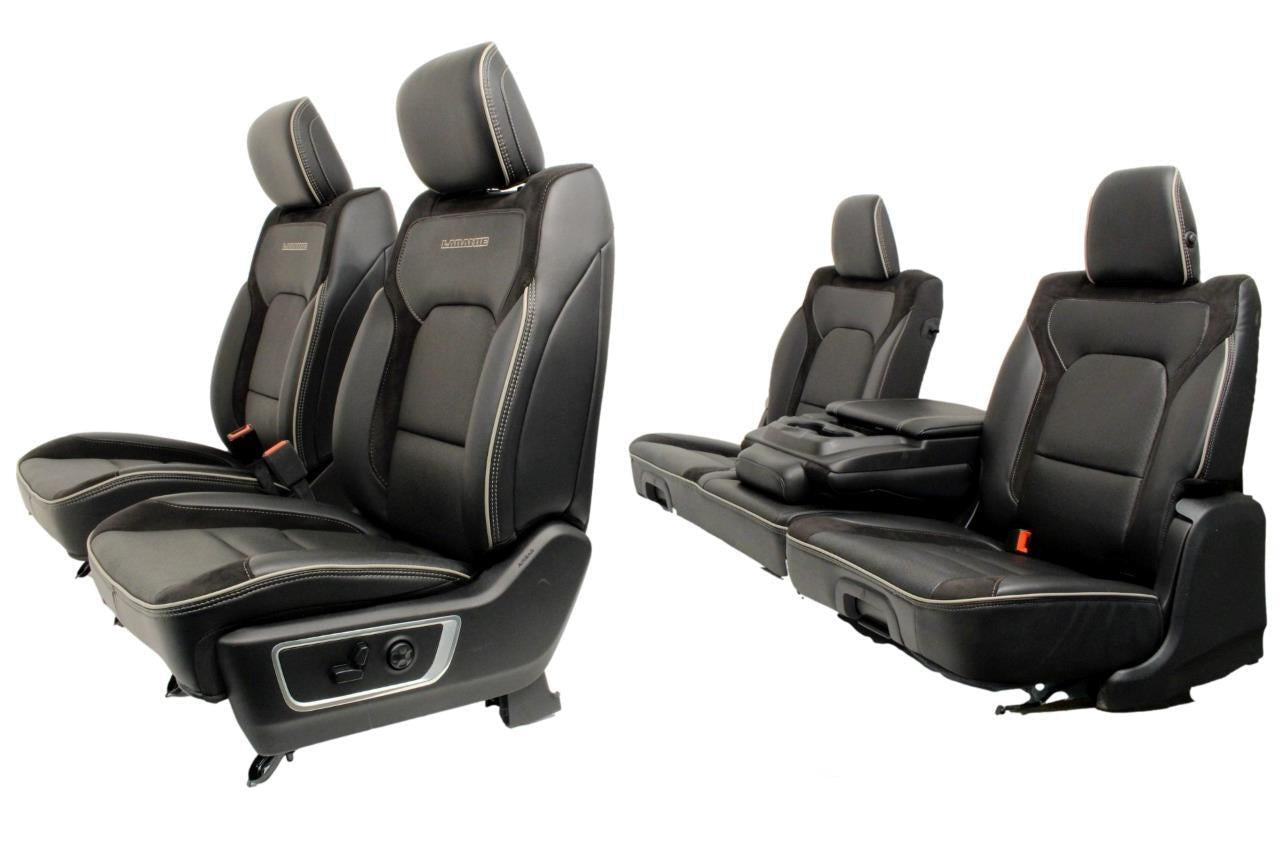
Step 2: Learn What's Out There
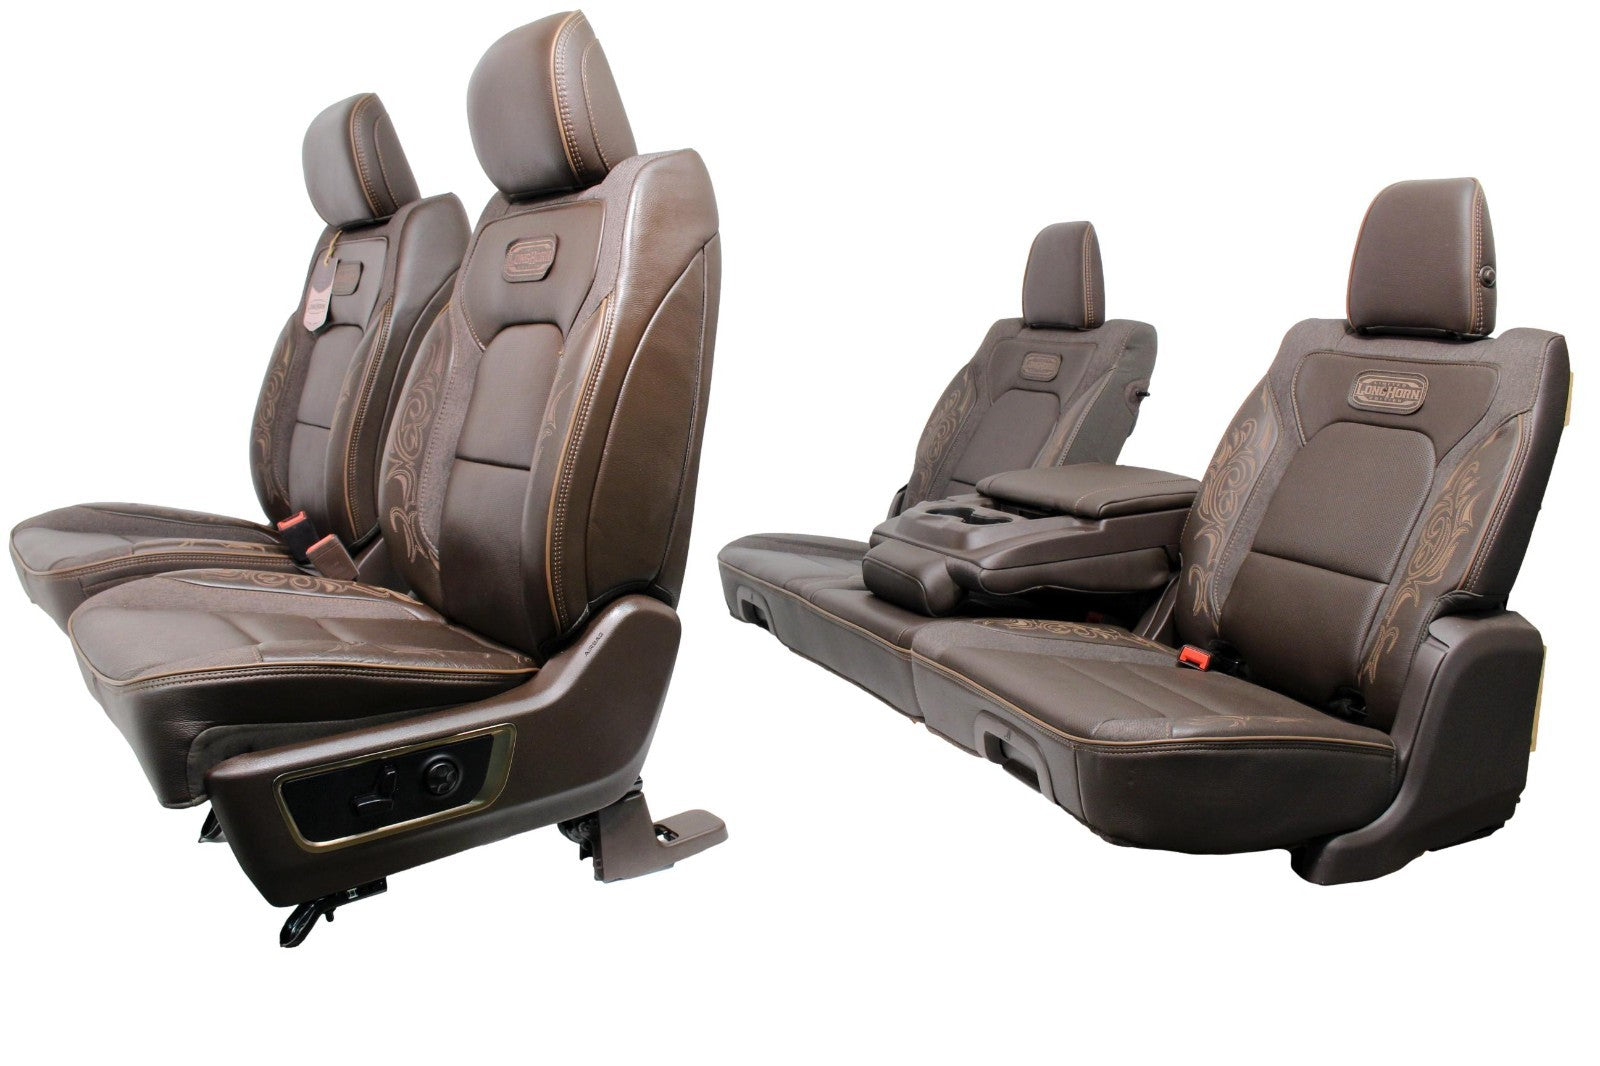
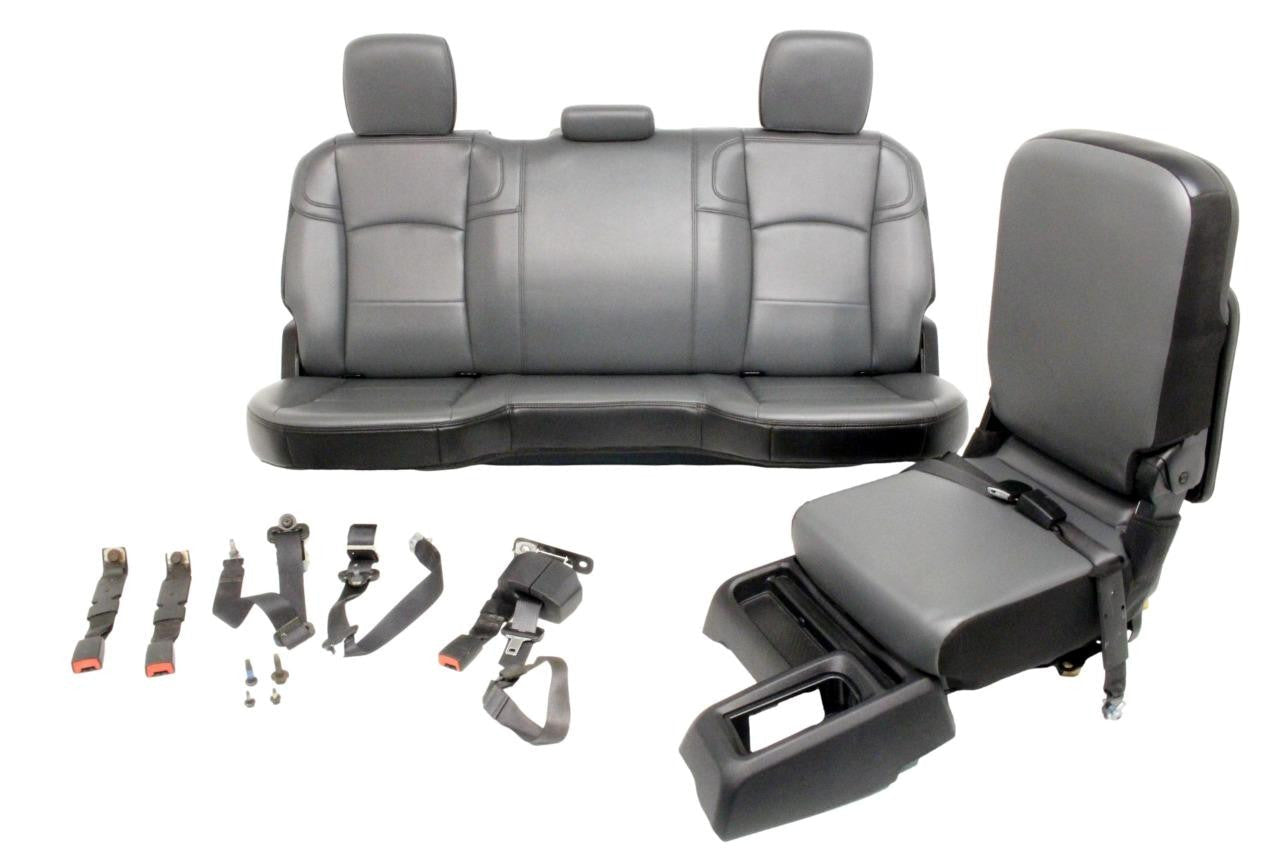
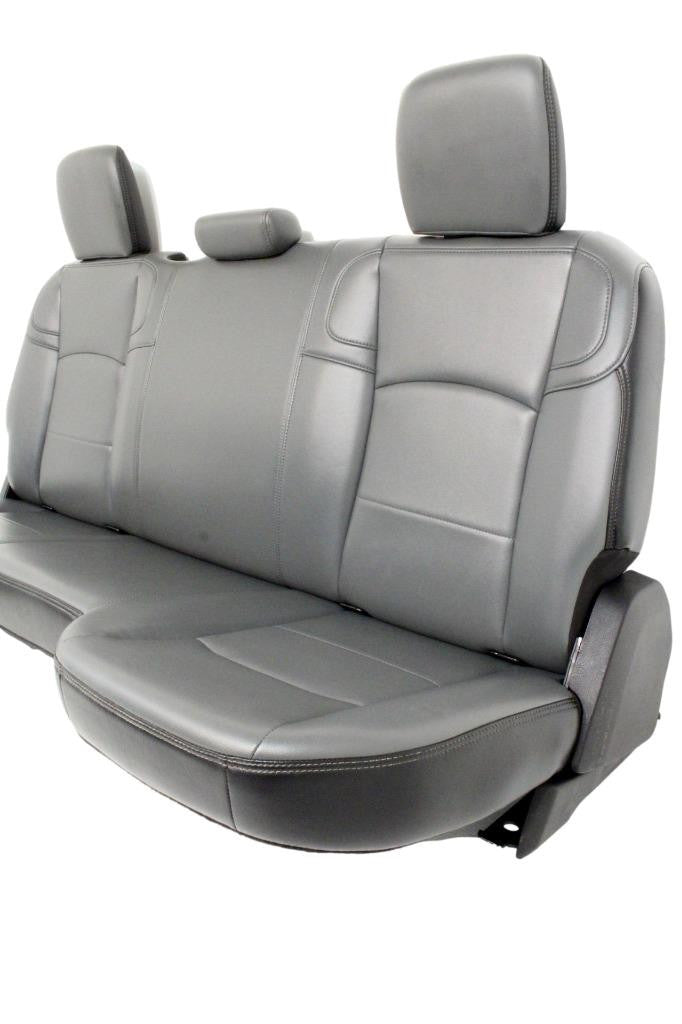
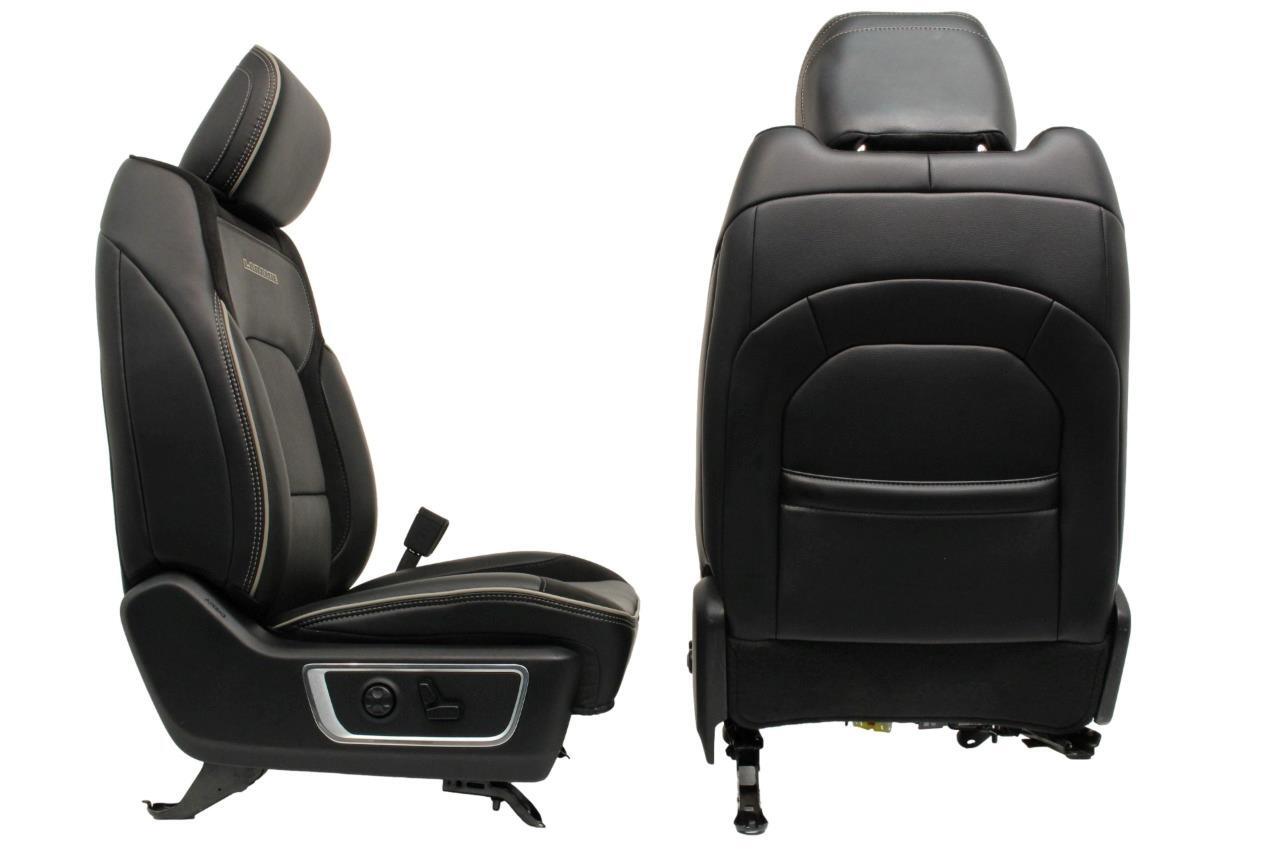
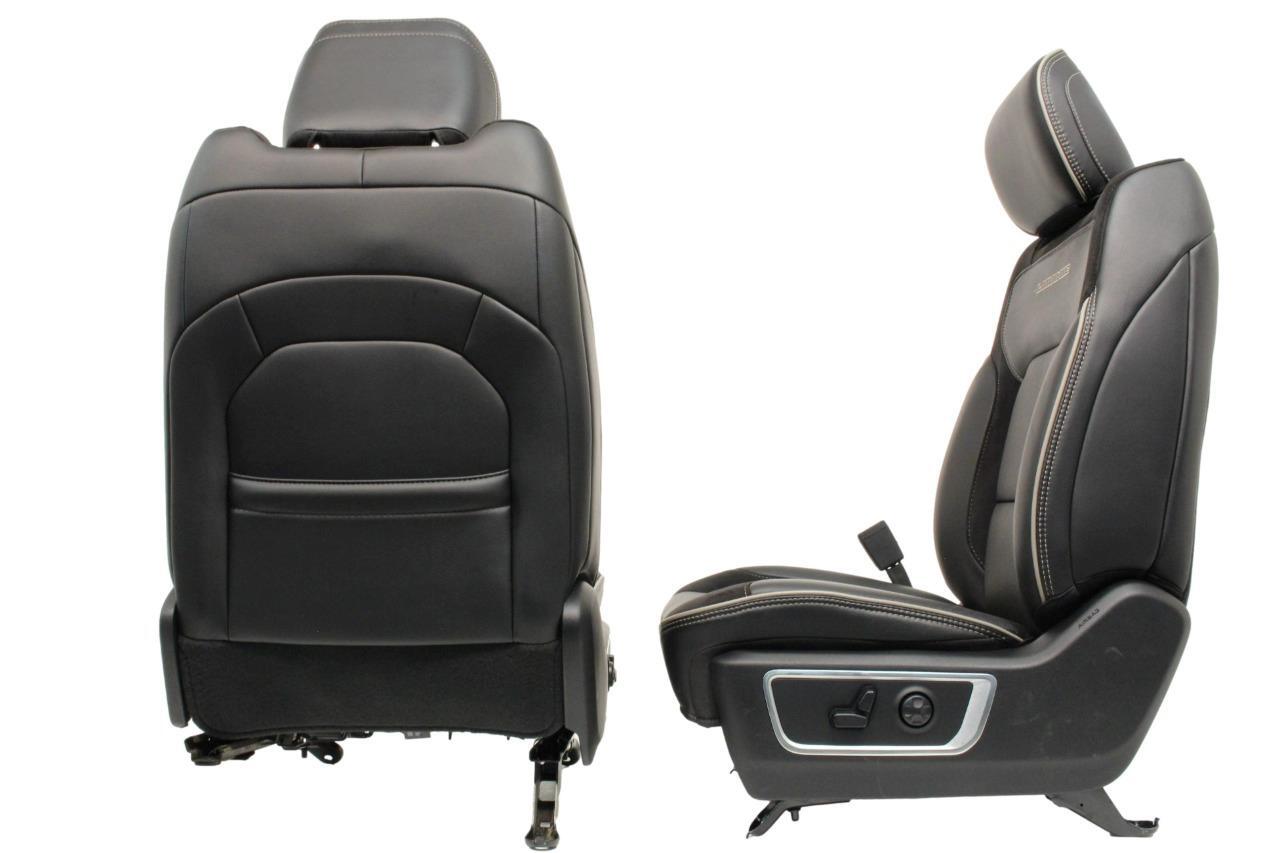
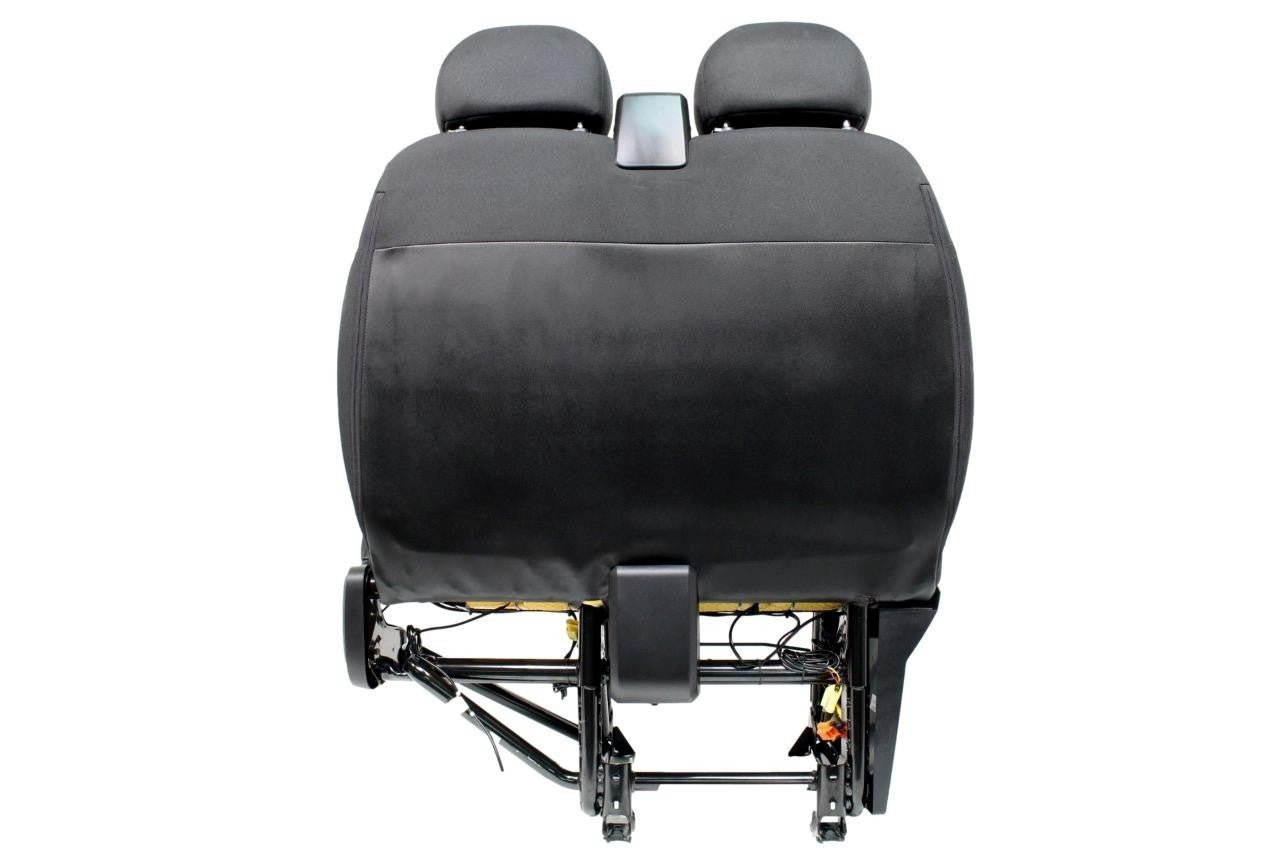
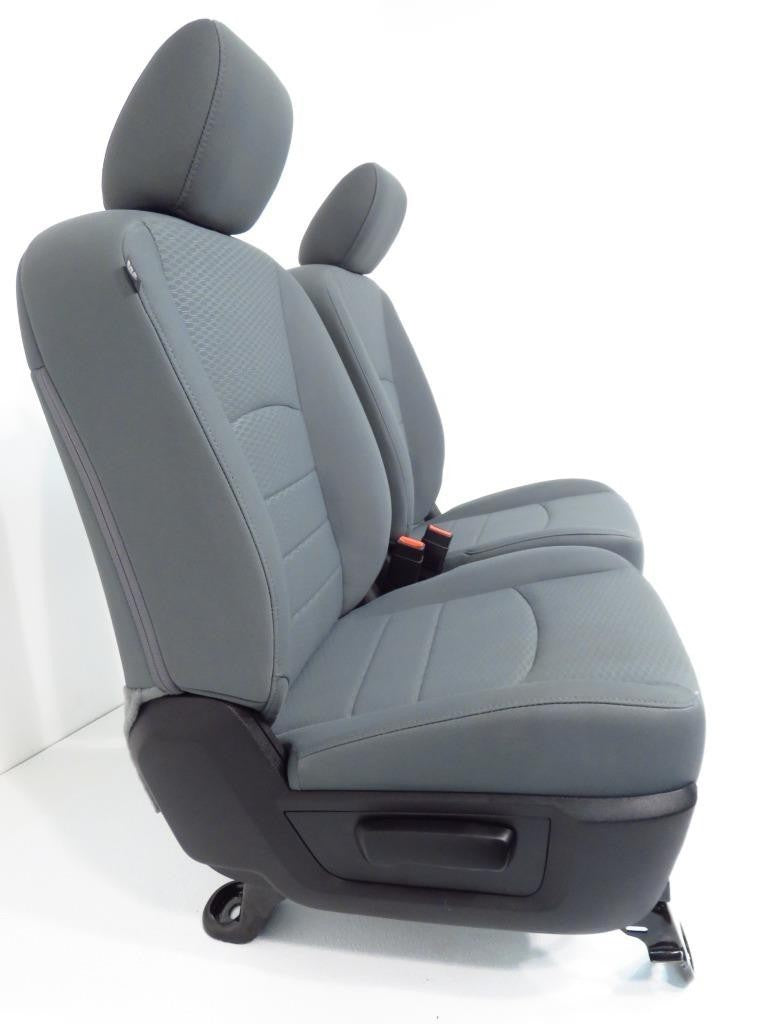
Learn what seats you can install in your Ram 1500 Classic. The front bucket seats, center jumpseat-console, and rear seats can all be handled separately!
We want to make sure you get the best bang for your buck by giving you all your options, allowing you to make an informed decision.
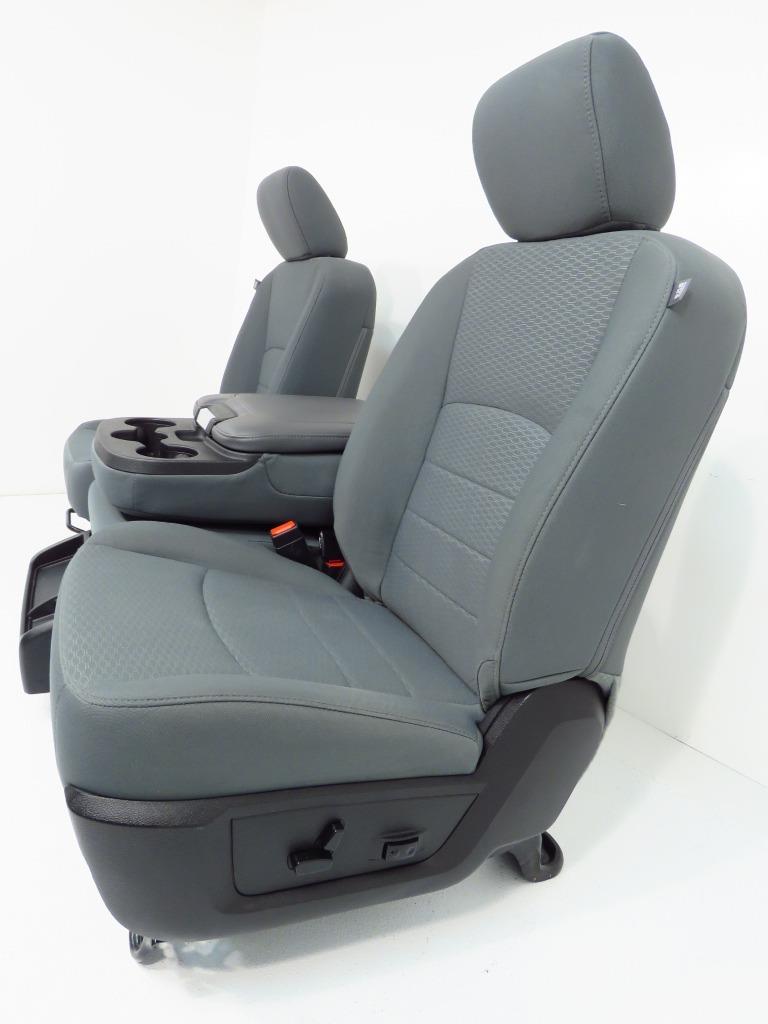
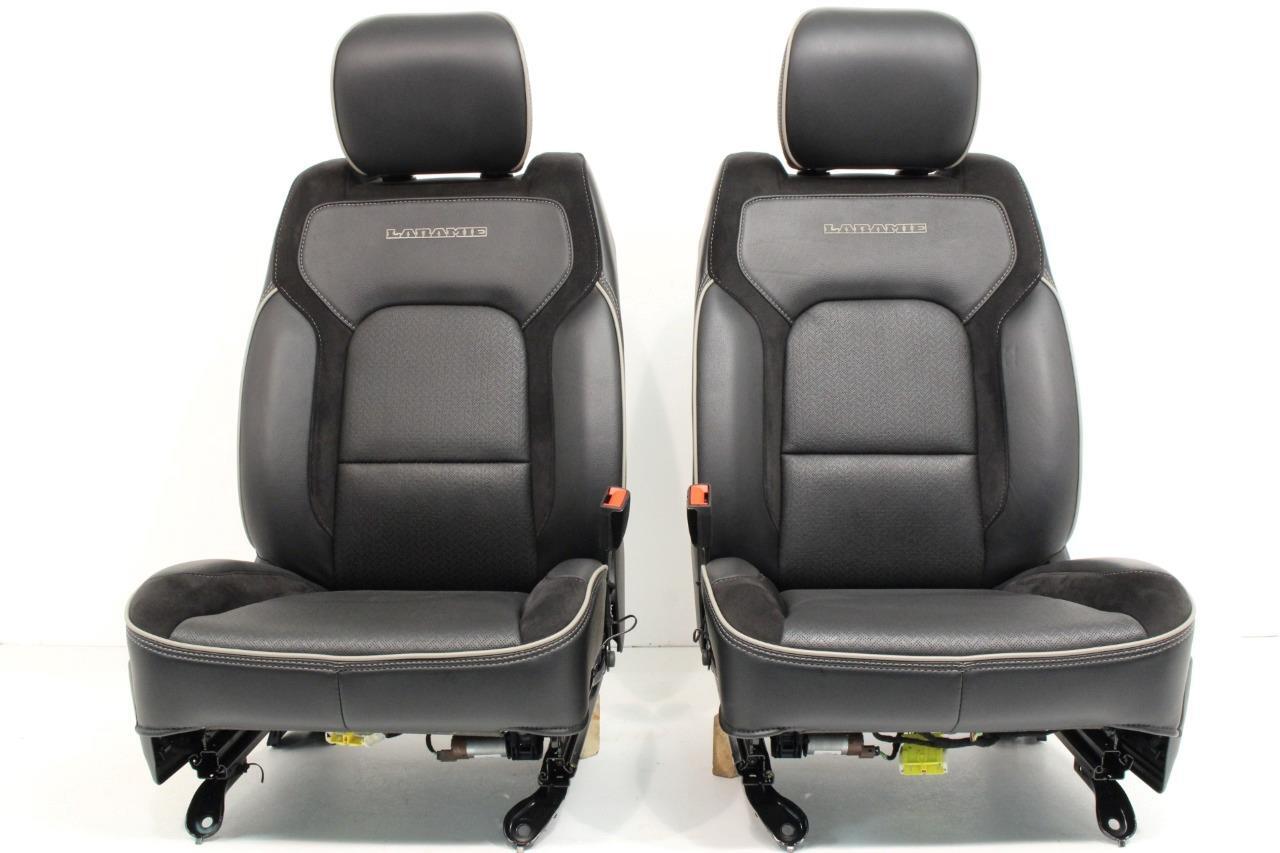
Step 3: Get New Seats
Check out our full selection of New & Used Ram Truck Seats. All of our seats ship fully assembled, ready for a quick and easy installation in your vehicle.
If we don't have what you need, simply fill out our contact form and we will be in touch!
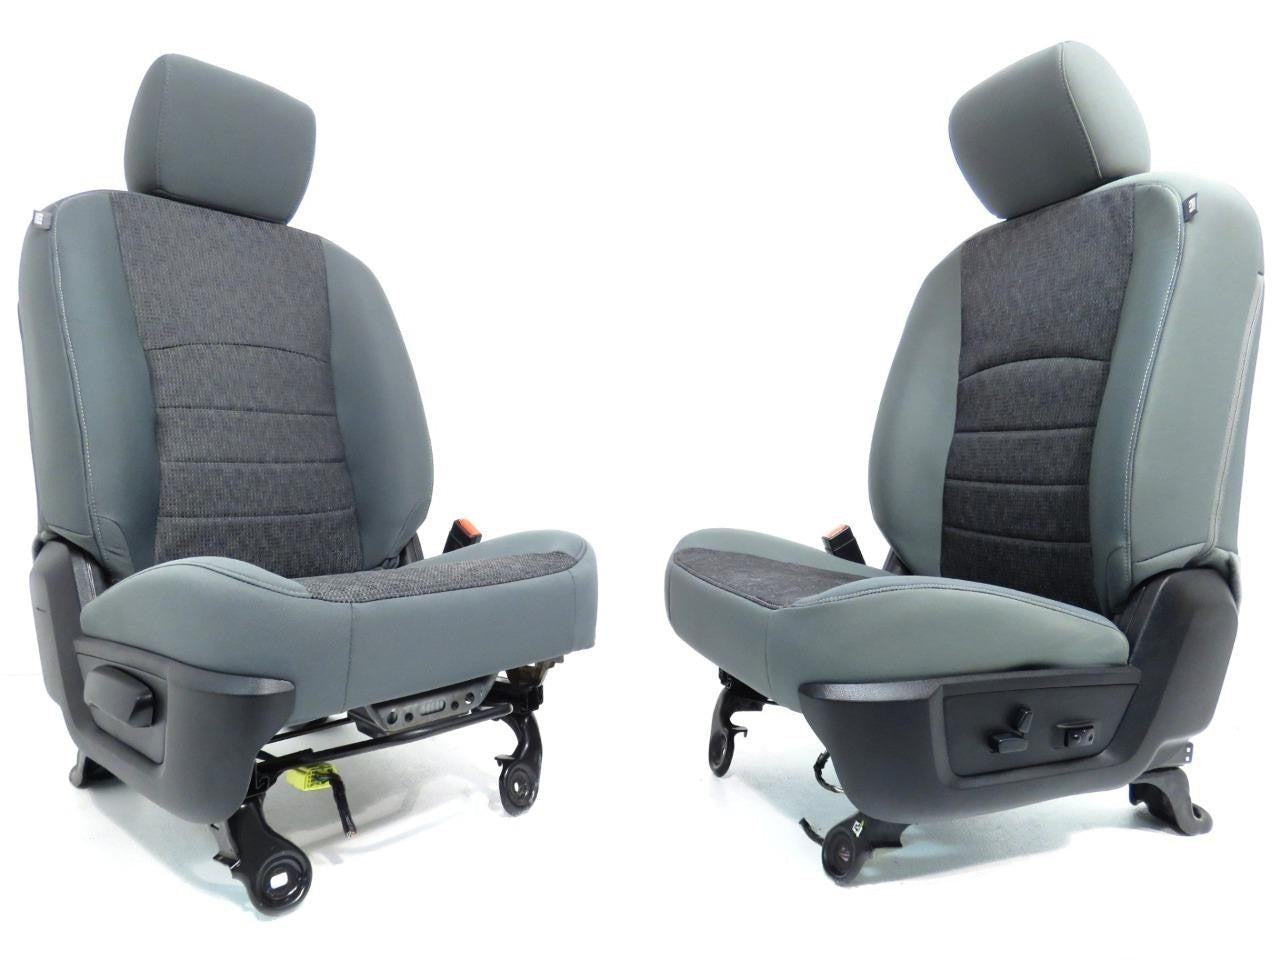
Seating Options for 2019 - 2020
Applicable vehicles
- 2019 Ram 1500 Classic
- 2020 Ram 1500 Classic
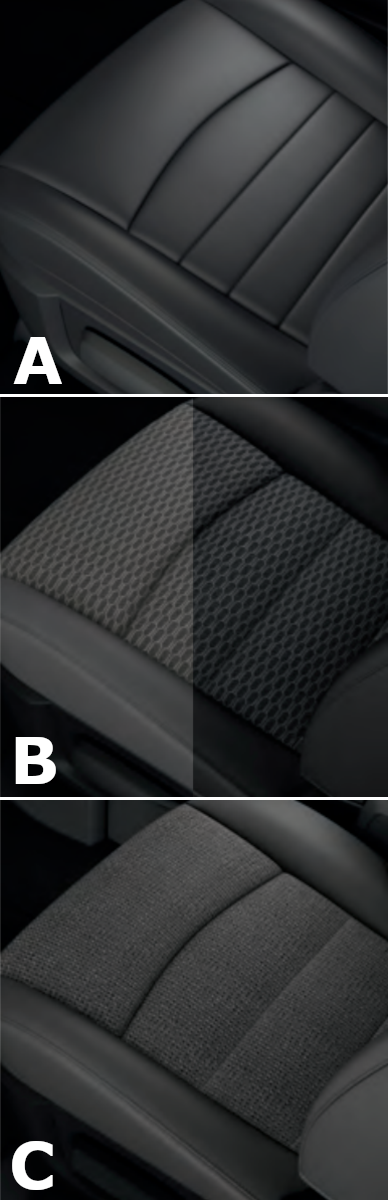
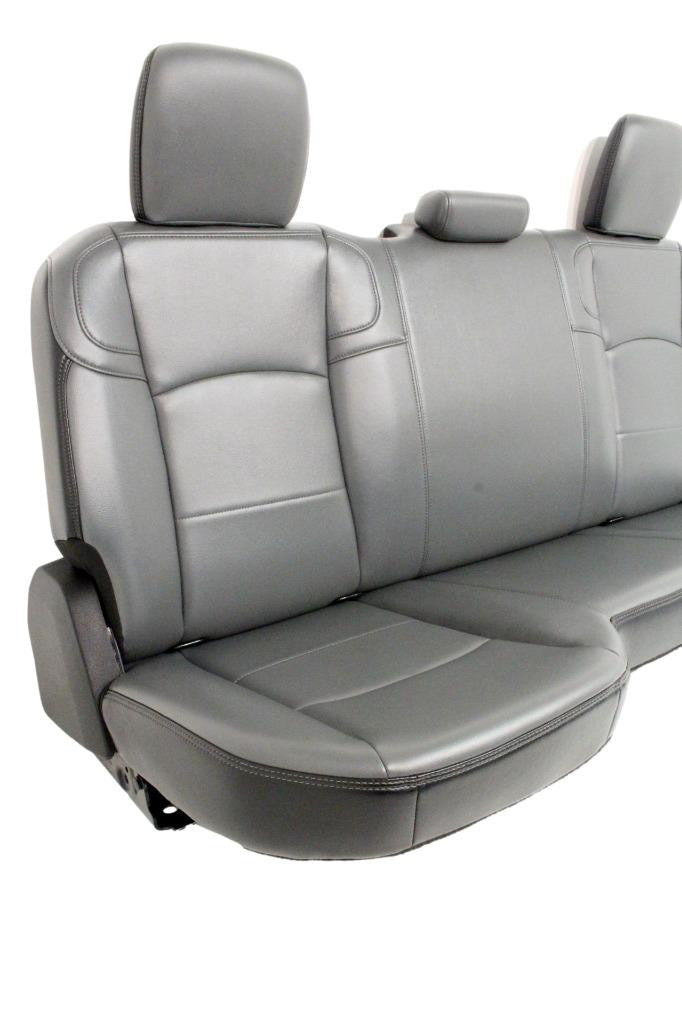
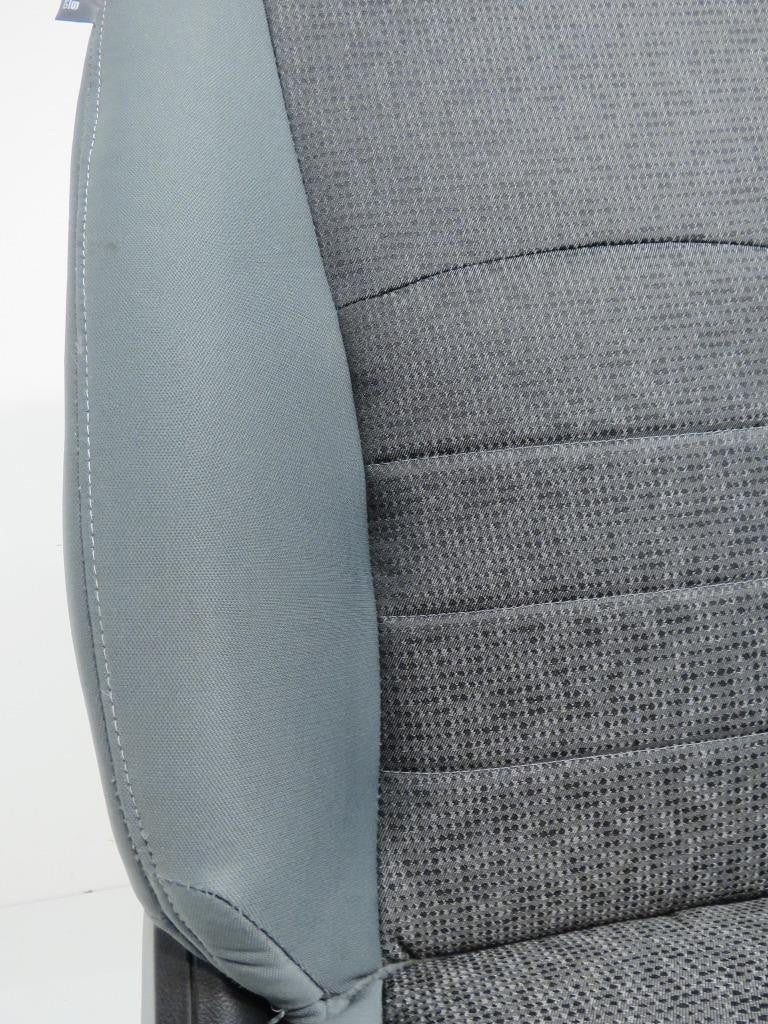
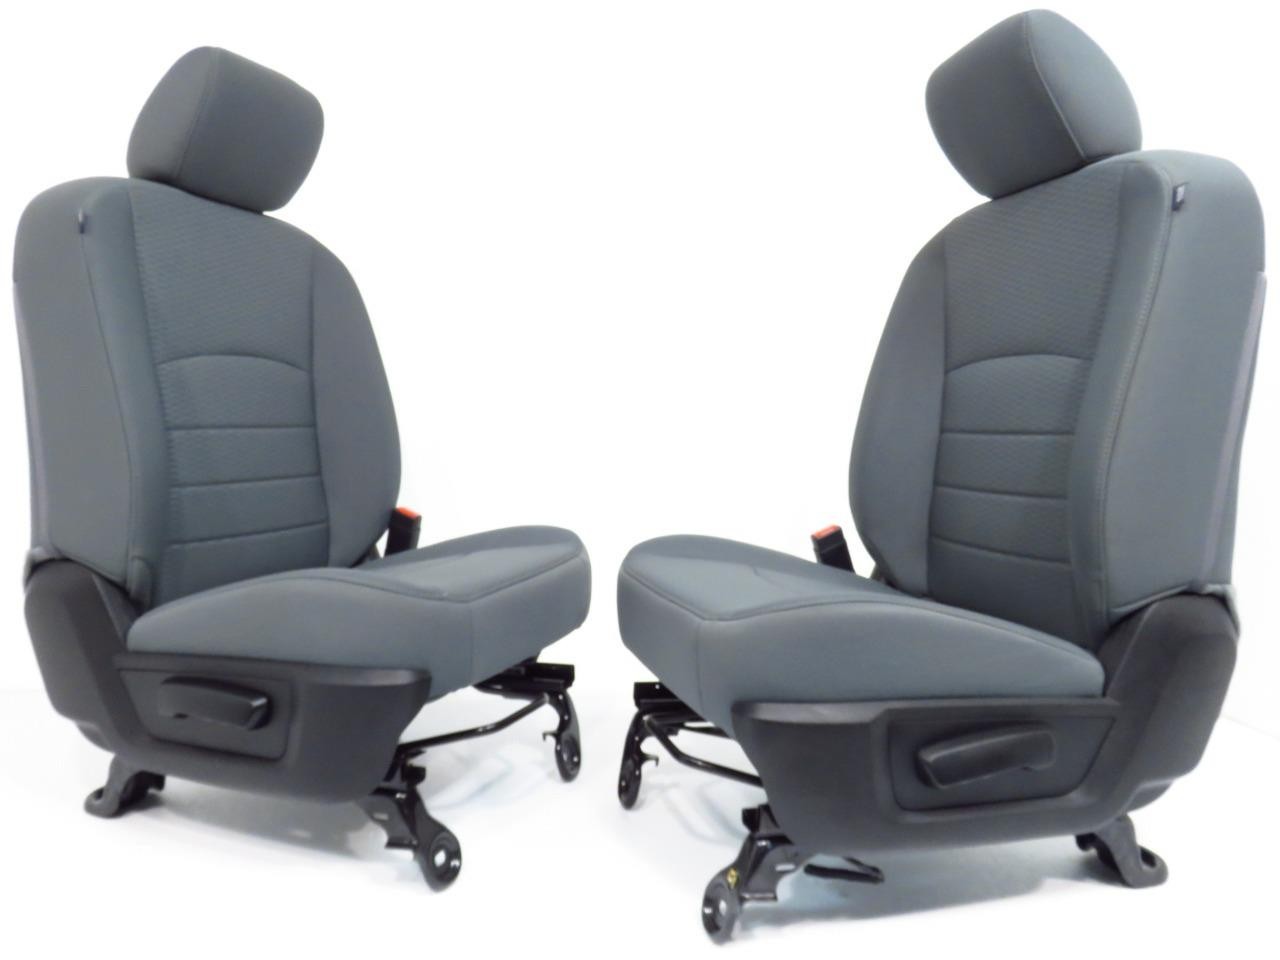
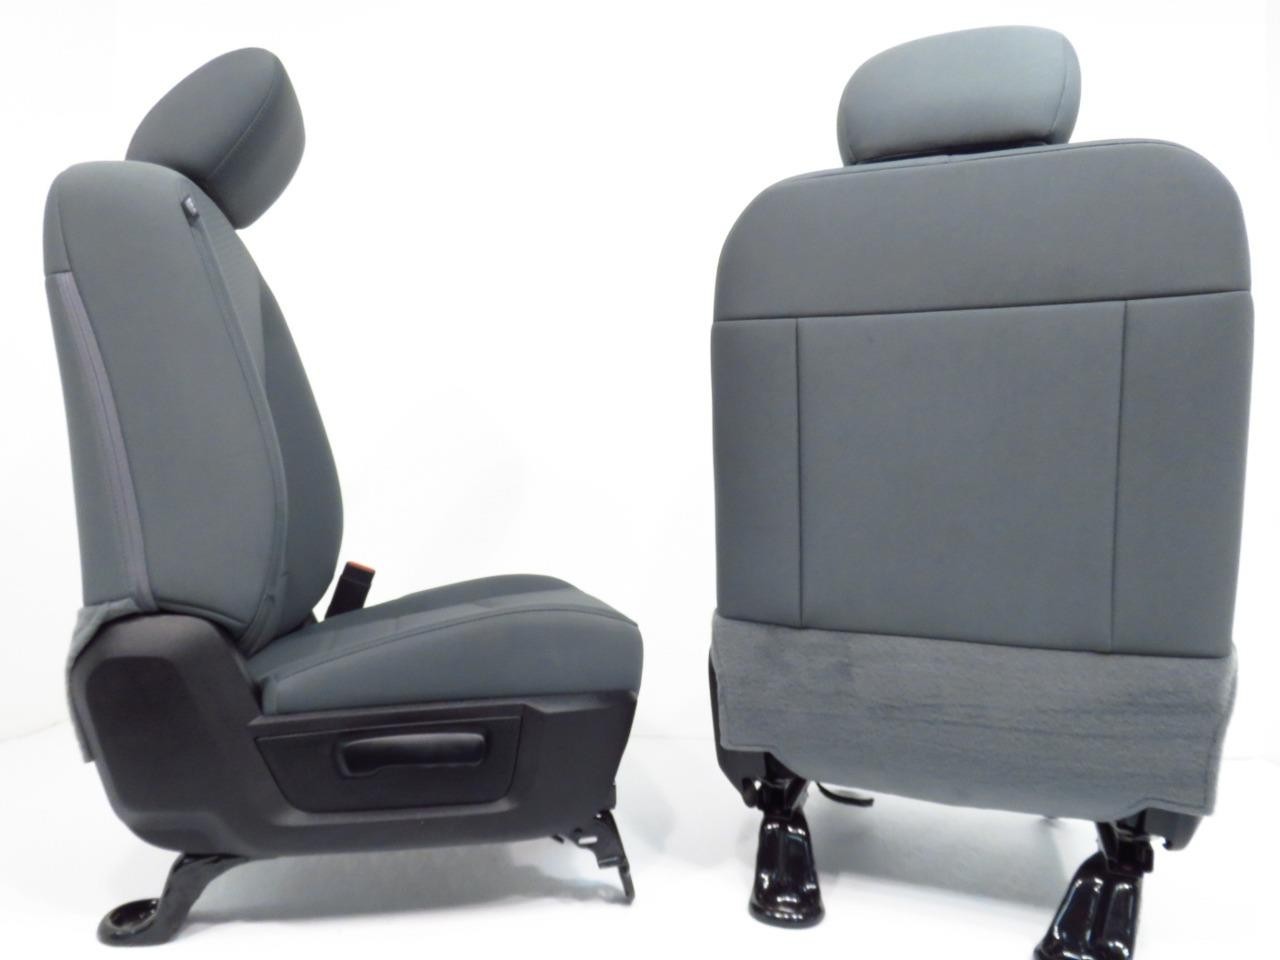
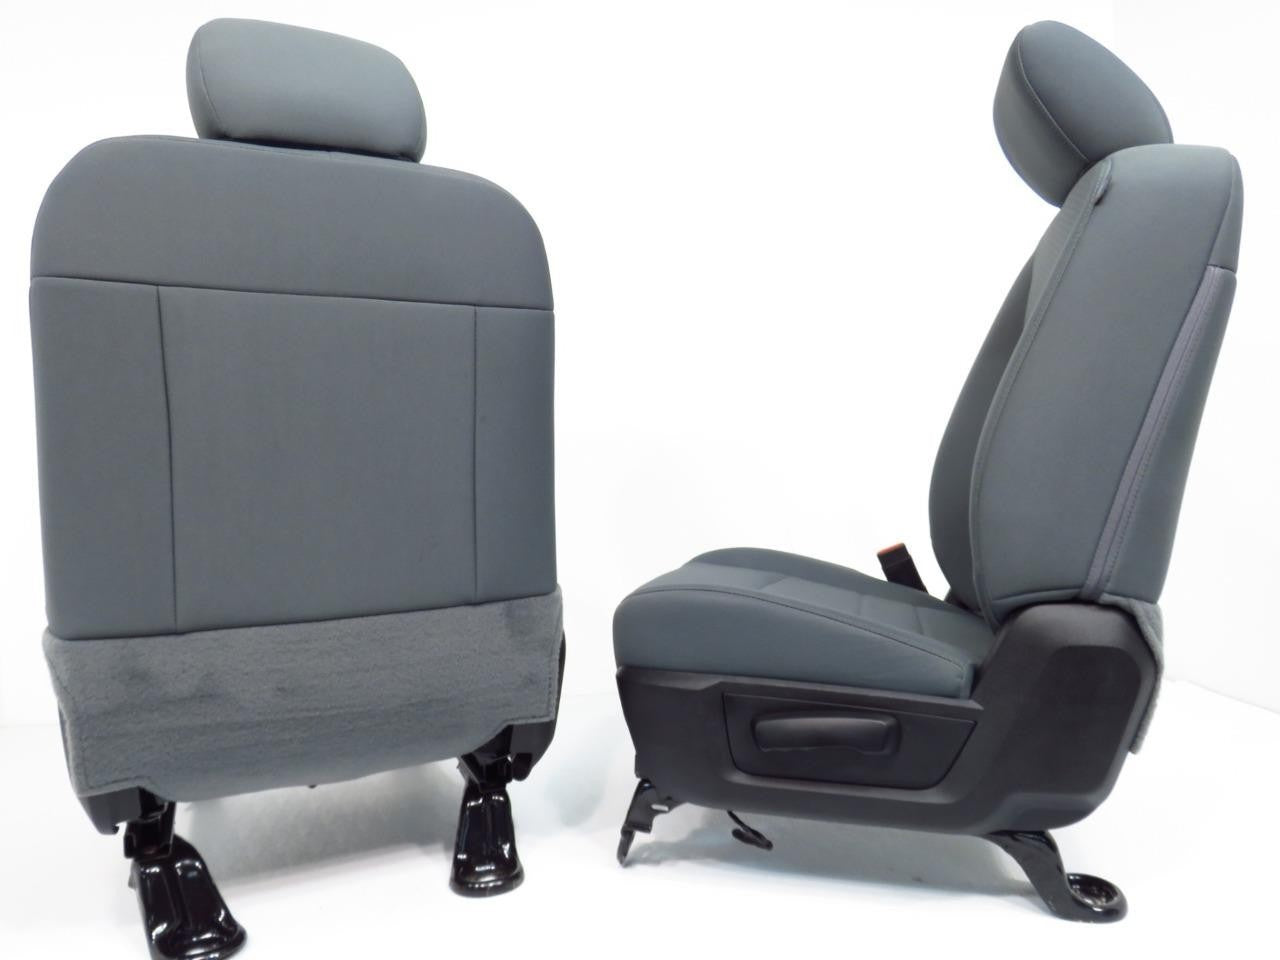
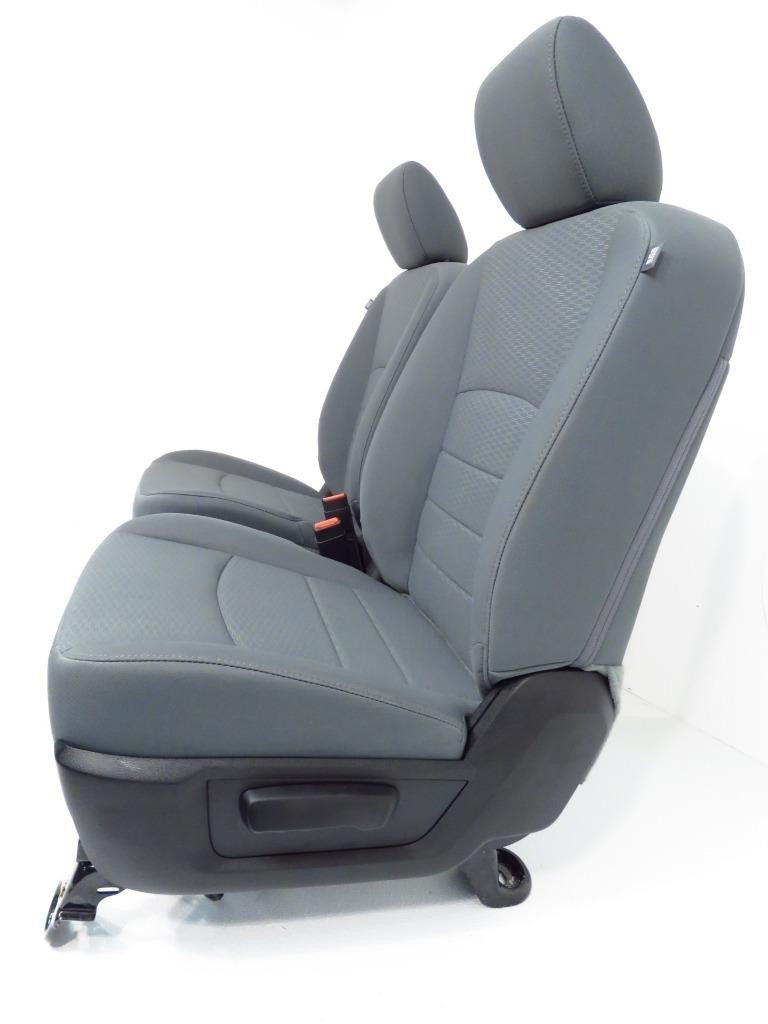
A. Vinyl. Diesel Gray (Tradesman, Express)
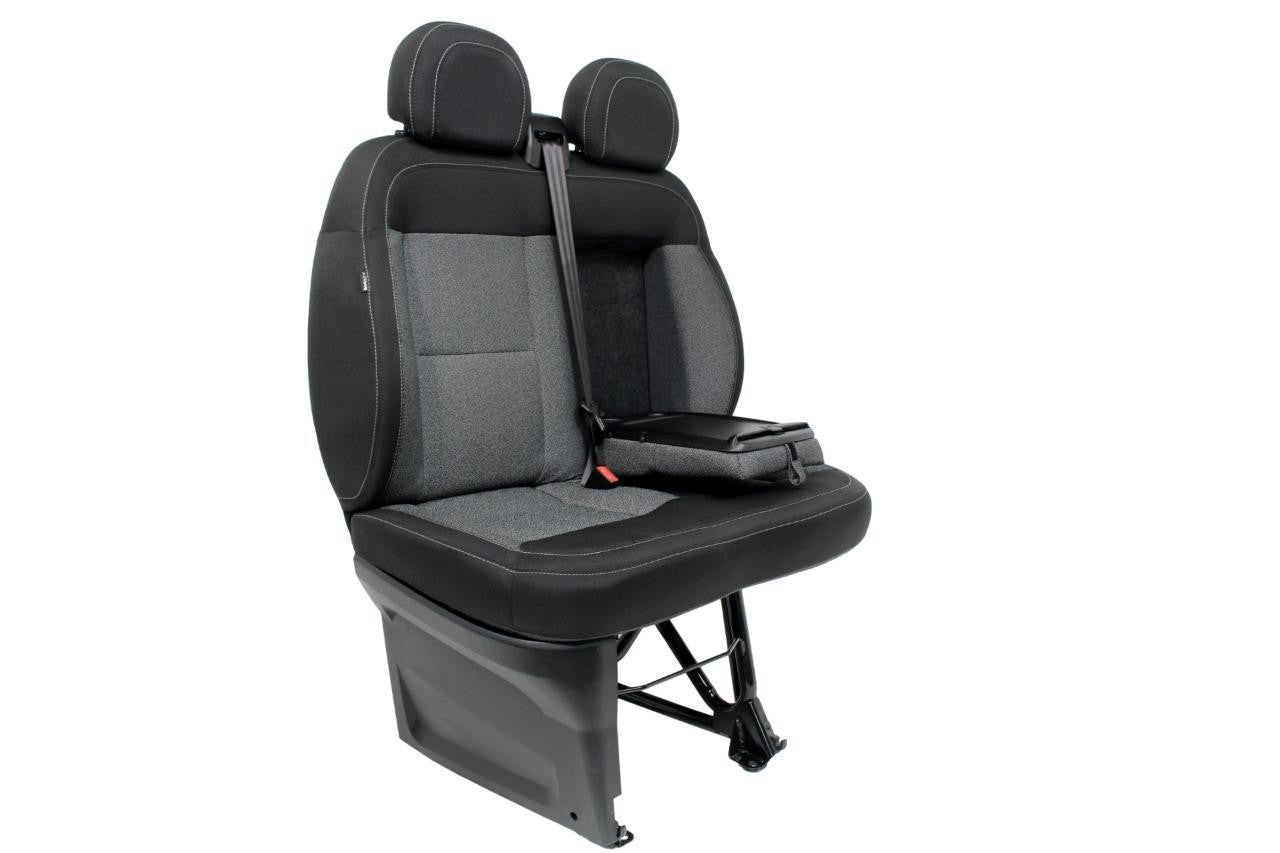
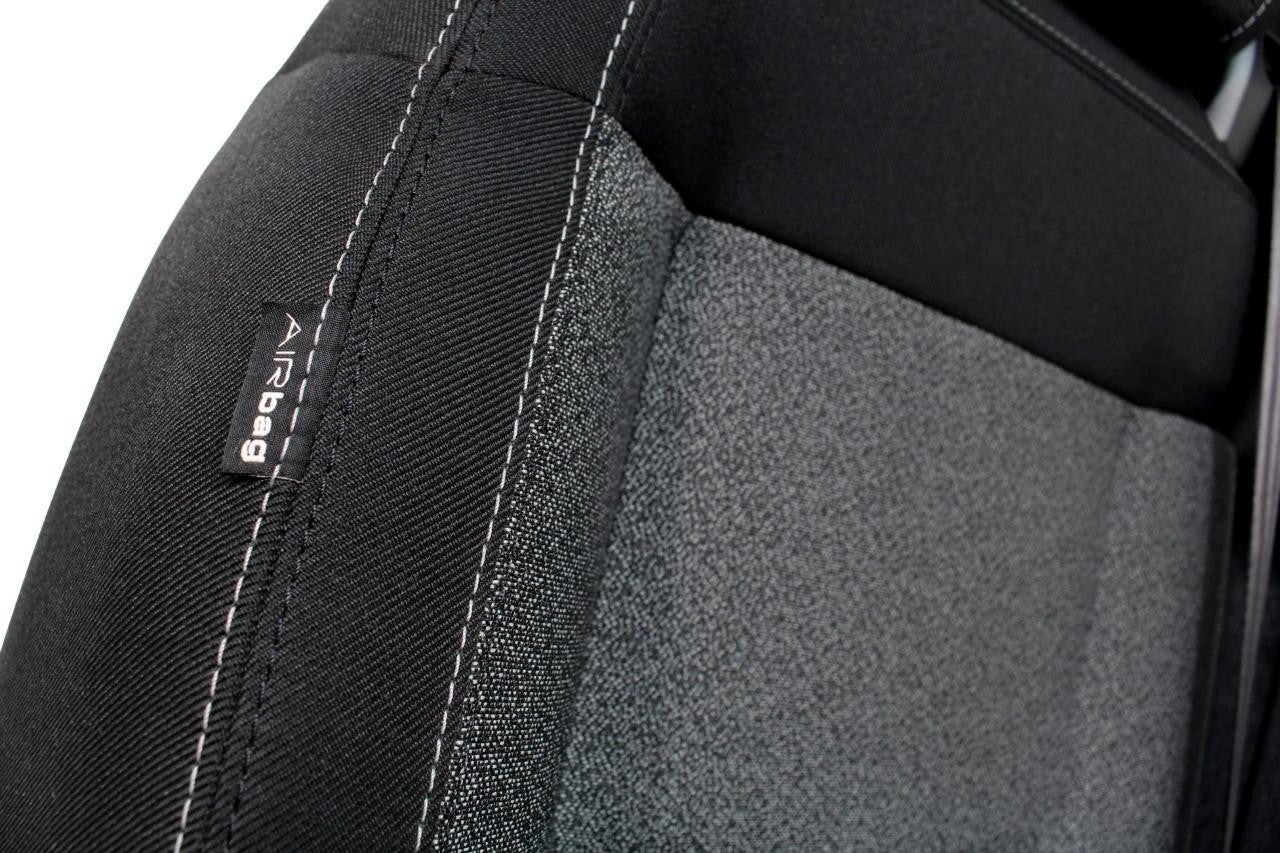
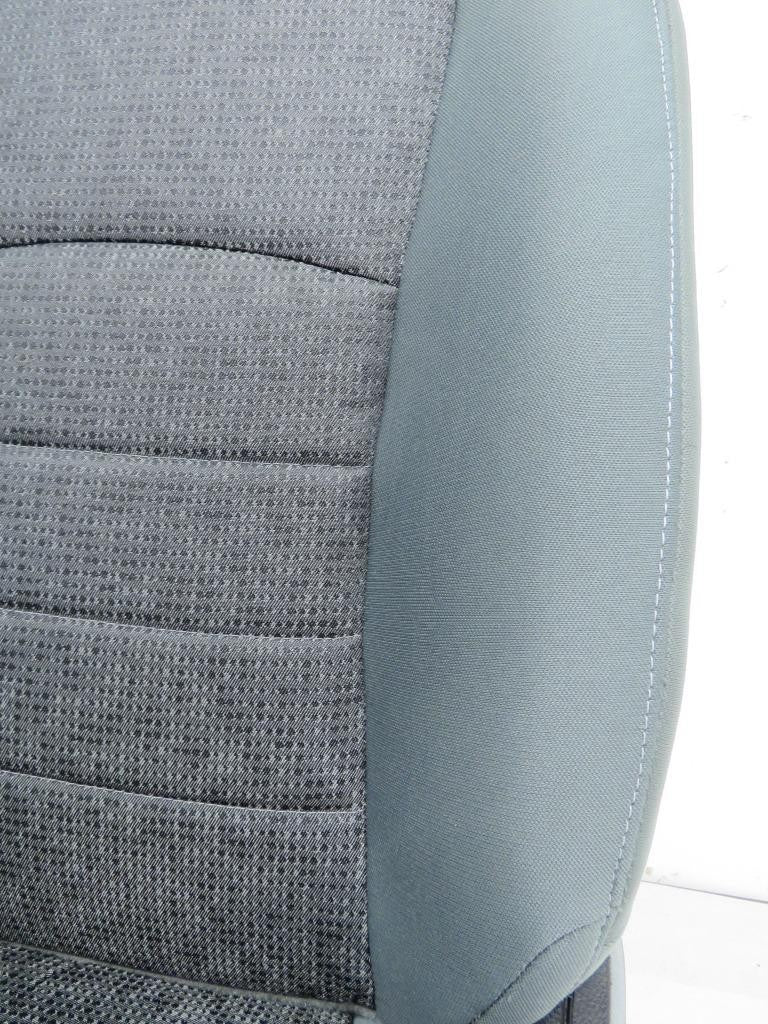
B. Sedoso/Alloy Cloth. Diesel Gray or Black (ST, Tradesman, Express)
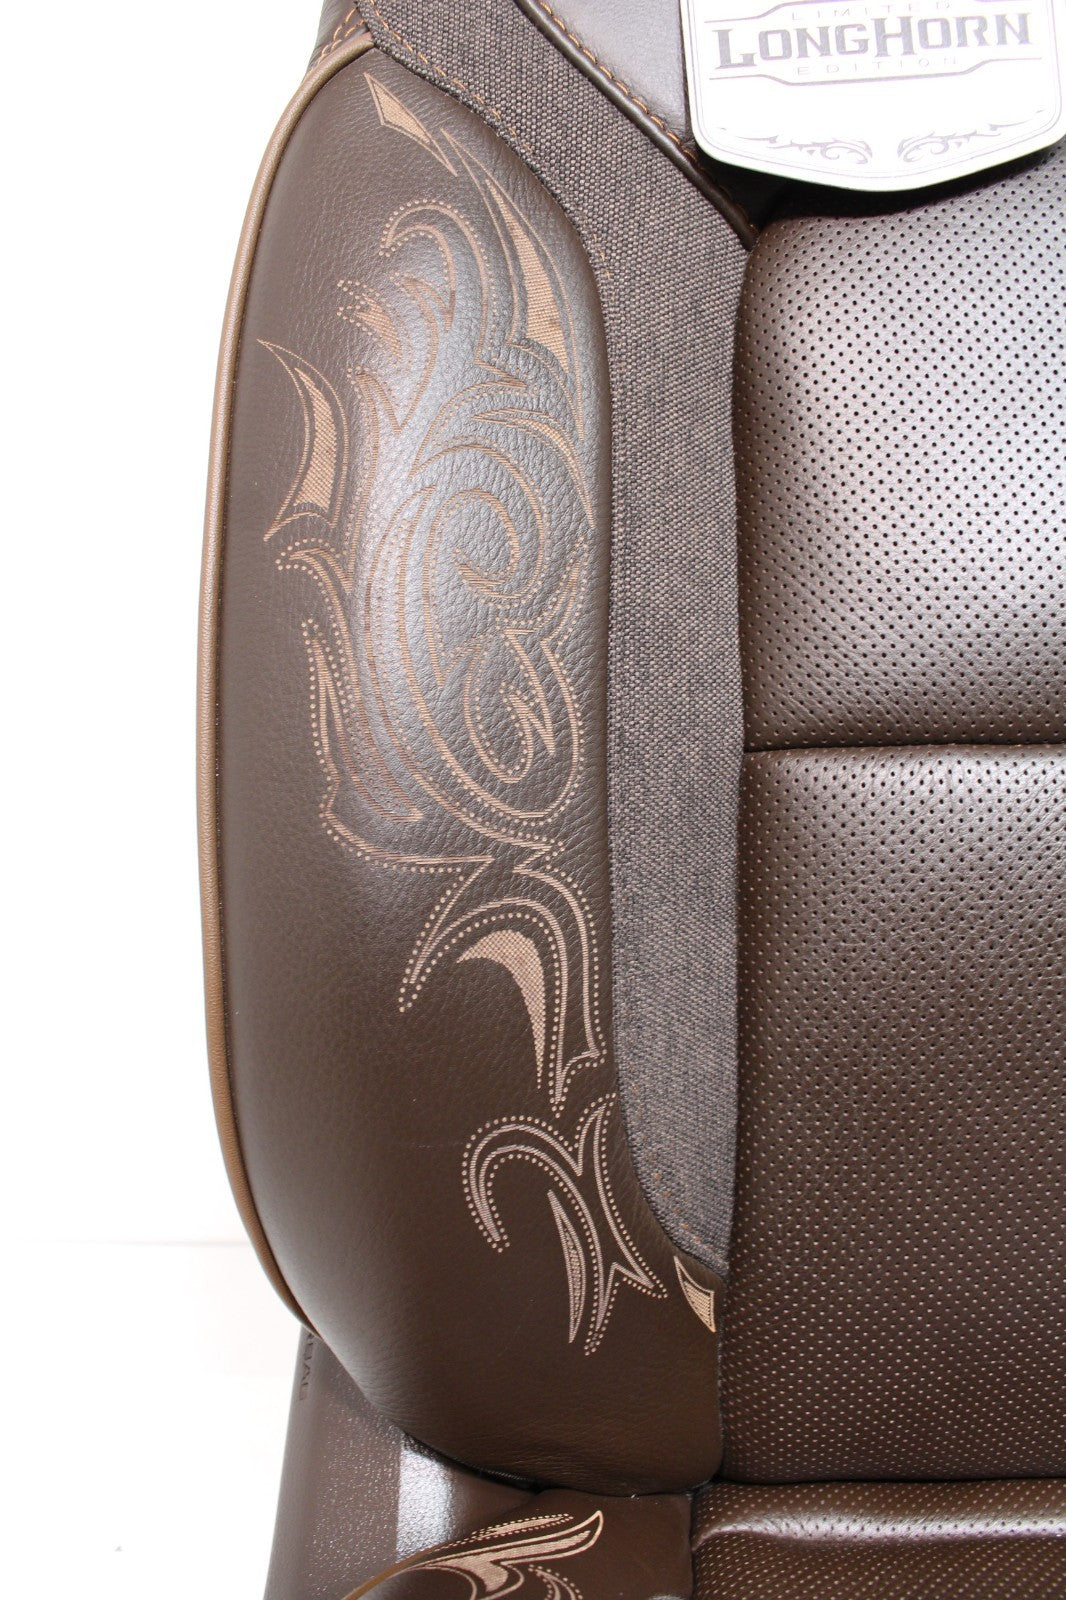
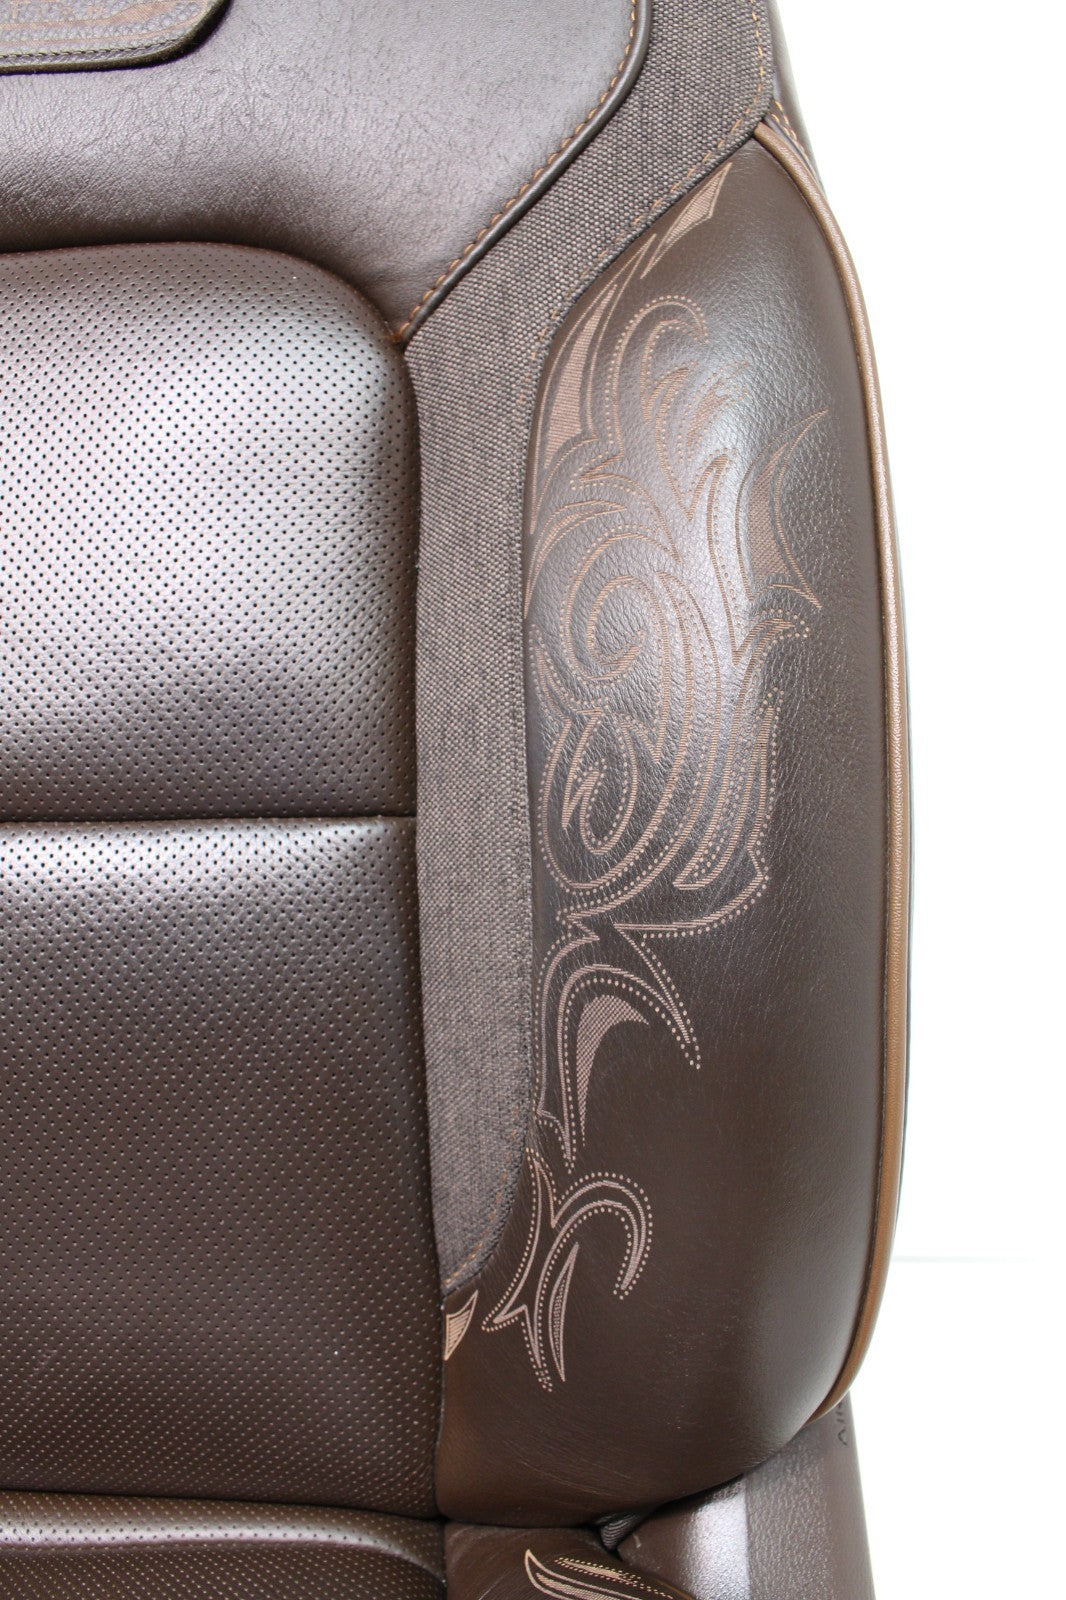
C. Sedoso/Carbide Cloth. Diesel Gray (ST, Tradesman, Express)
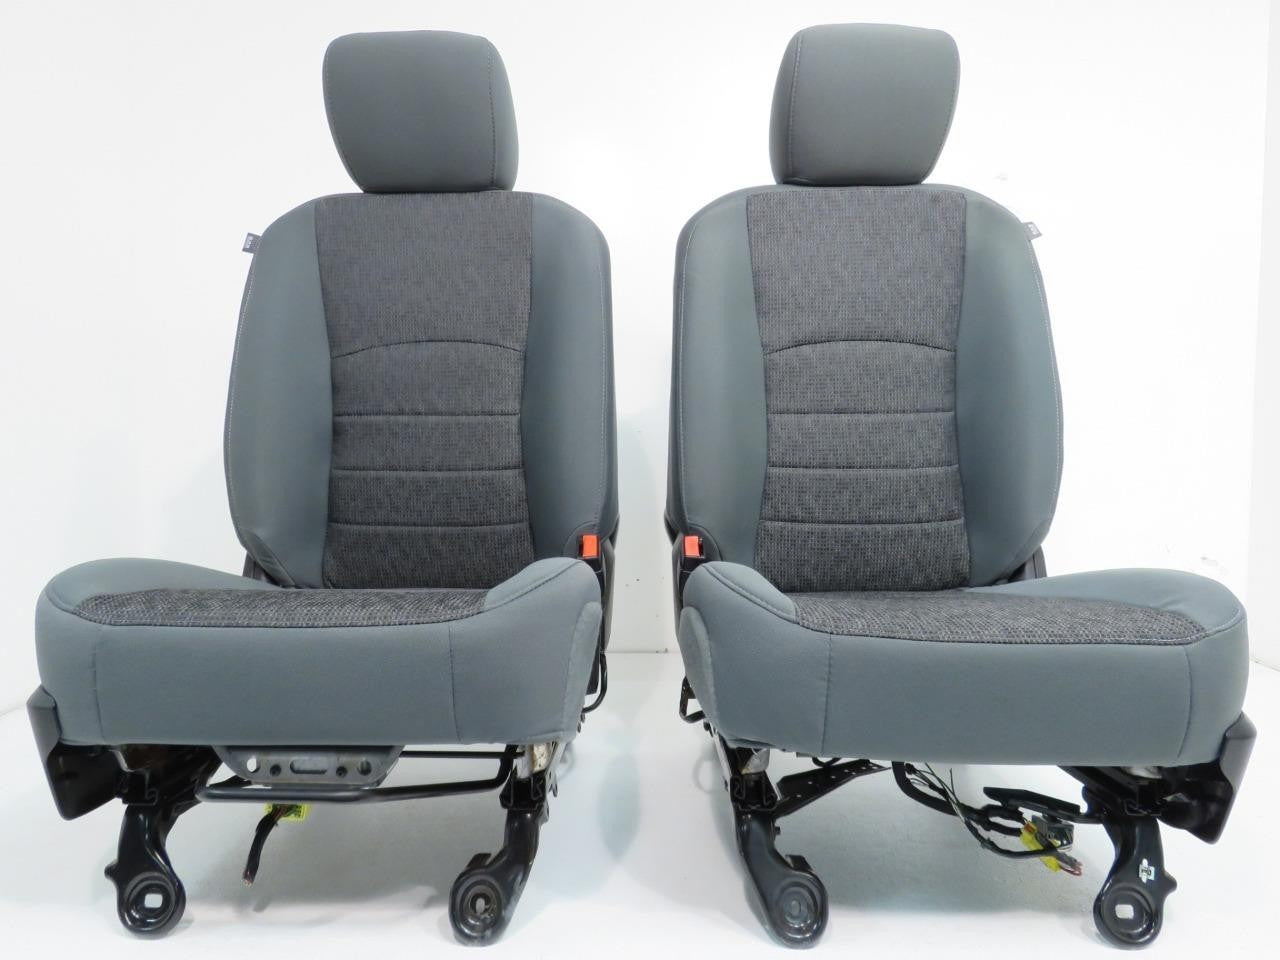
Seating Options for 2021 - 2025
Applicable vehicles
- 2021 Ram 1500 Classic
- 2022 Ram 1500 Classic
- 2023 Ram 1500 Classic
- 2024 Ram 1500 Classic
- 2025 Ram 1500 Classic
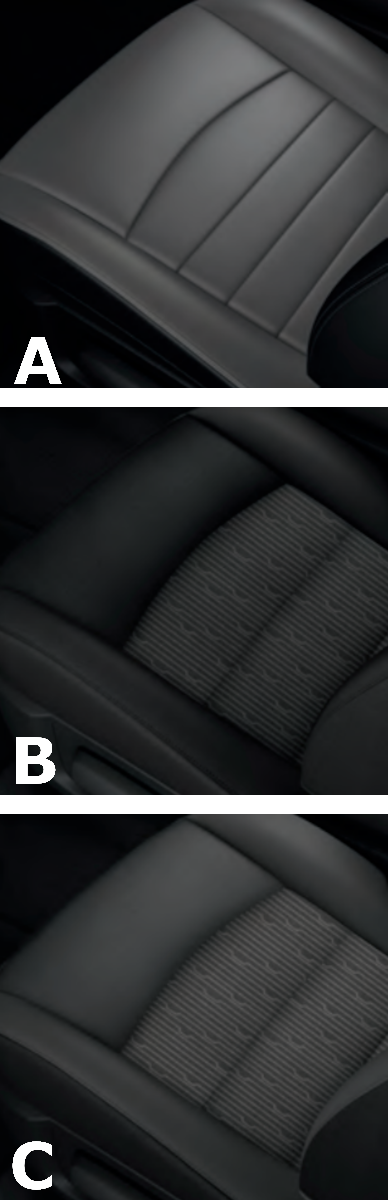
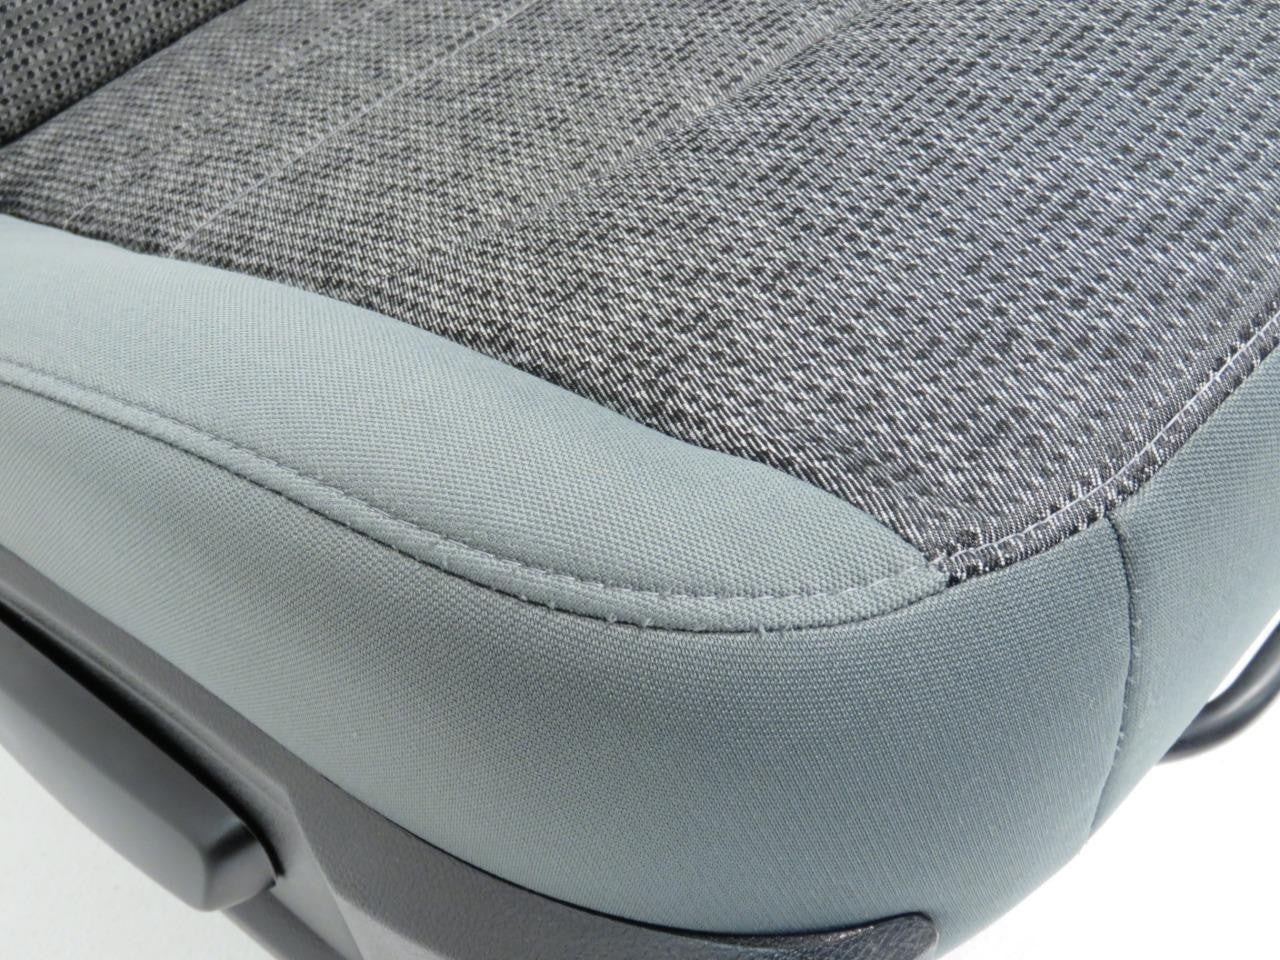
These seats, while retaining the same color schemes, had updated materials with black accents for all color schemes.
A. Vinyl. Diesel Gray (Tradesman, Express)
B. Sedoso/Alloy Cloth. Black (ST, Tradesman, Express)
C. Sedoso/Alloy Cloth. Diesel Gray (ST, Tradesman, Express)
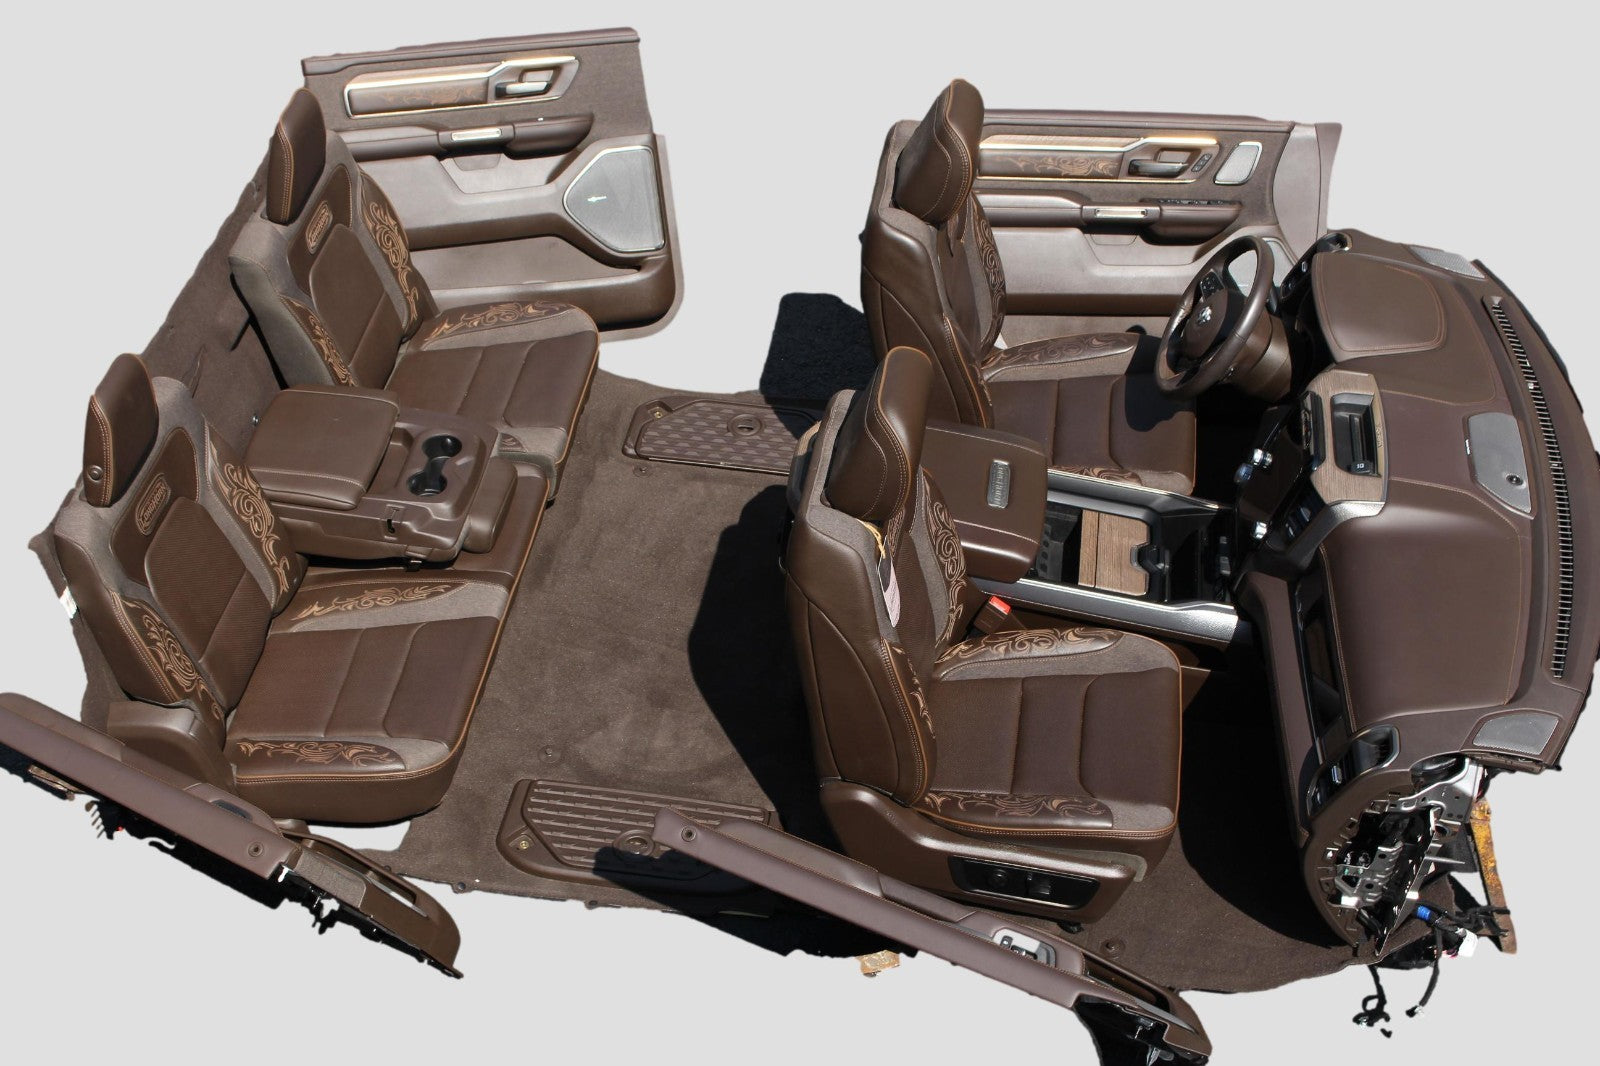
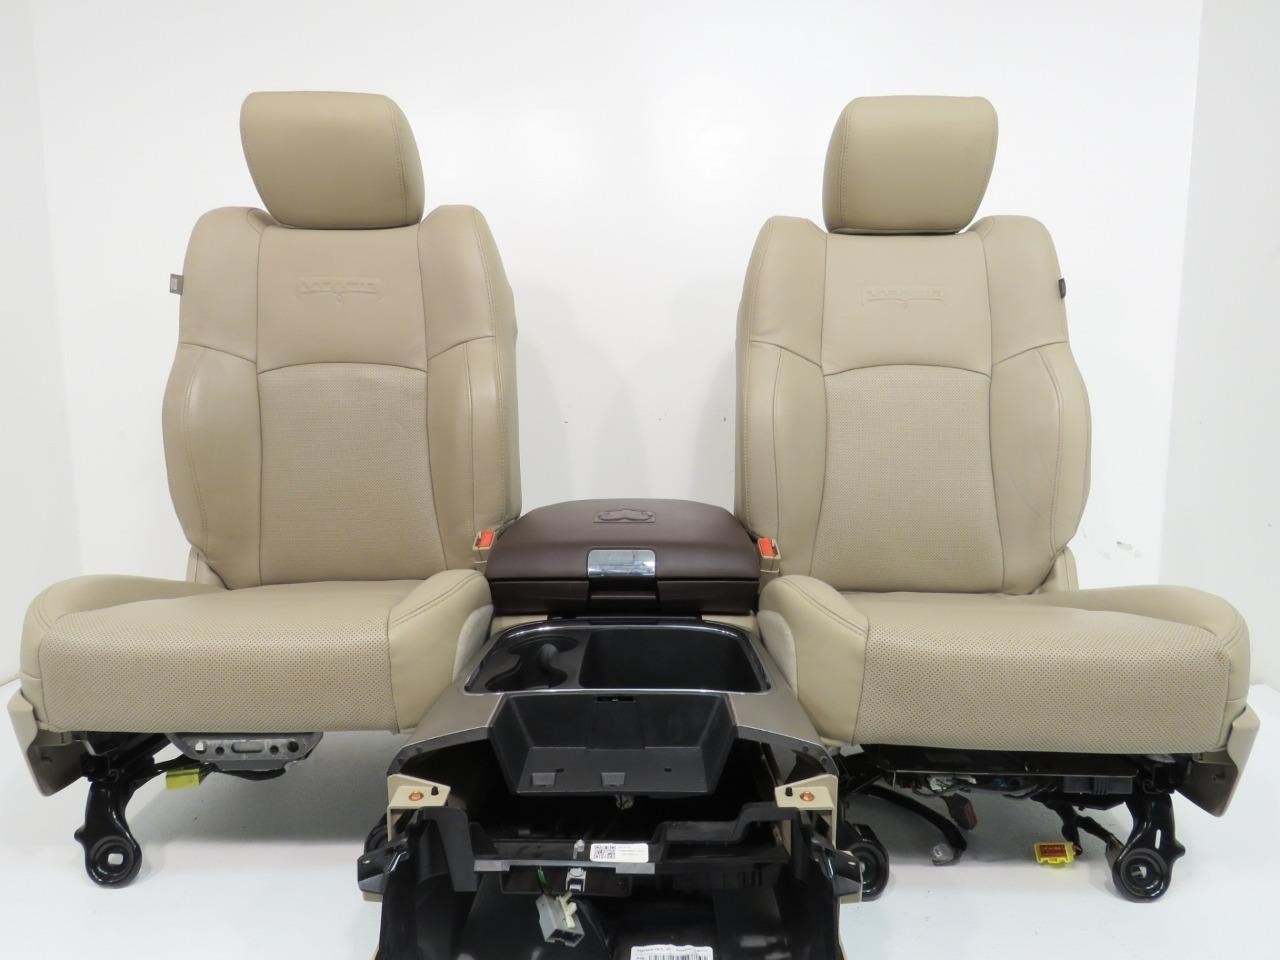
Ram 1500 Classic Suggested Interior Upgrades
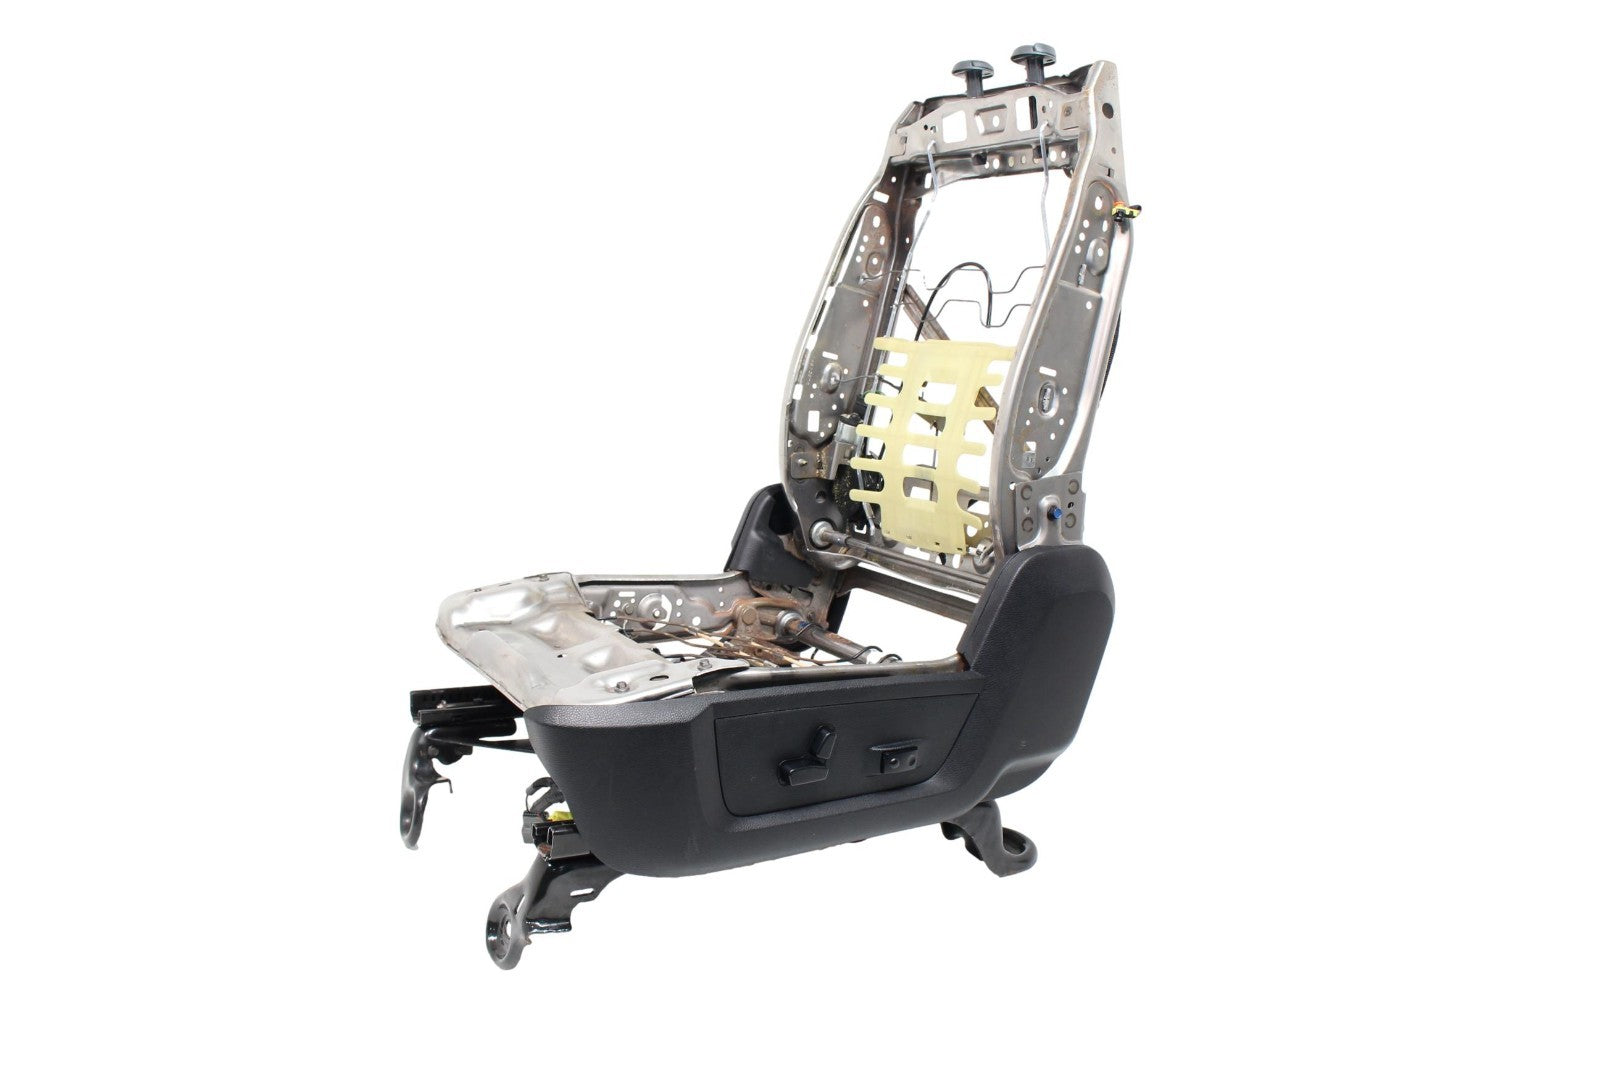
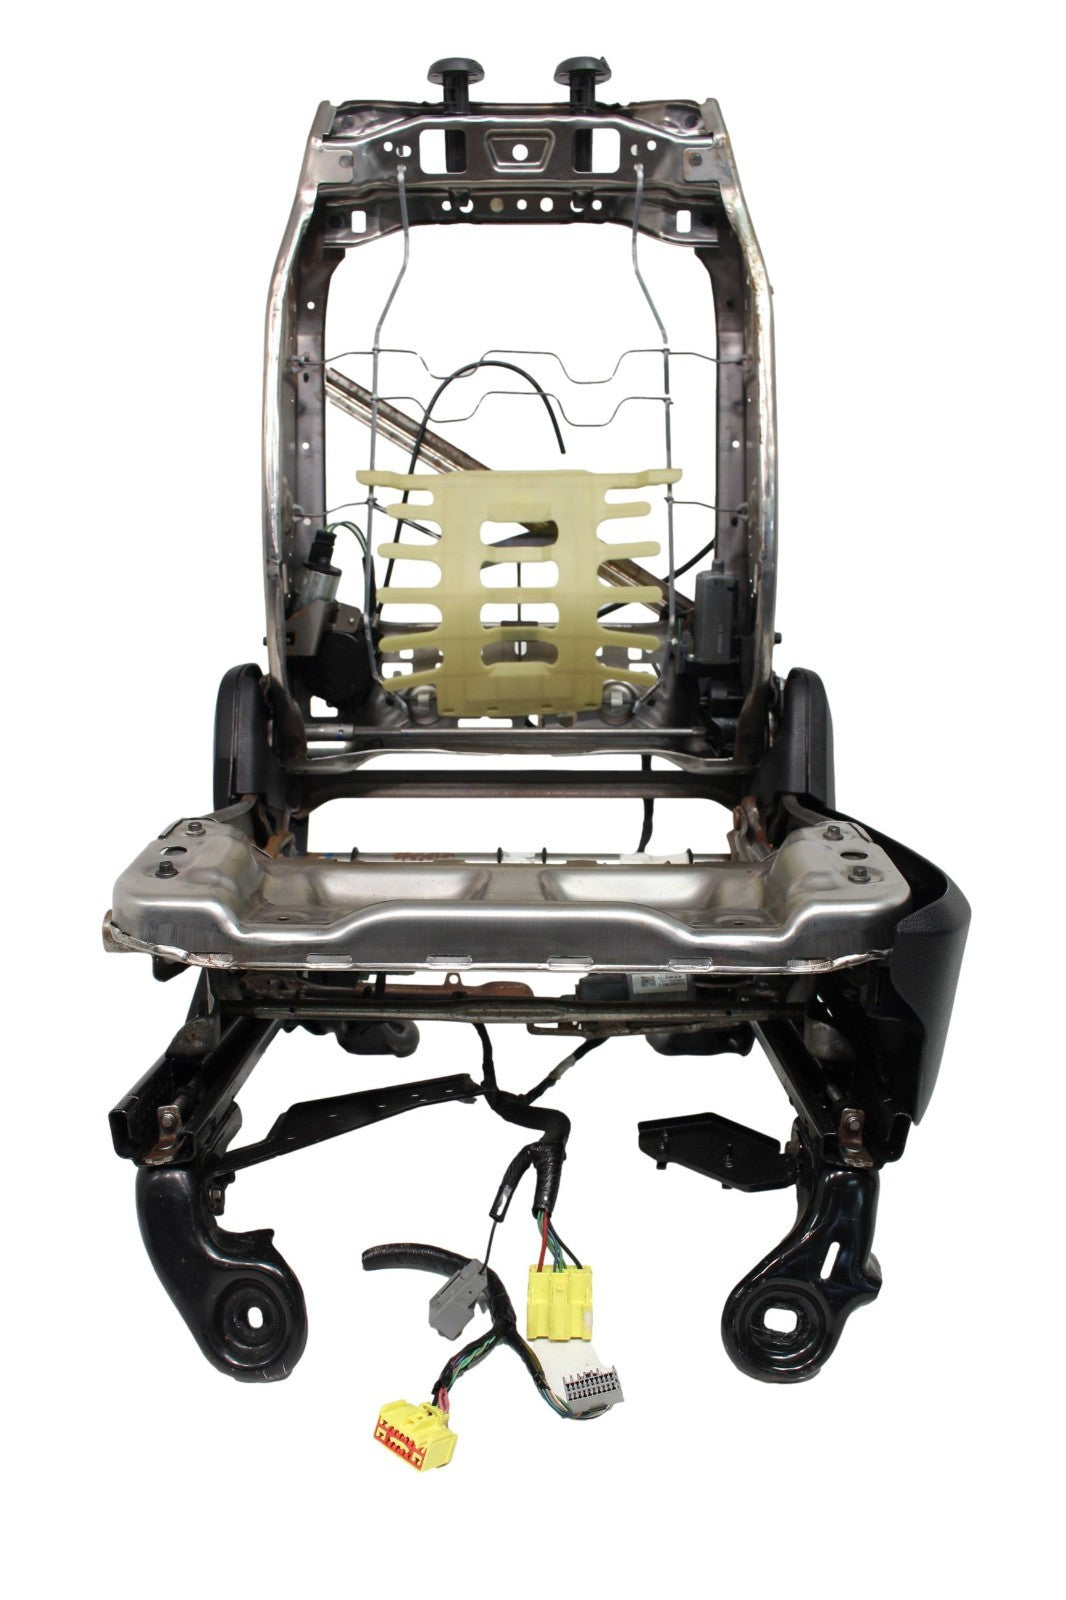
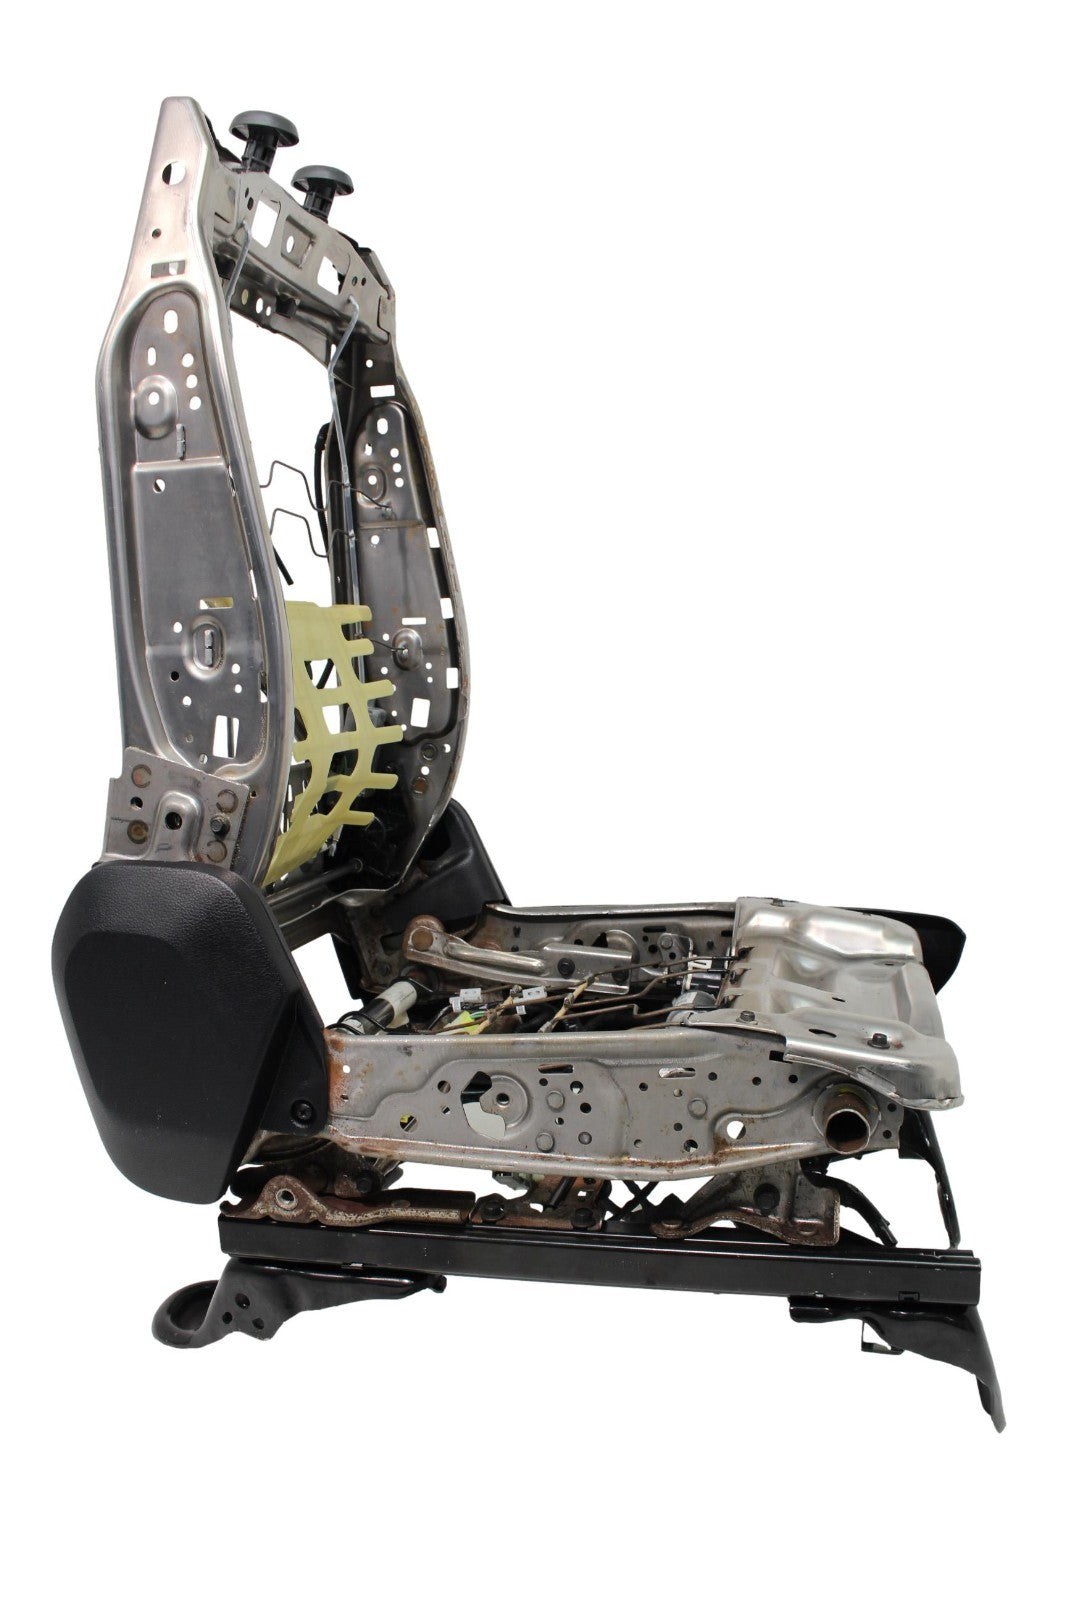
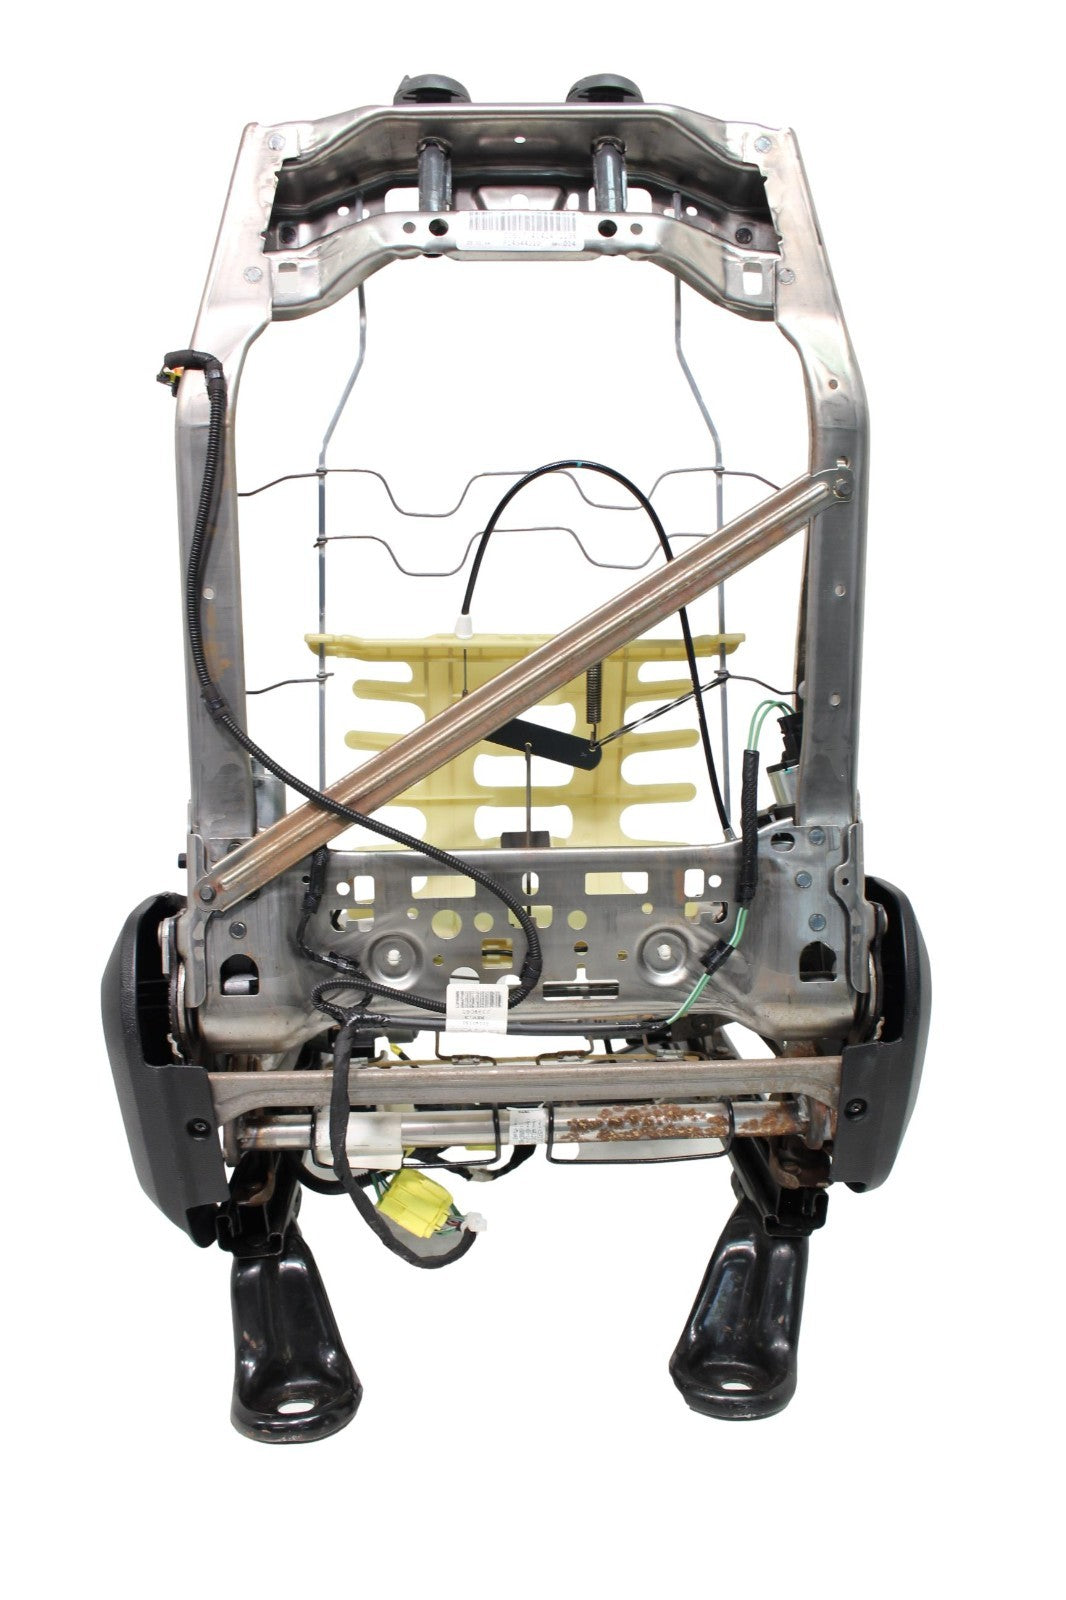
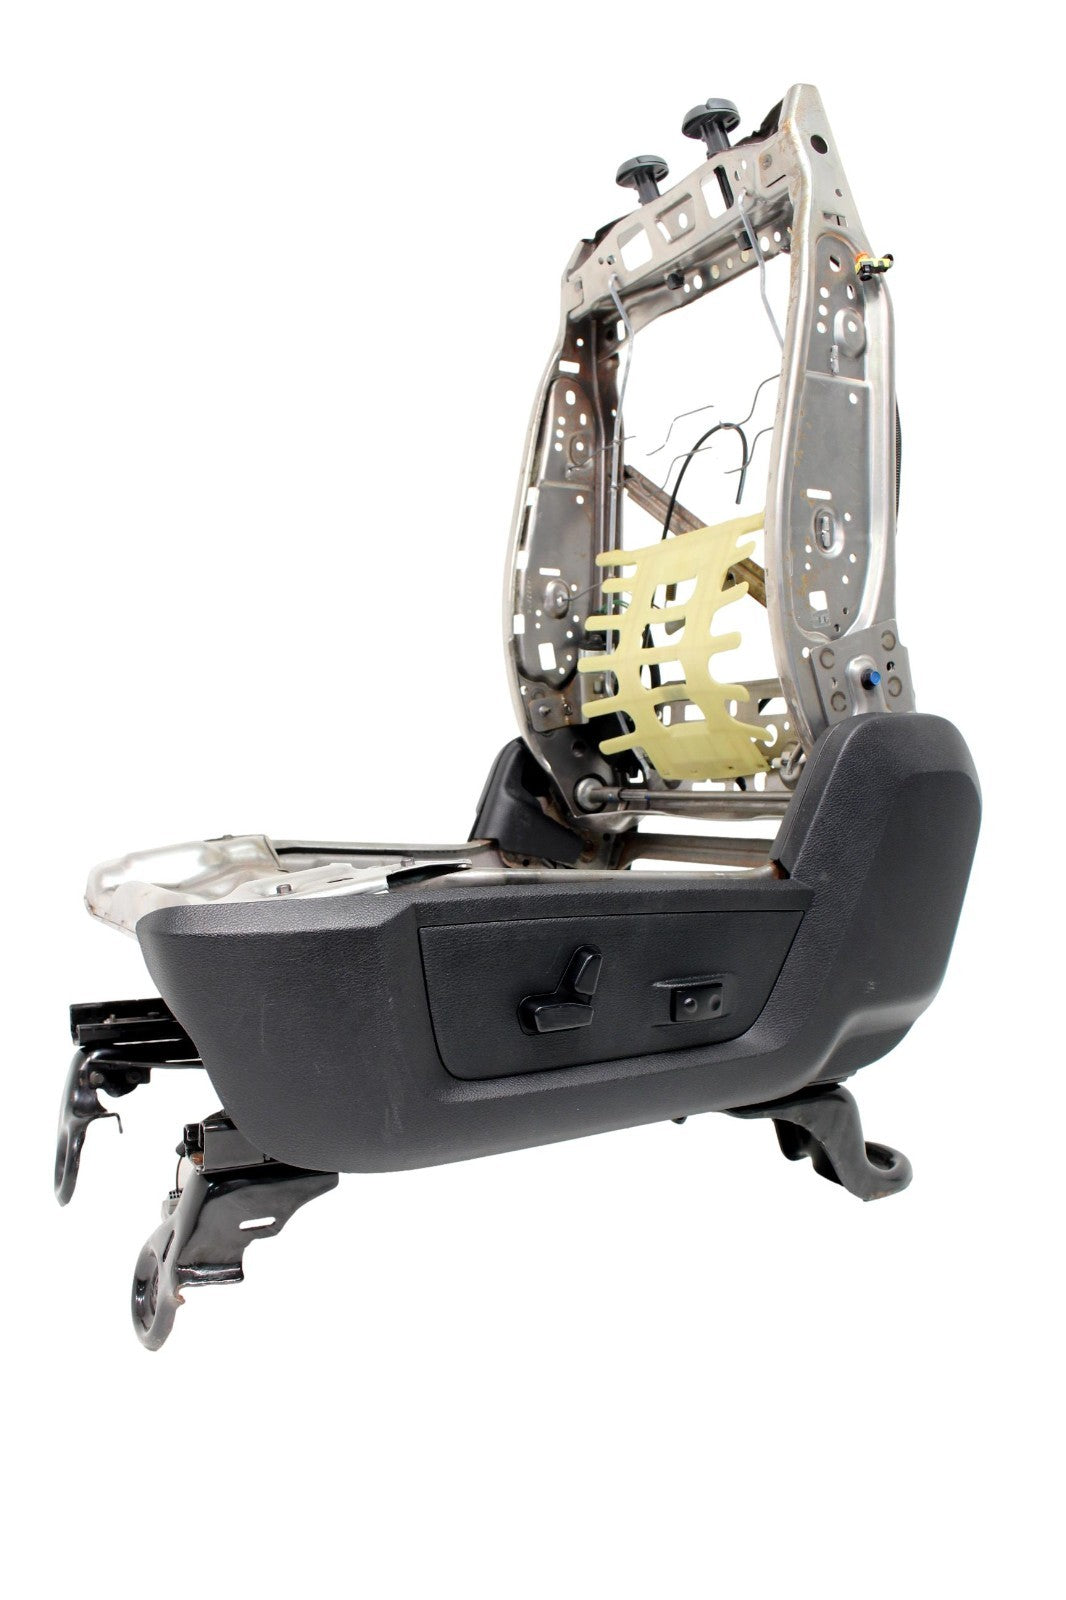
Ram Power Driver Seat Conversions
Love your work truck but need some more adjustability?
Convert your driver seat to power and pay hundreds less than replacing your entire front row.
Parts List
You'll need all of the following from the donor vehicle.
- Driver Seat Track
- Driver Seat Leanback
- Driver Seat Cushion Harness
- Driver Seat Leanback Harness
- Driver Seat Floor Connector pigtail
- Lumbar Switch
We offer all of these components bundled together, tested, functional, and ready for installation.
Installation Process
The complete installation process for this conversion takes around 60 minutes.
If you don't have power seats you may need to run an additional 12 volt circuit underneath your seats to supply power to your new seats.
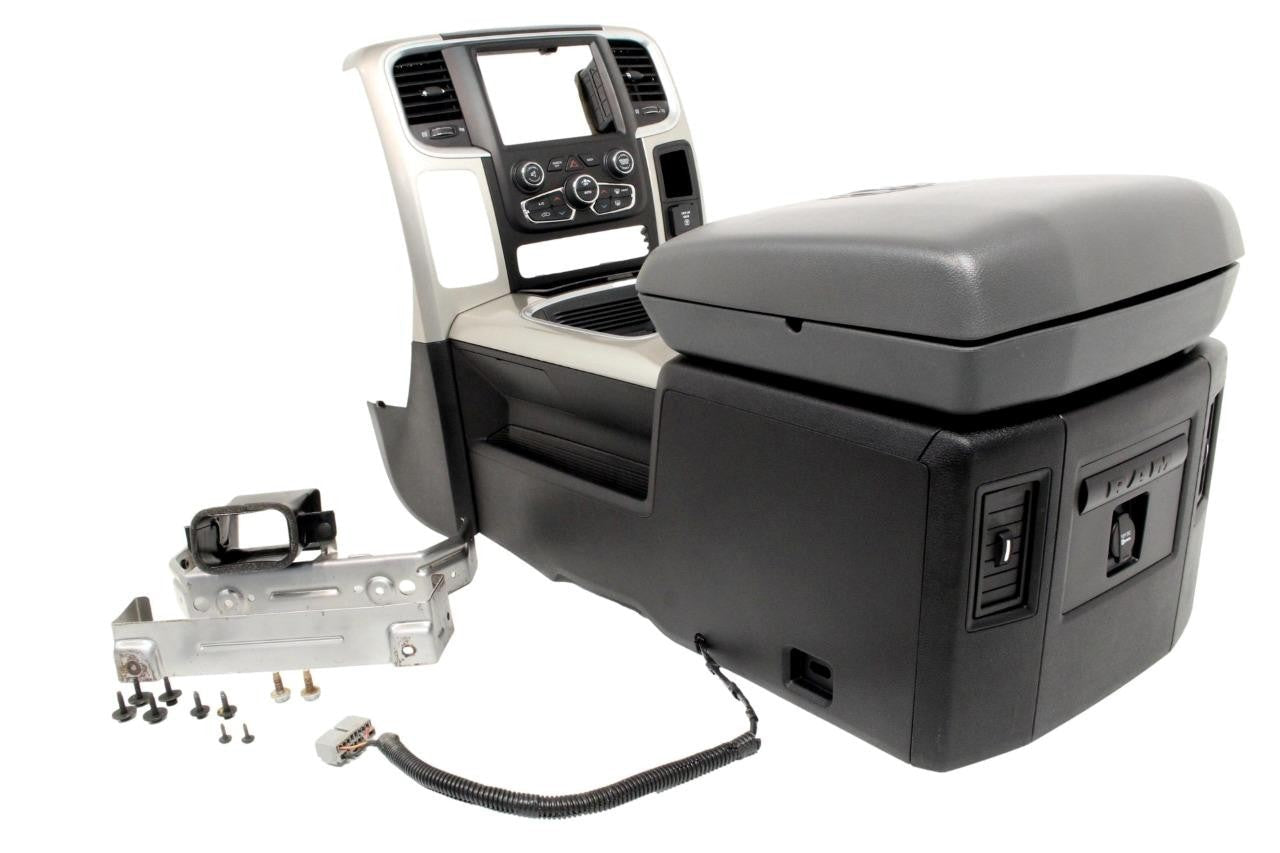
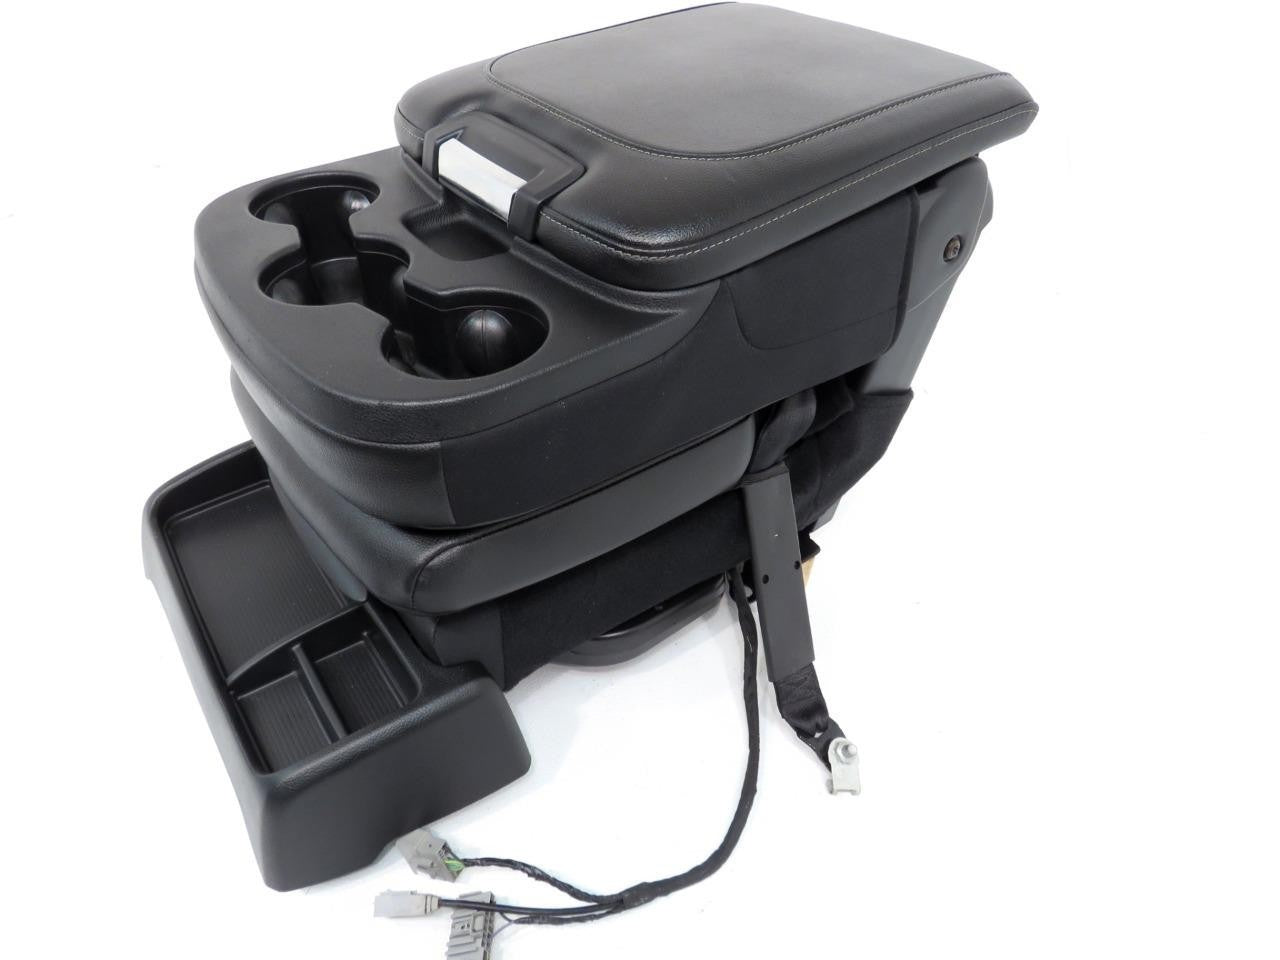
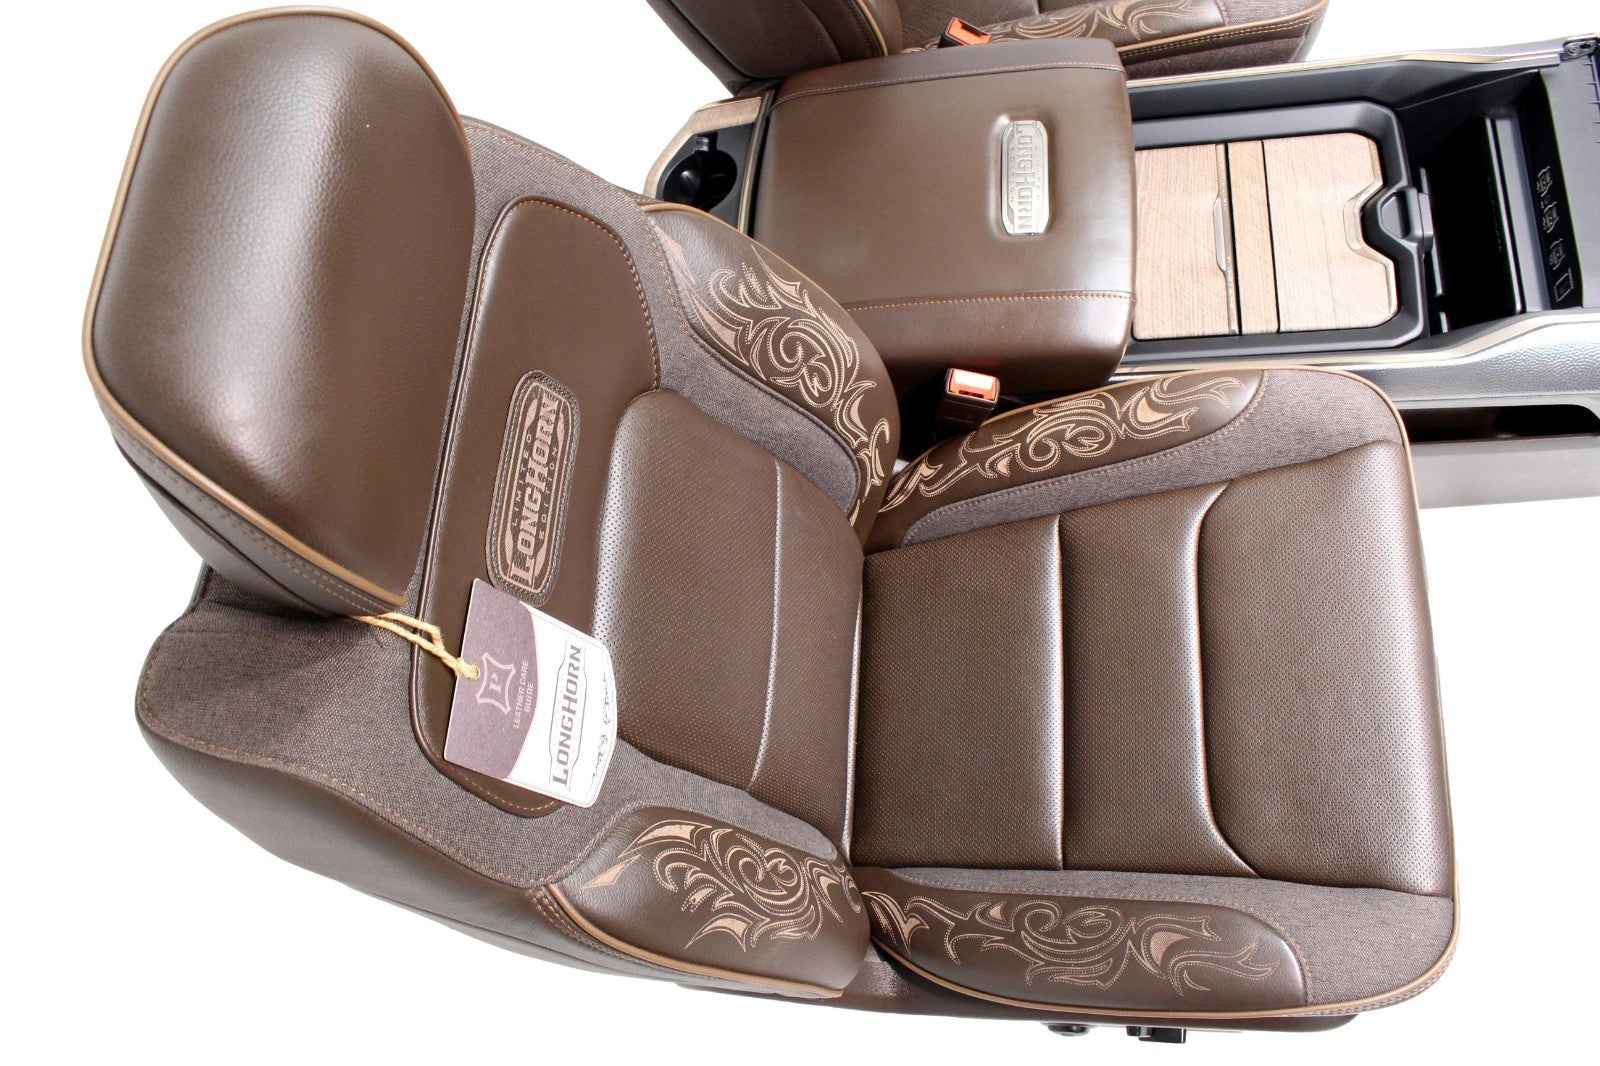
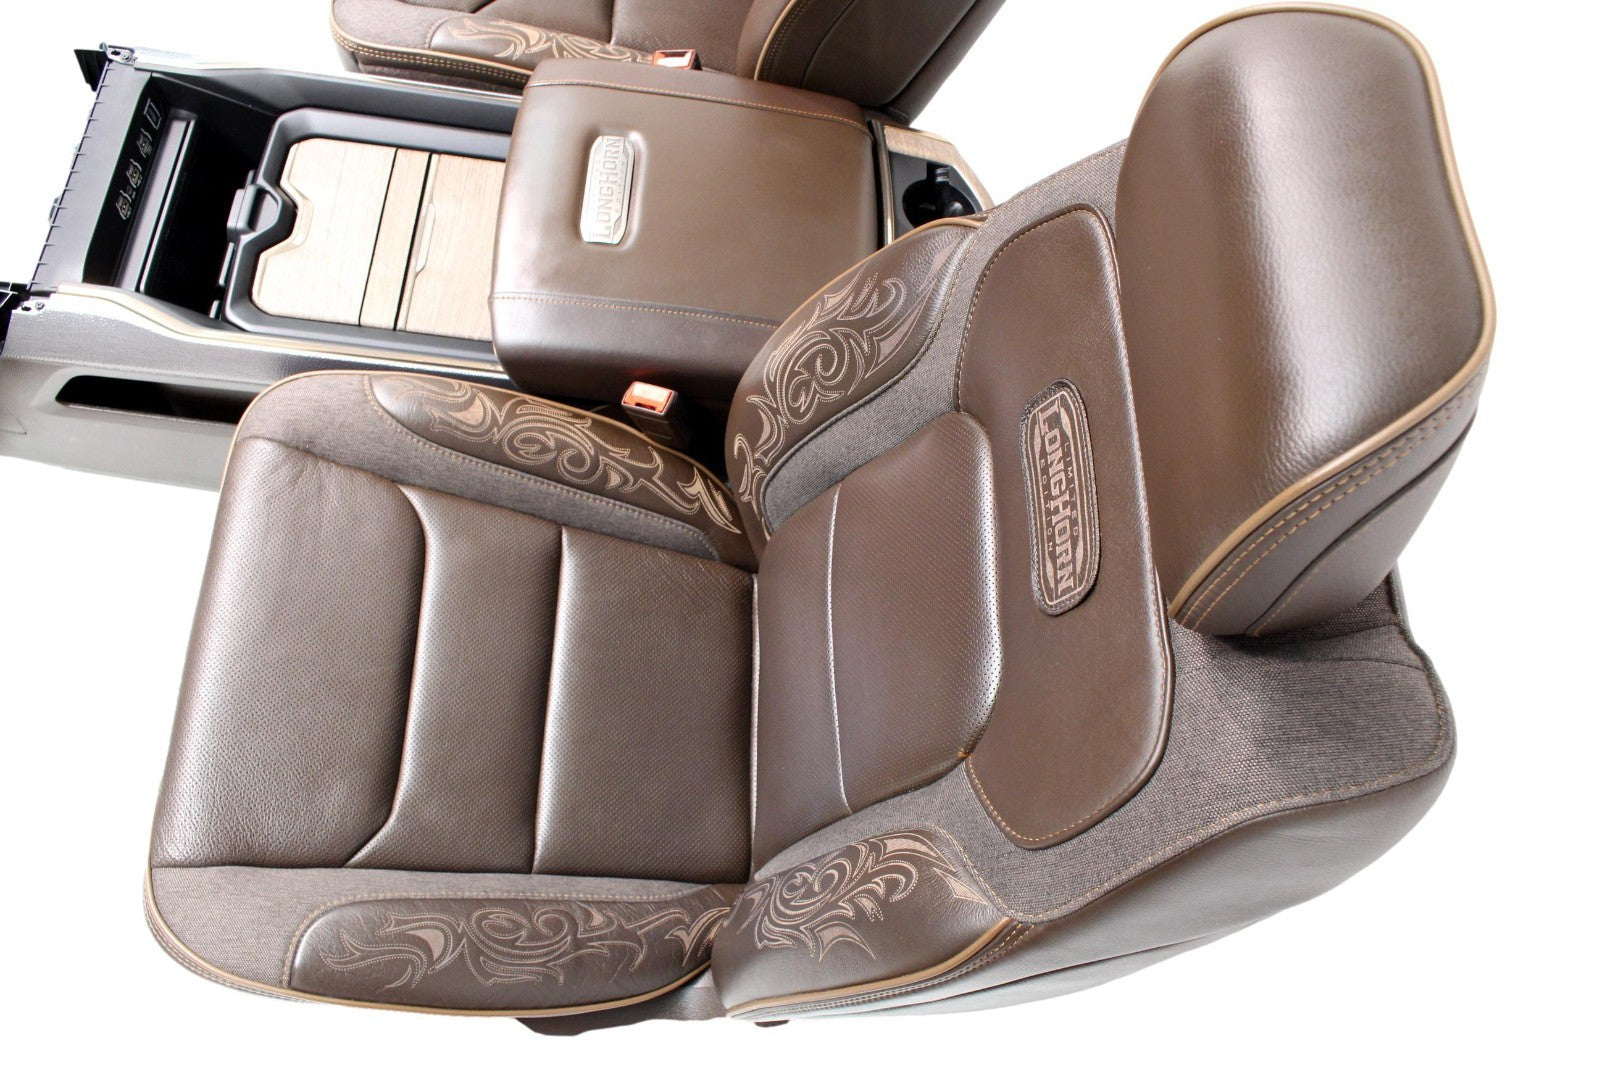
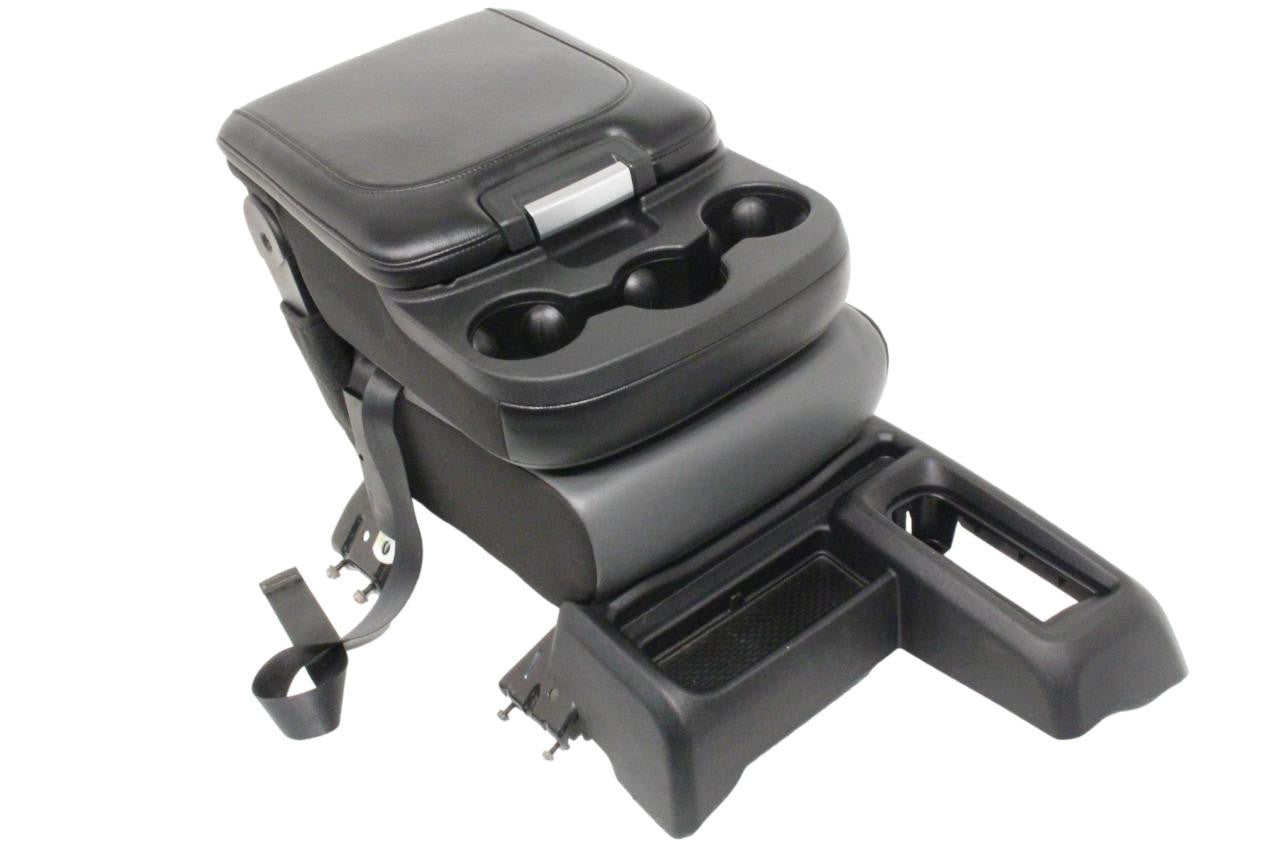
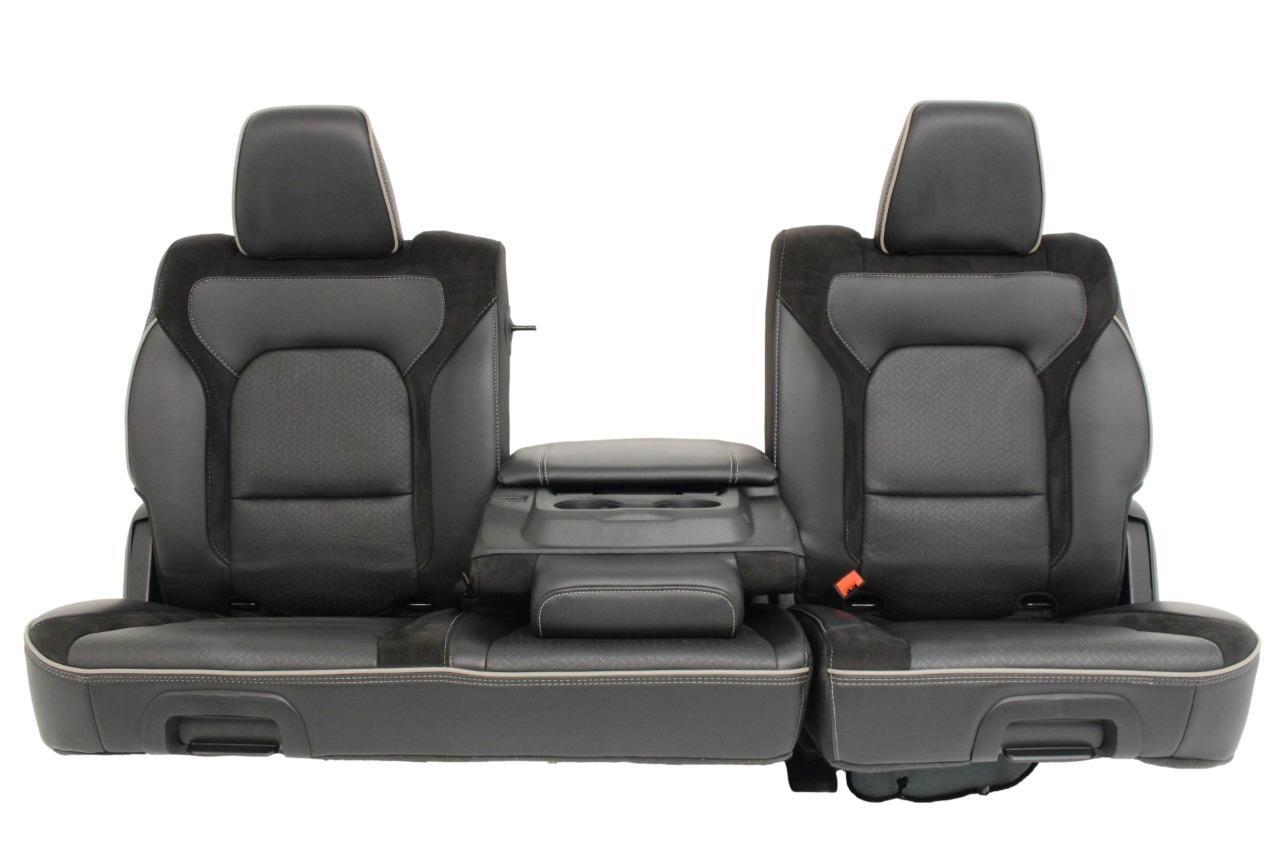
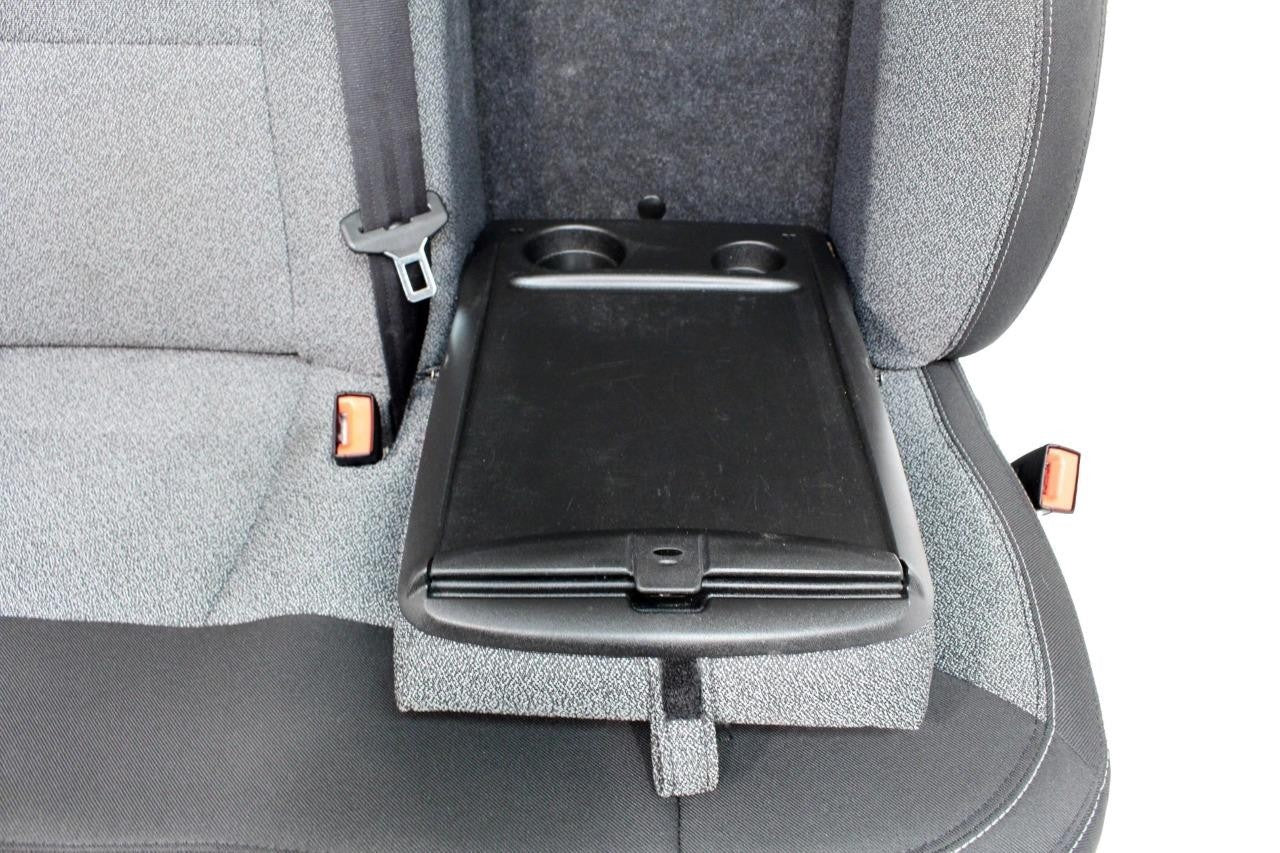
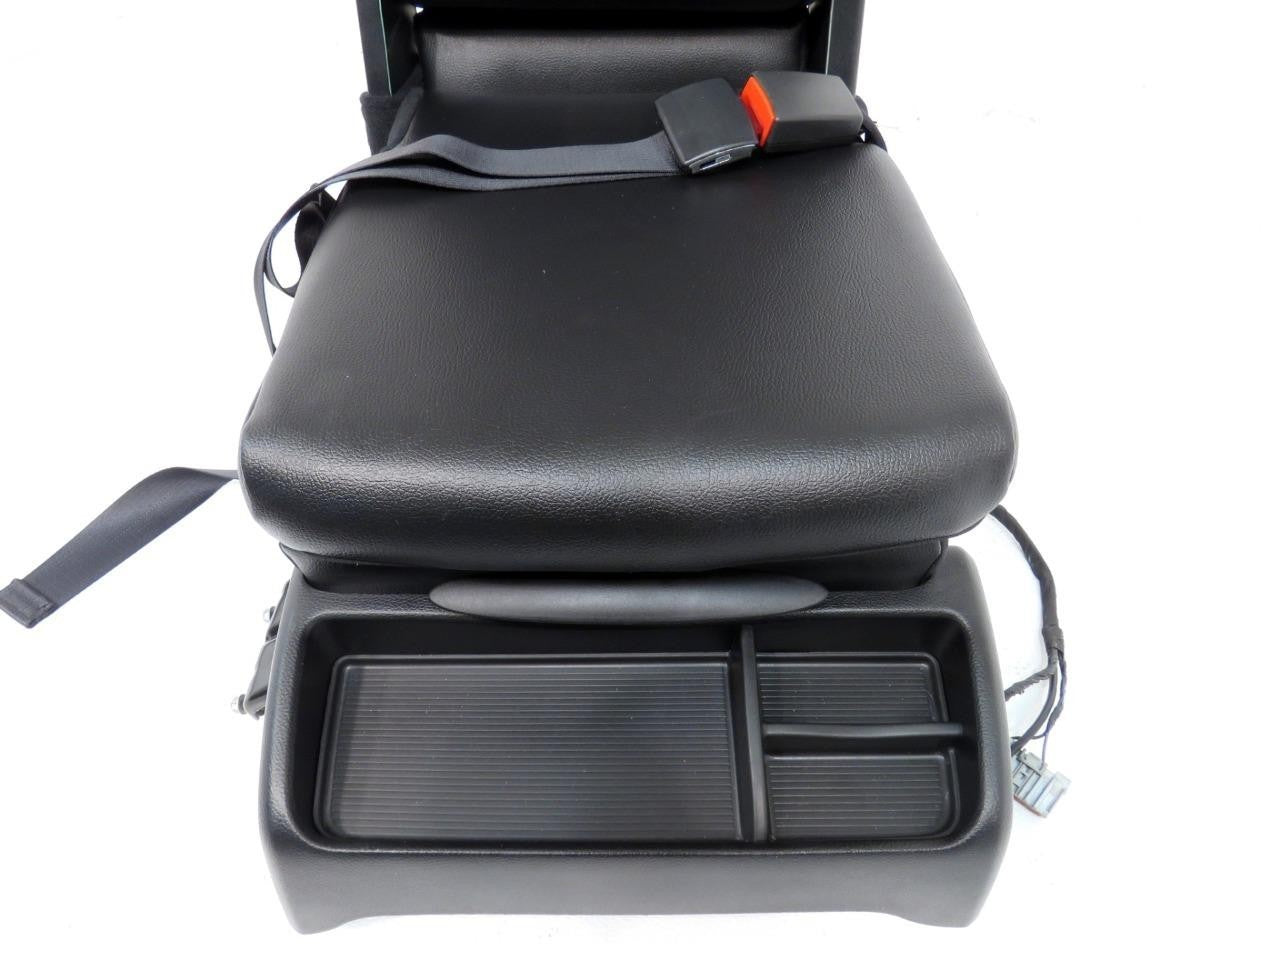
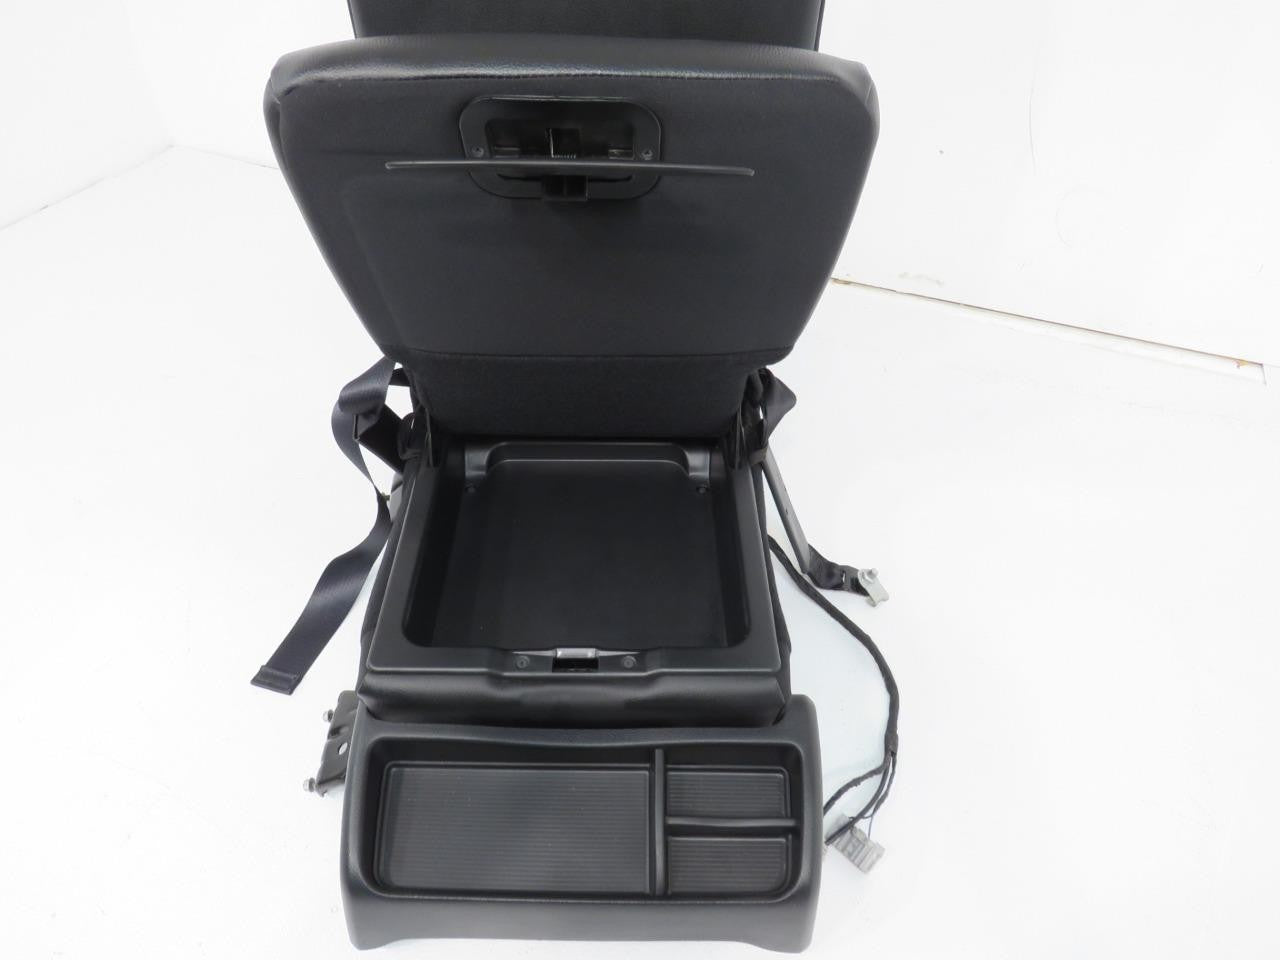
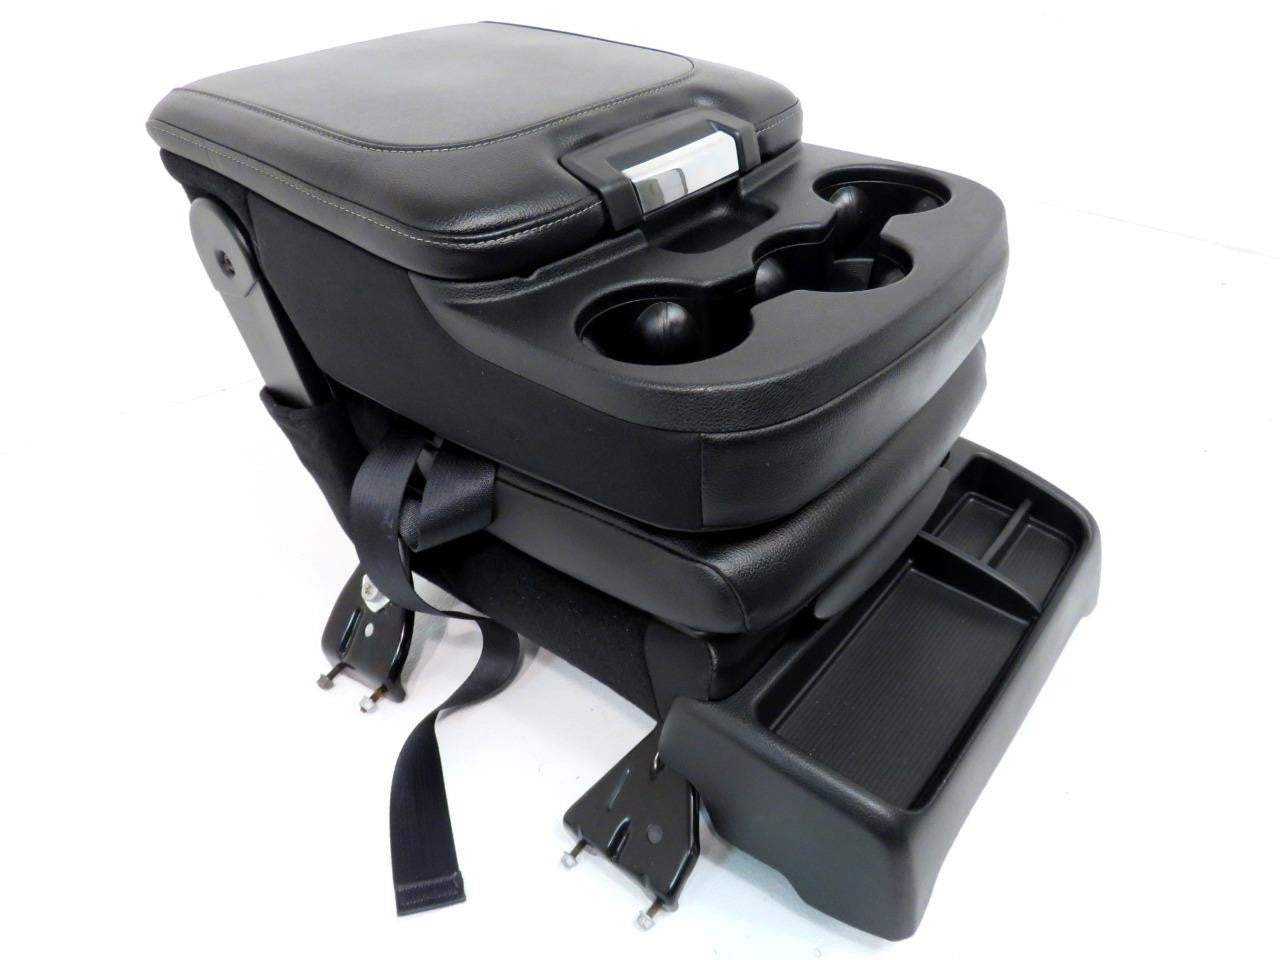
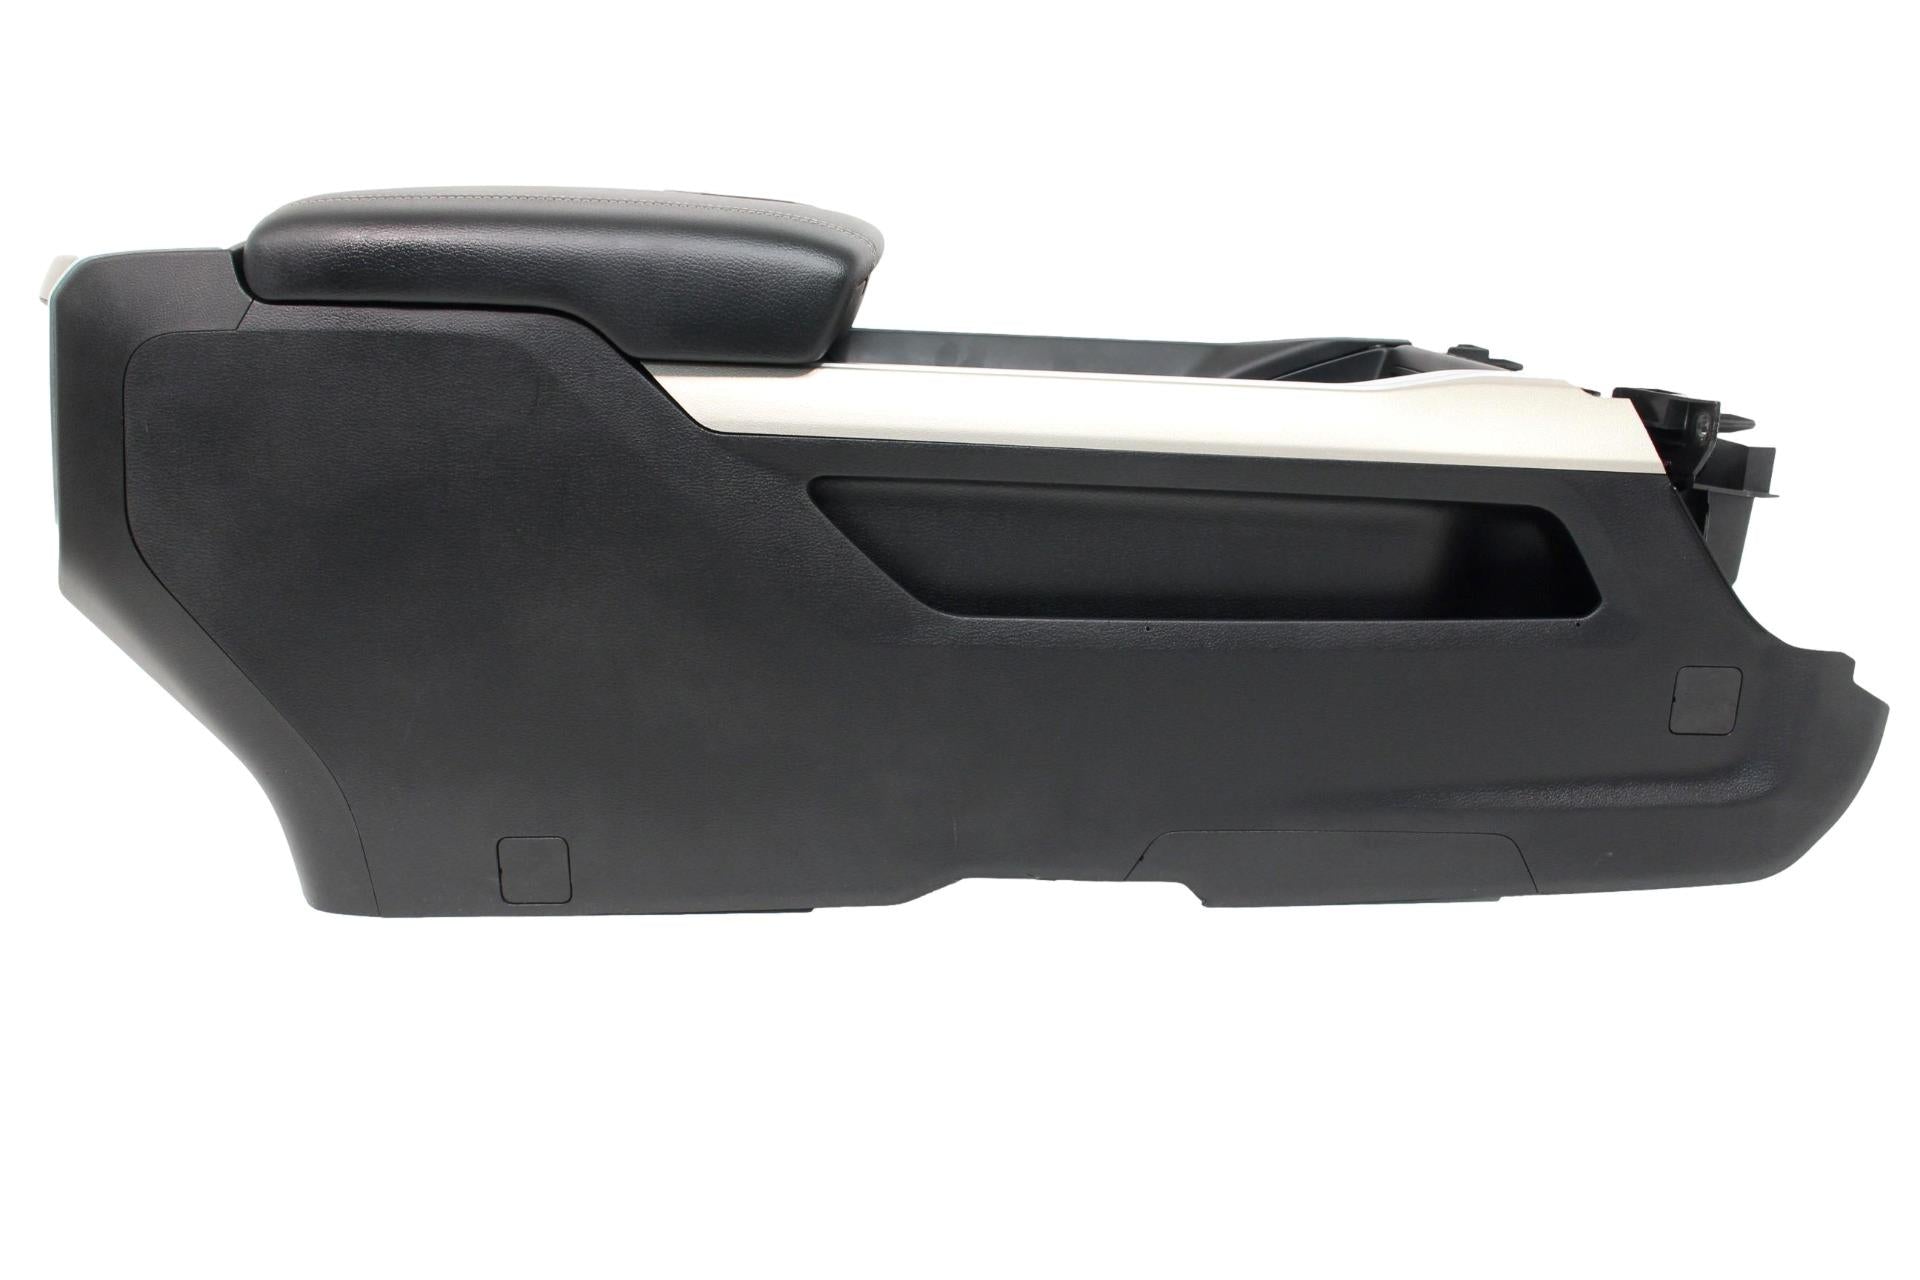
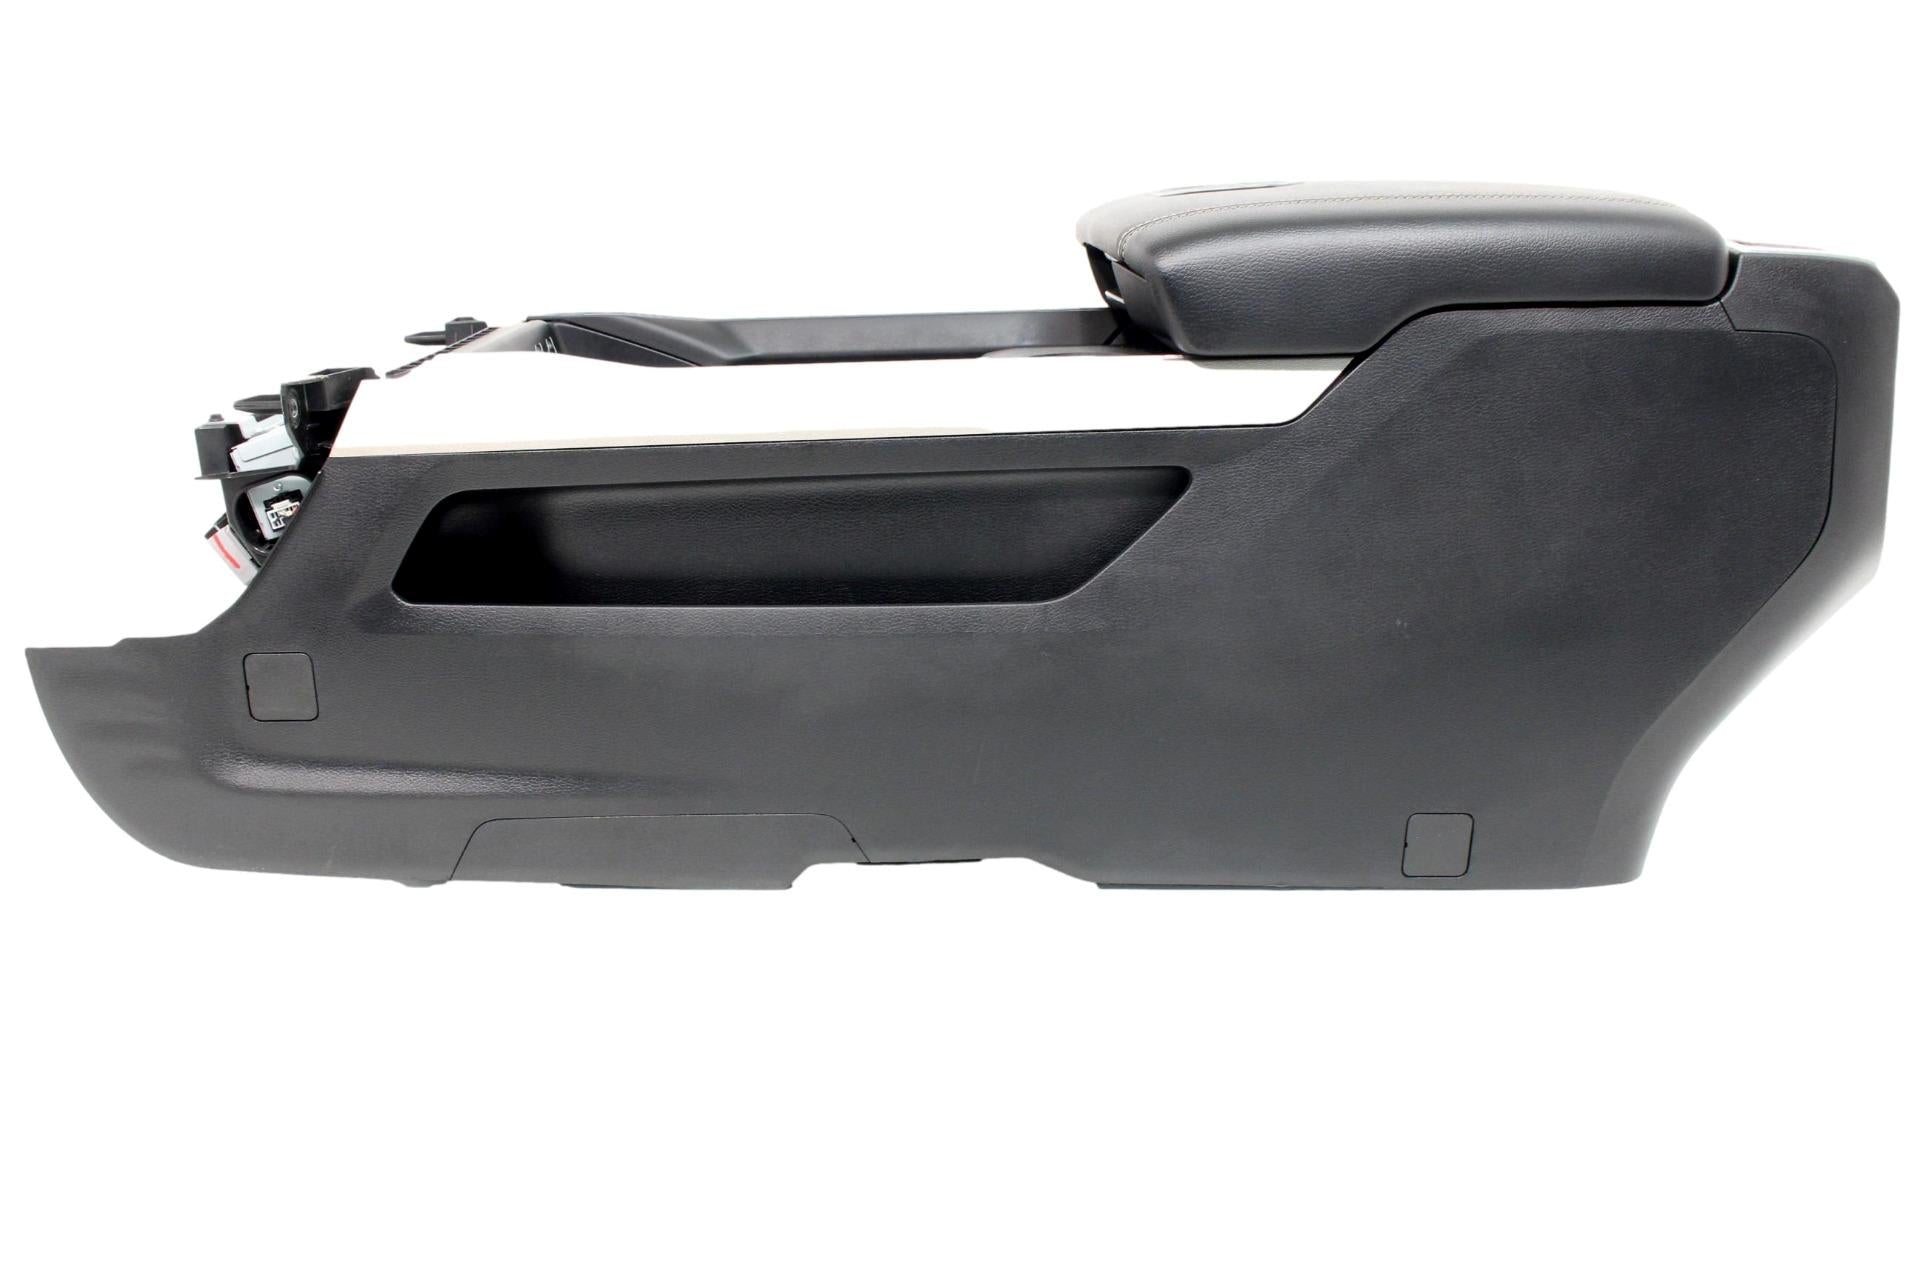
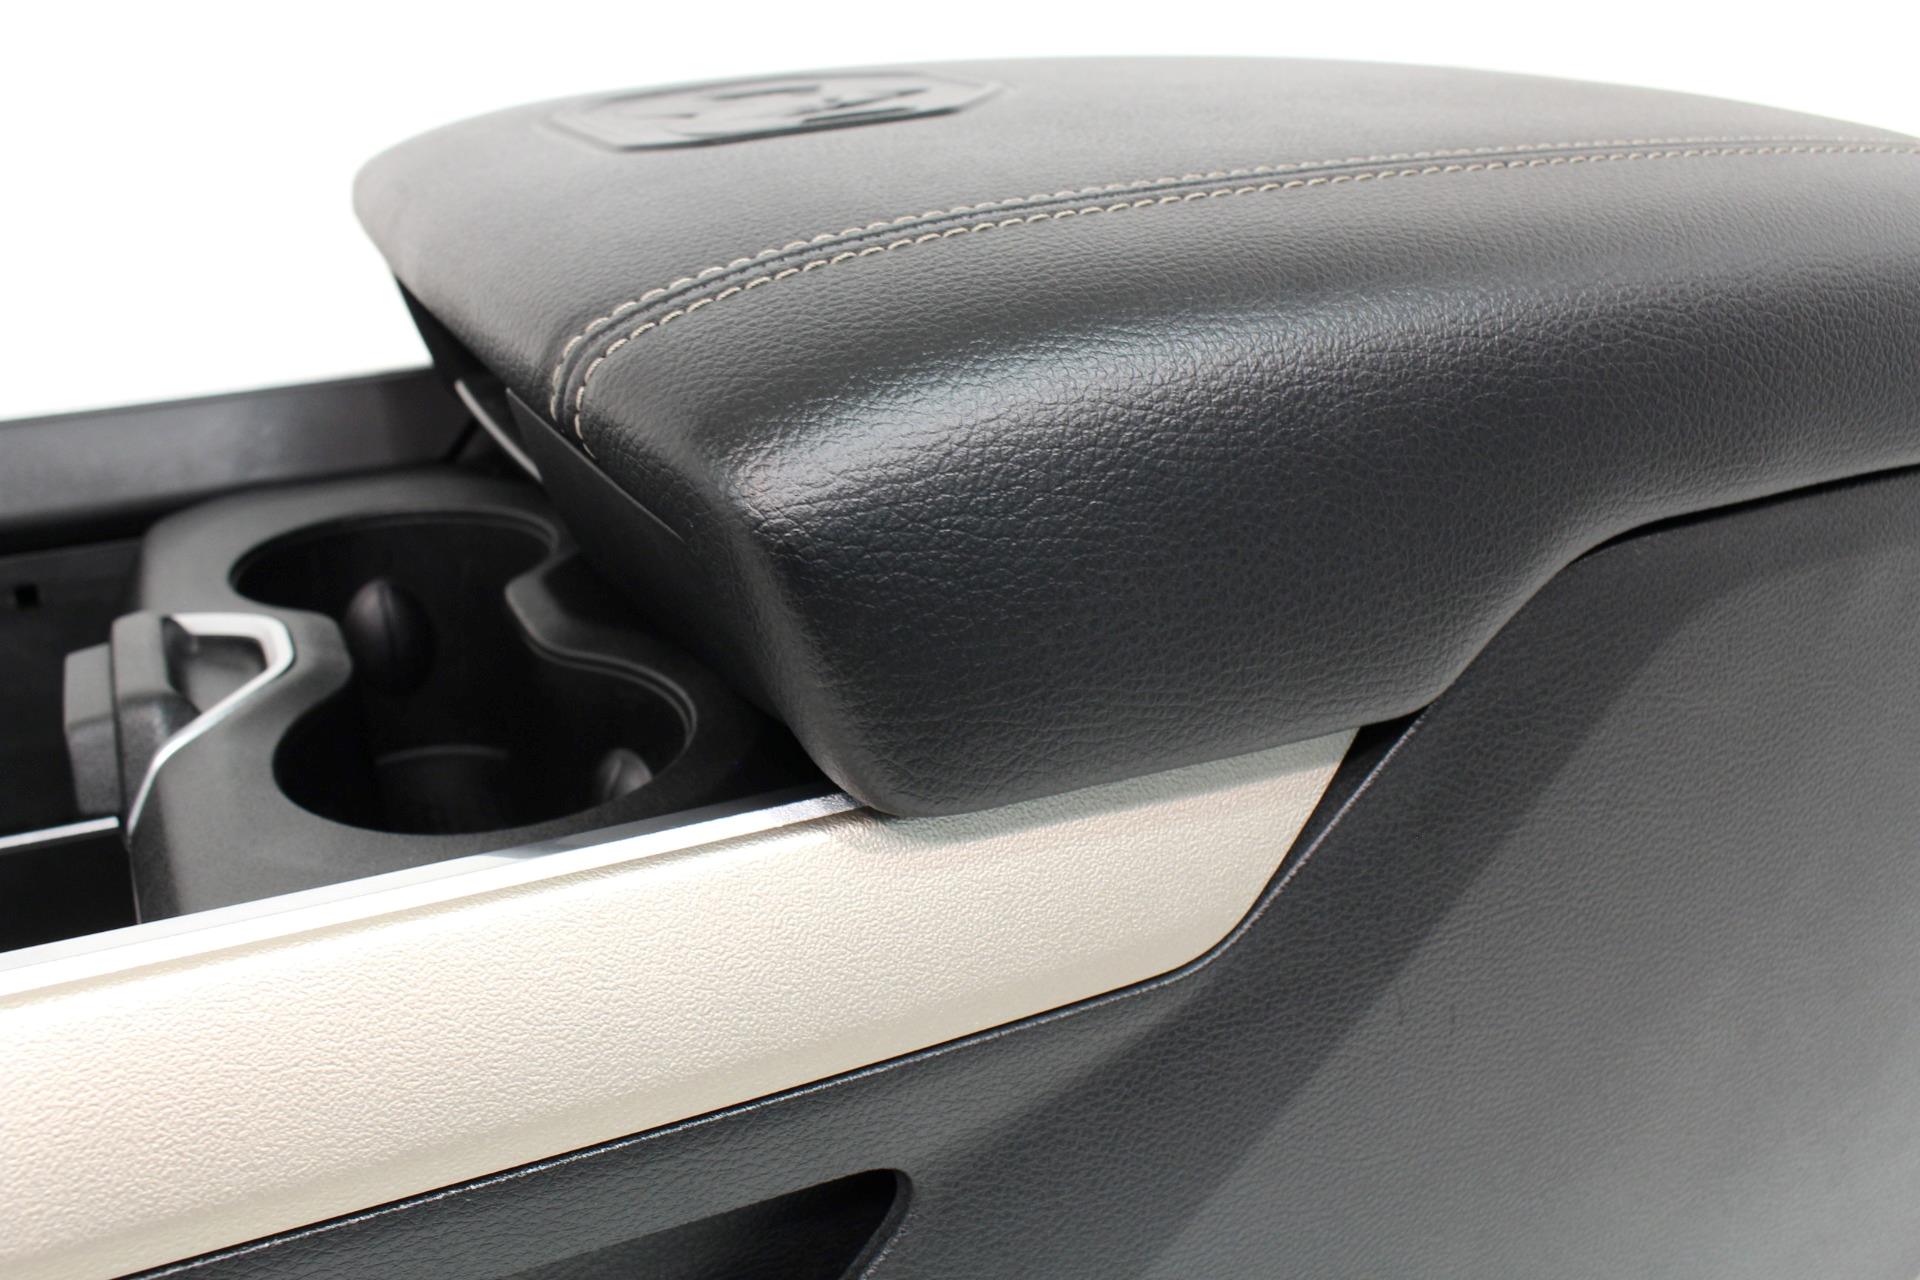
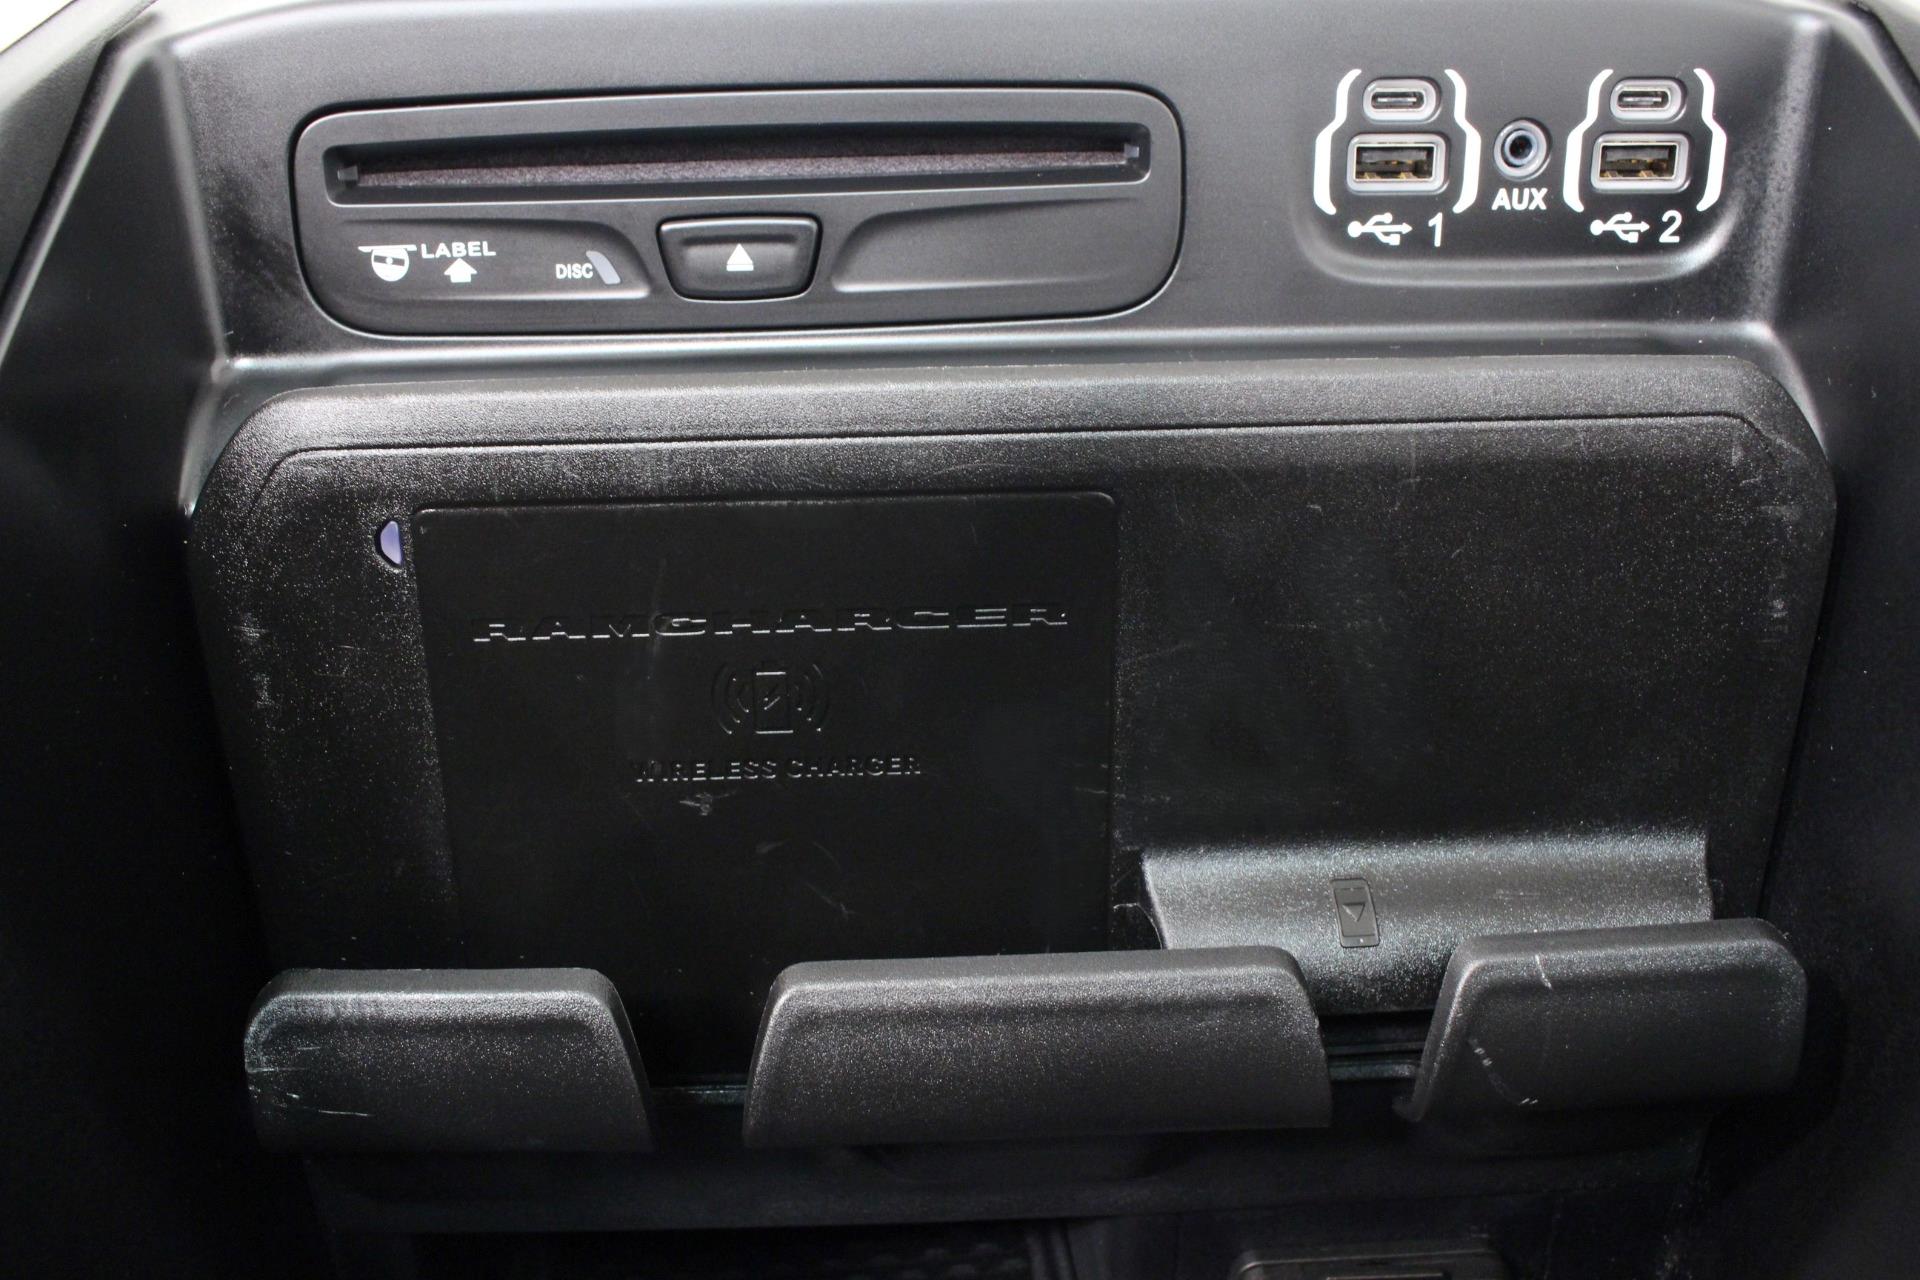
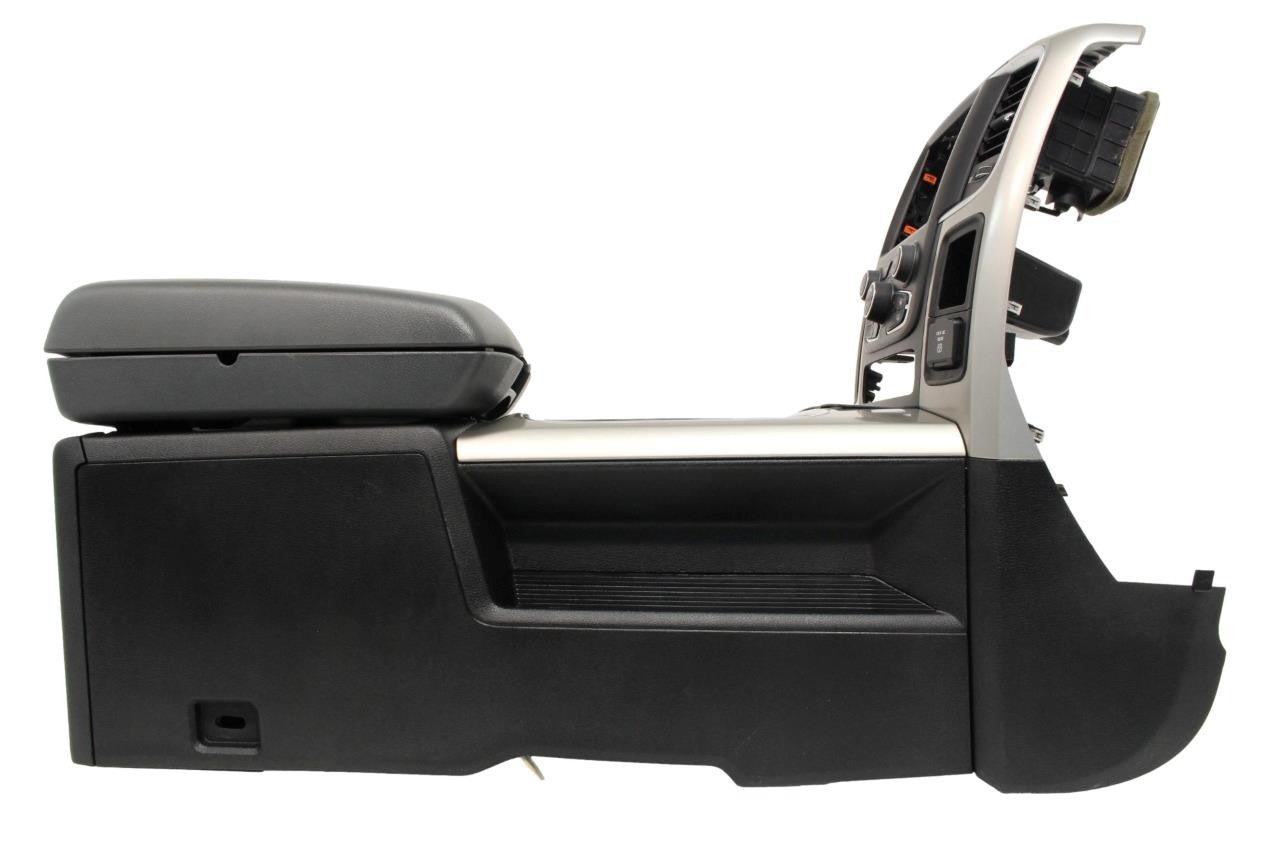
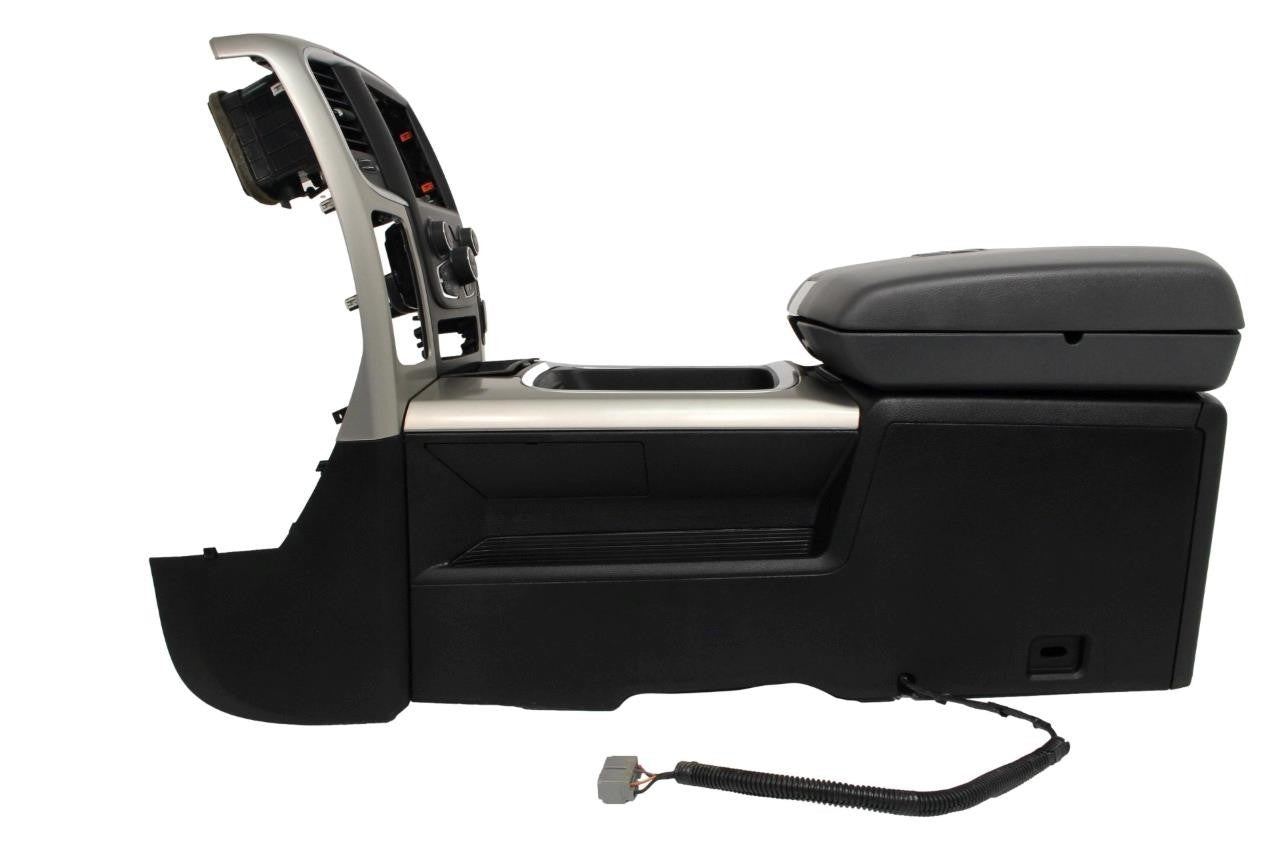
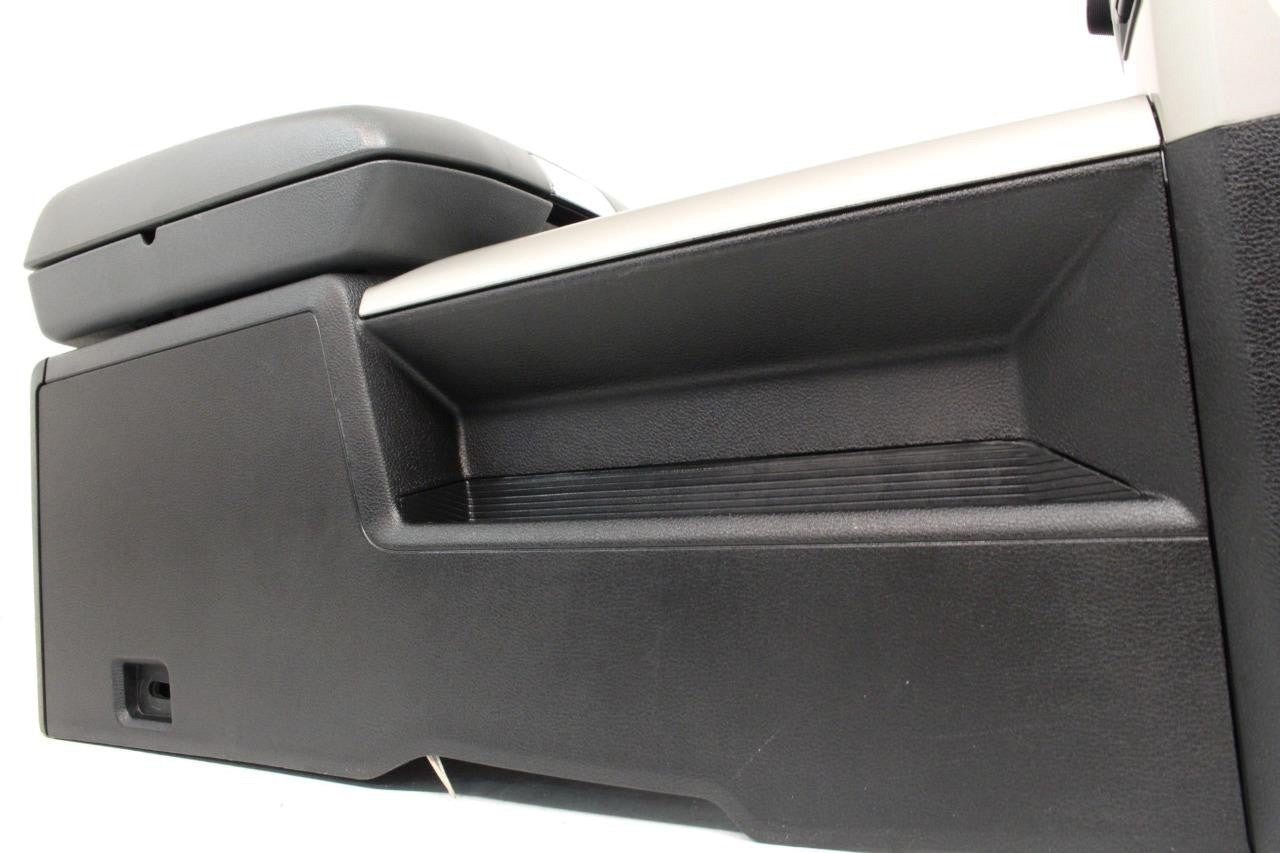
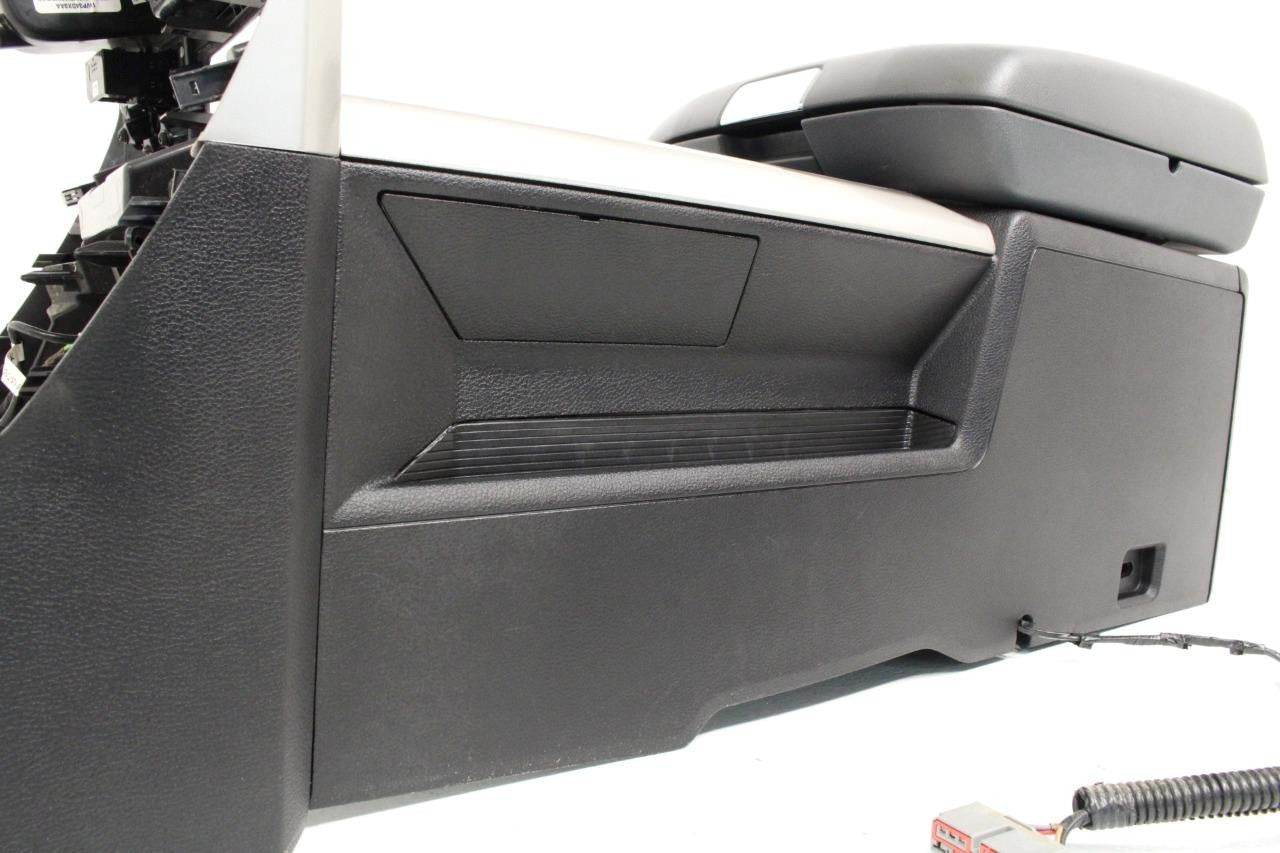
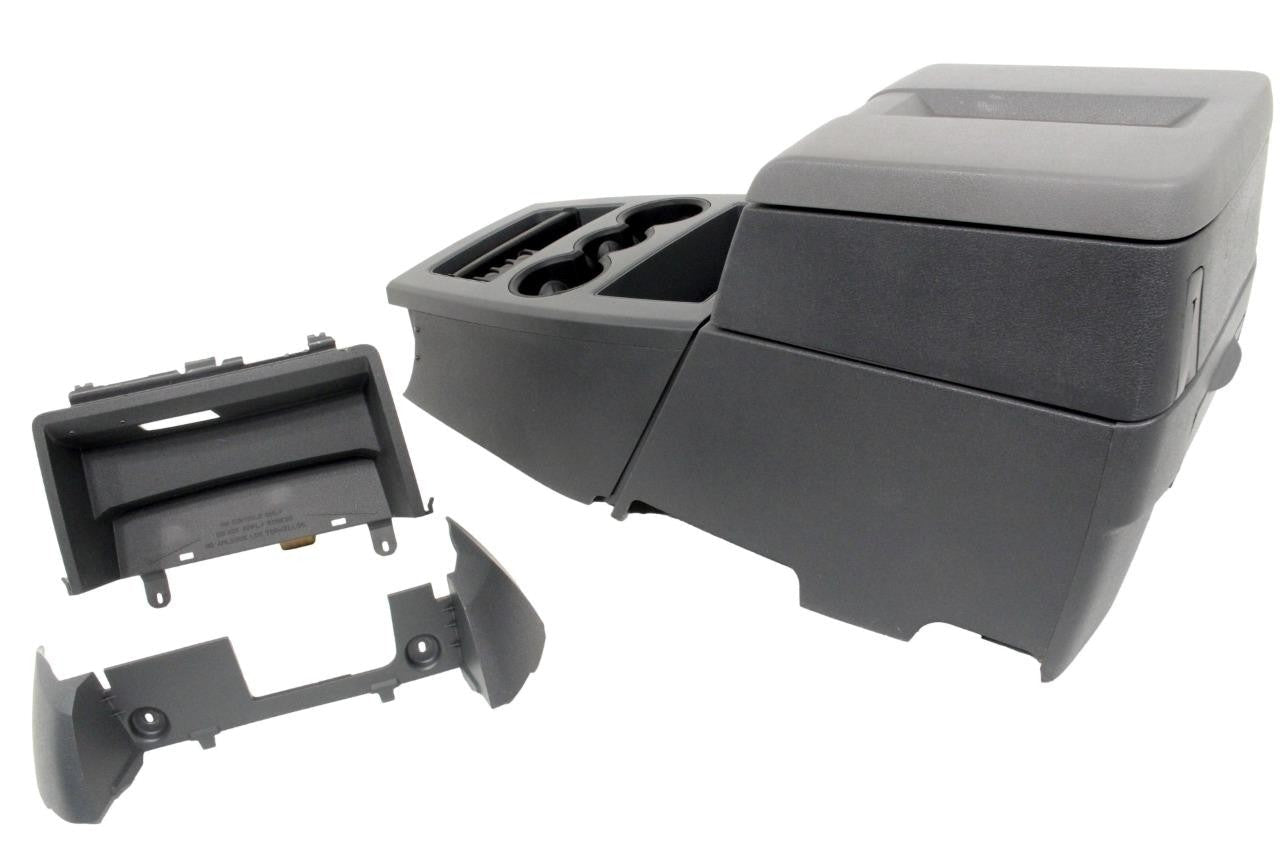
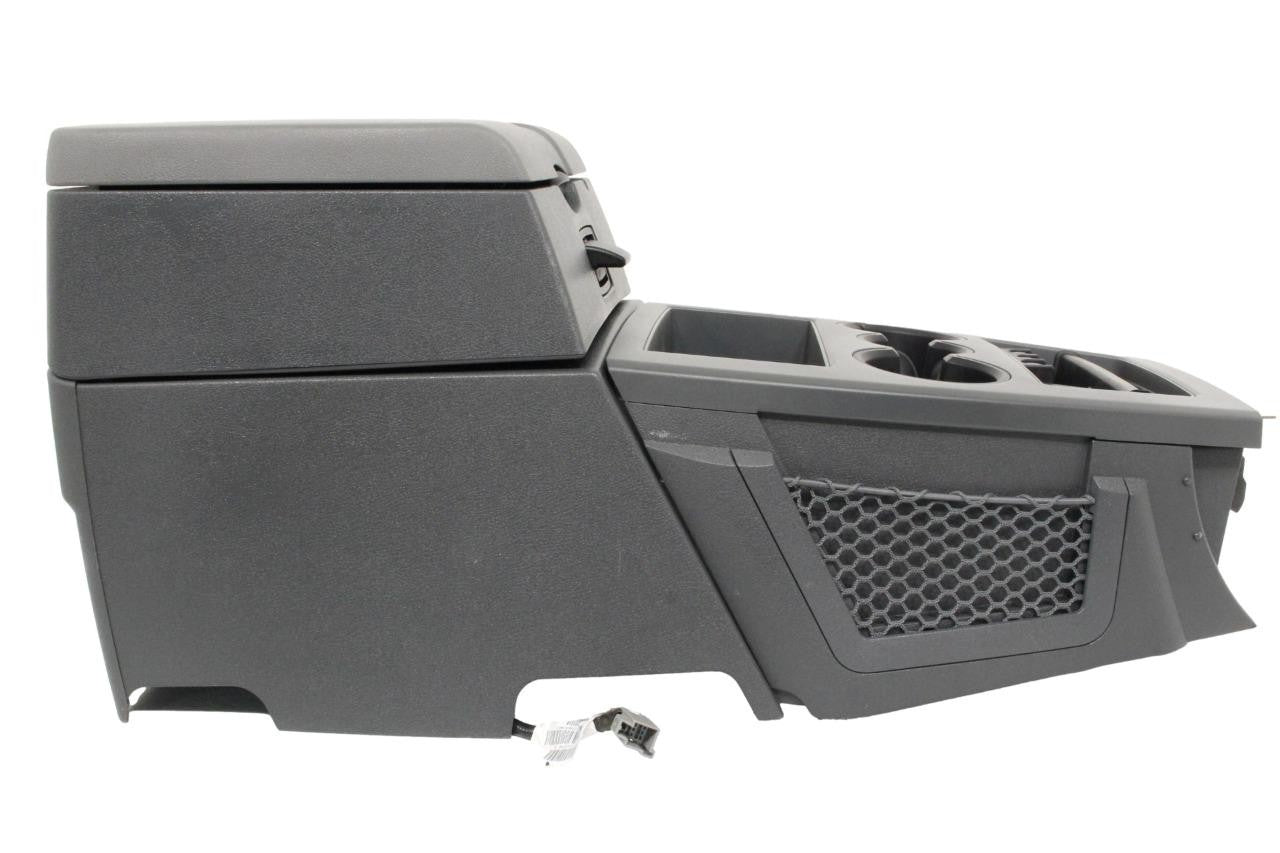
Ram 1500 Classic Jumpseat to Console Conversion
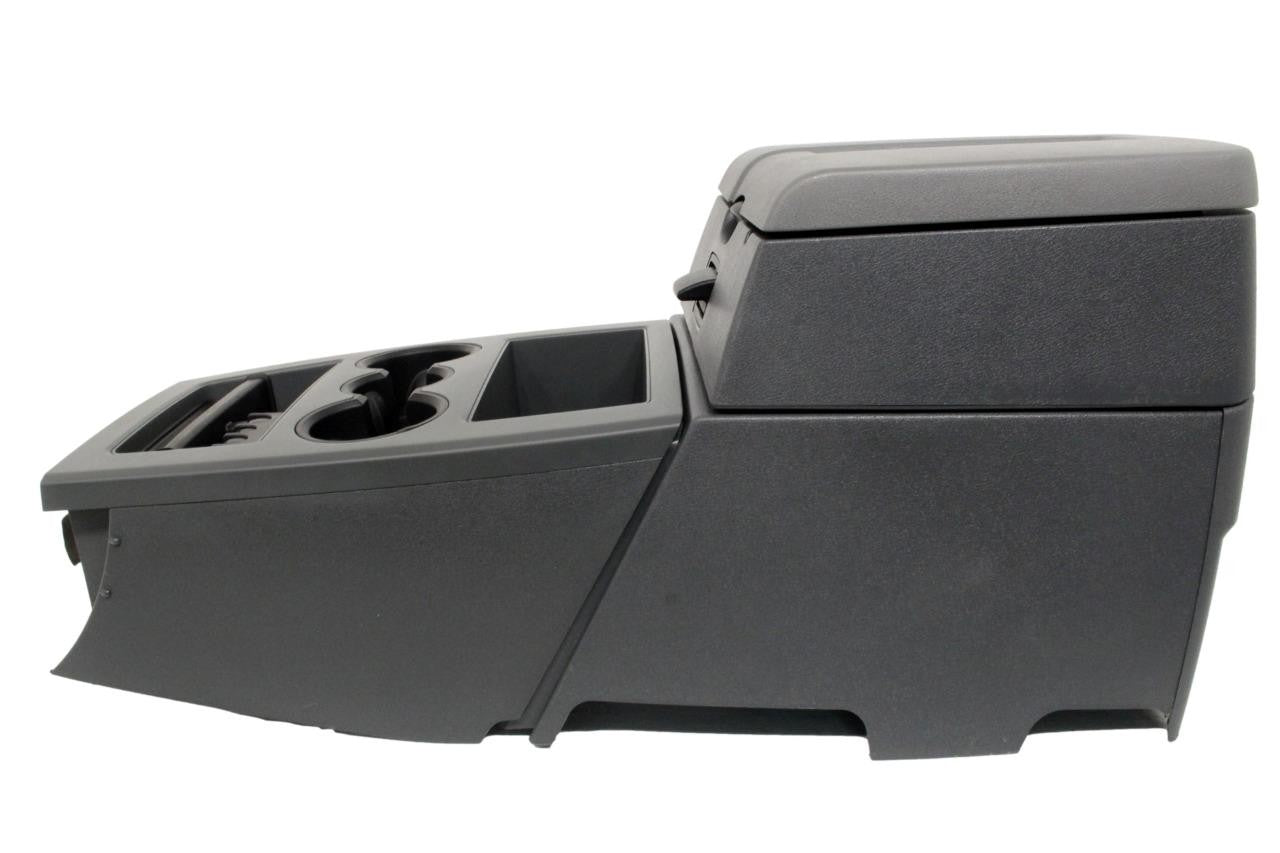
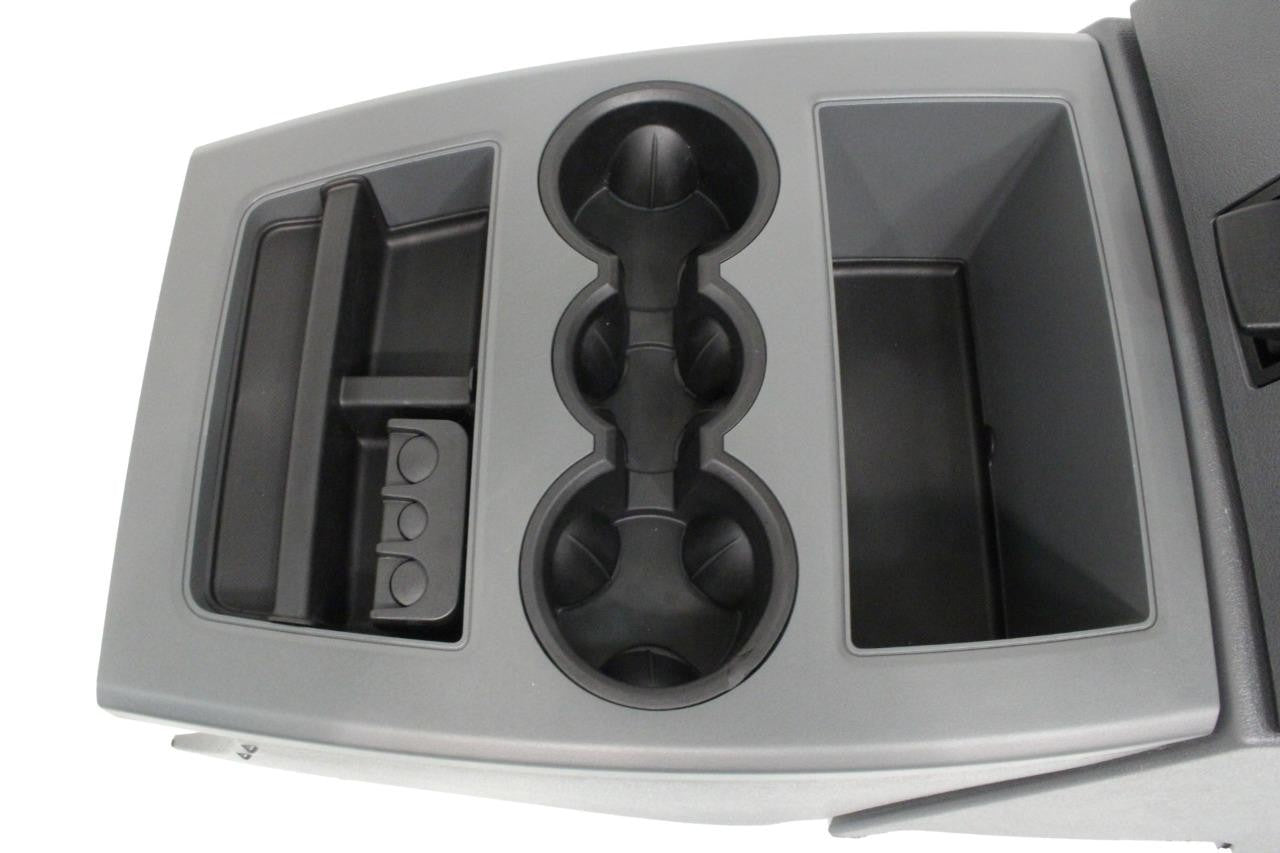
If your center seat stays folded down 24/7 then you may as well treat yourself to a far more functional console. These are a direct swap, but you must also replace the bezel that surrounds your radio. We sell the console by itself, alongside a complete conversion kit when available. These are available with "square" trim (2009 - 2013 style), or "round" trim (2013 - 2018 style).
Parts List
- OEM Flow-through Console
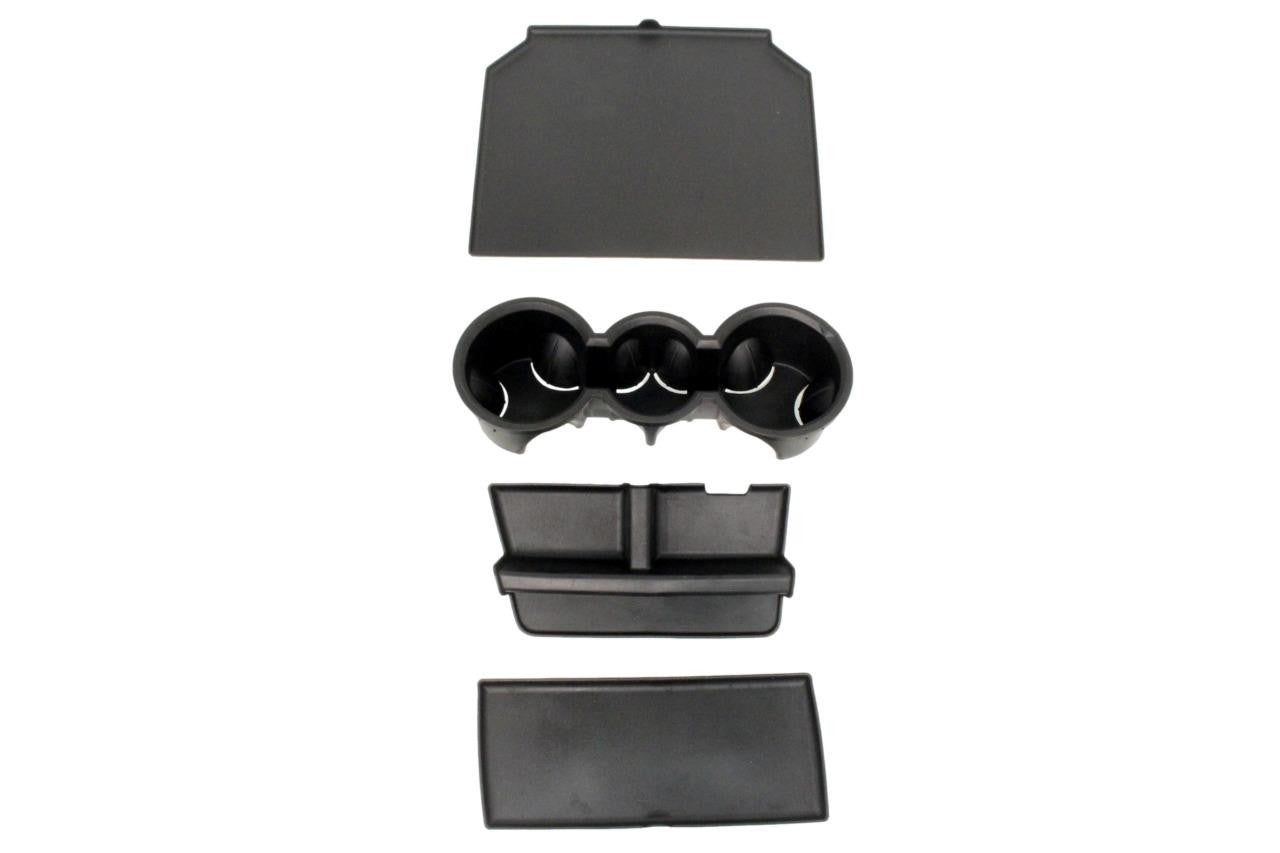
- Rubber Insert Set
- Console Side Trim "Wings"
- Console Mounting Brackets
- Miscellaneous Hardware
Removing the old console:
The old jumpseat needs to be taken out before the new one can be installed. Remove the female and male seatbelts along with the jumpseat, and the jumpseat mounting brackets.
Remove the radio bezel, along with the trim underneath it.
Modifications
If your truck has a floor shifter for four-wheel drive, you might need to make a small cut in the new console for clearance.
Installation
After replacing the radio bezel, the new console bolts right in, making it a relatively straightforward "take the old one out, put the new one in" process. Mount the floor brackets first, and then mount the console to the floor brackets.
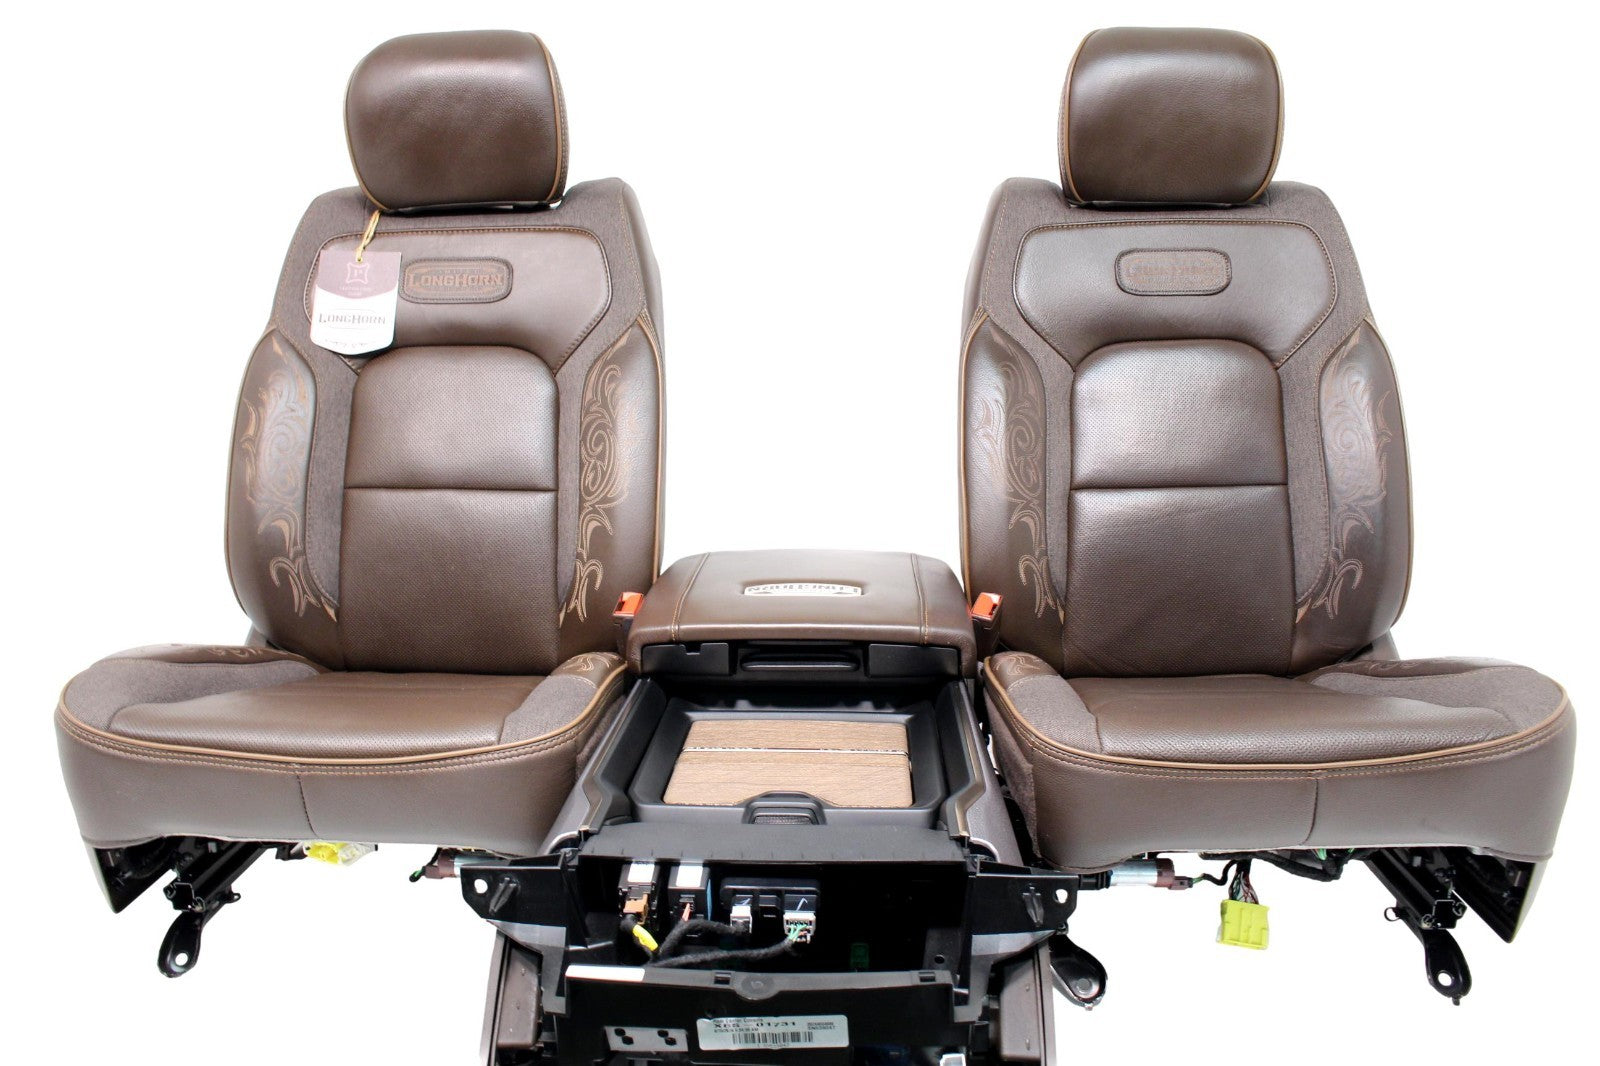
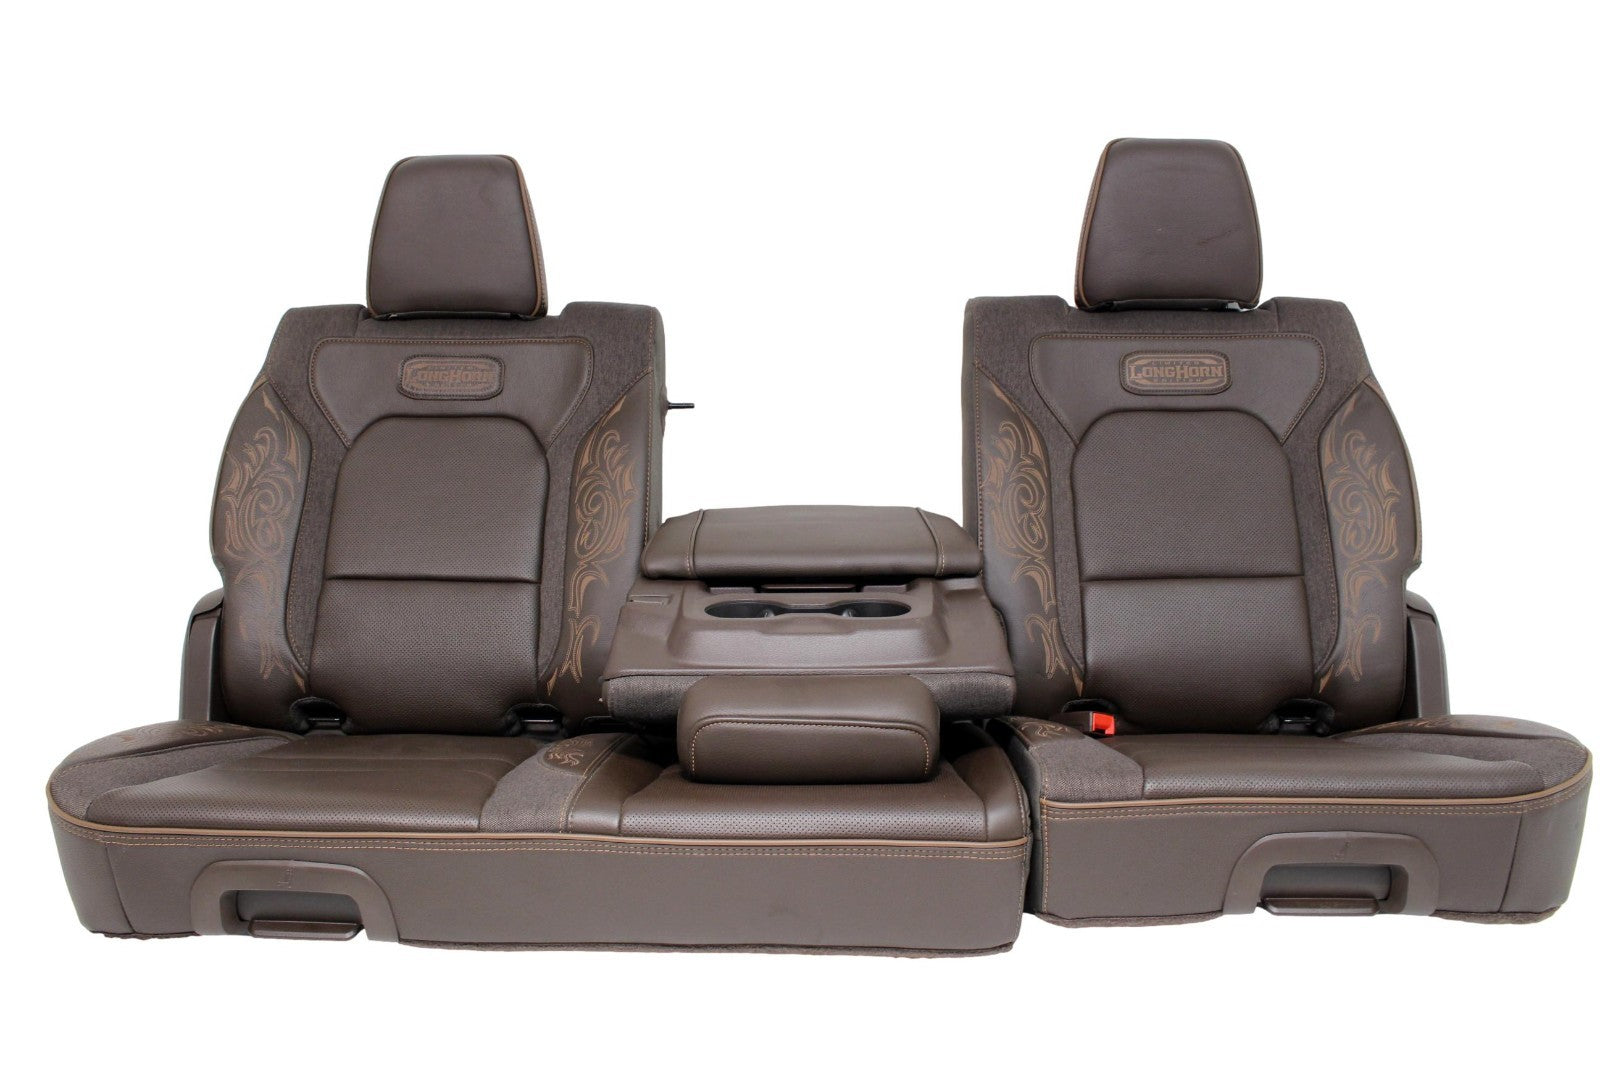
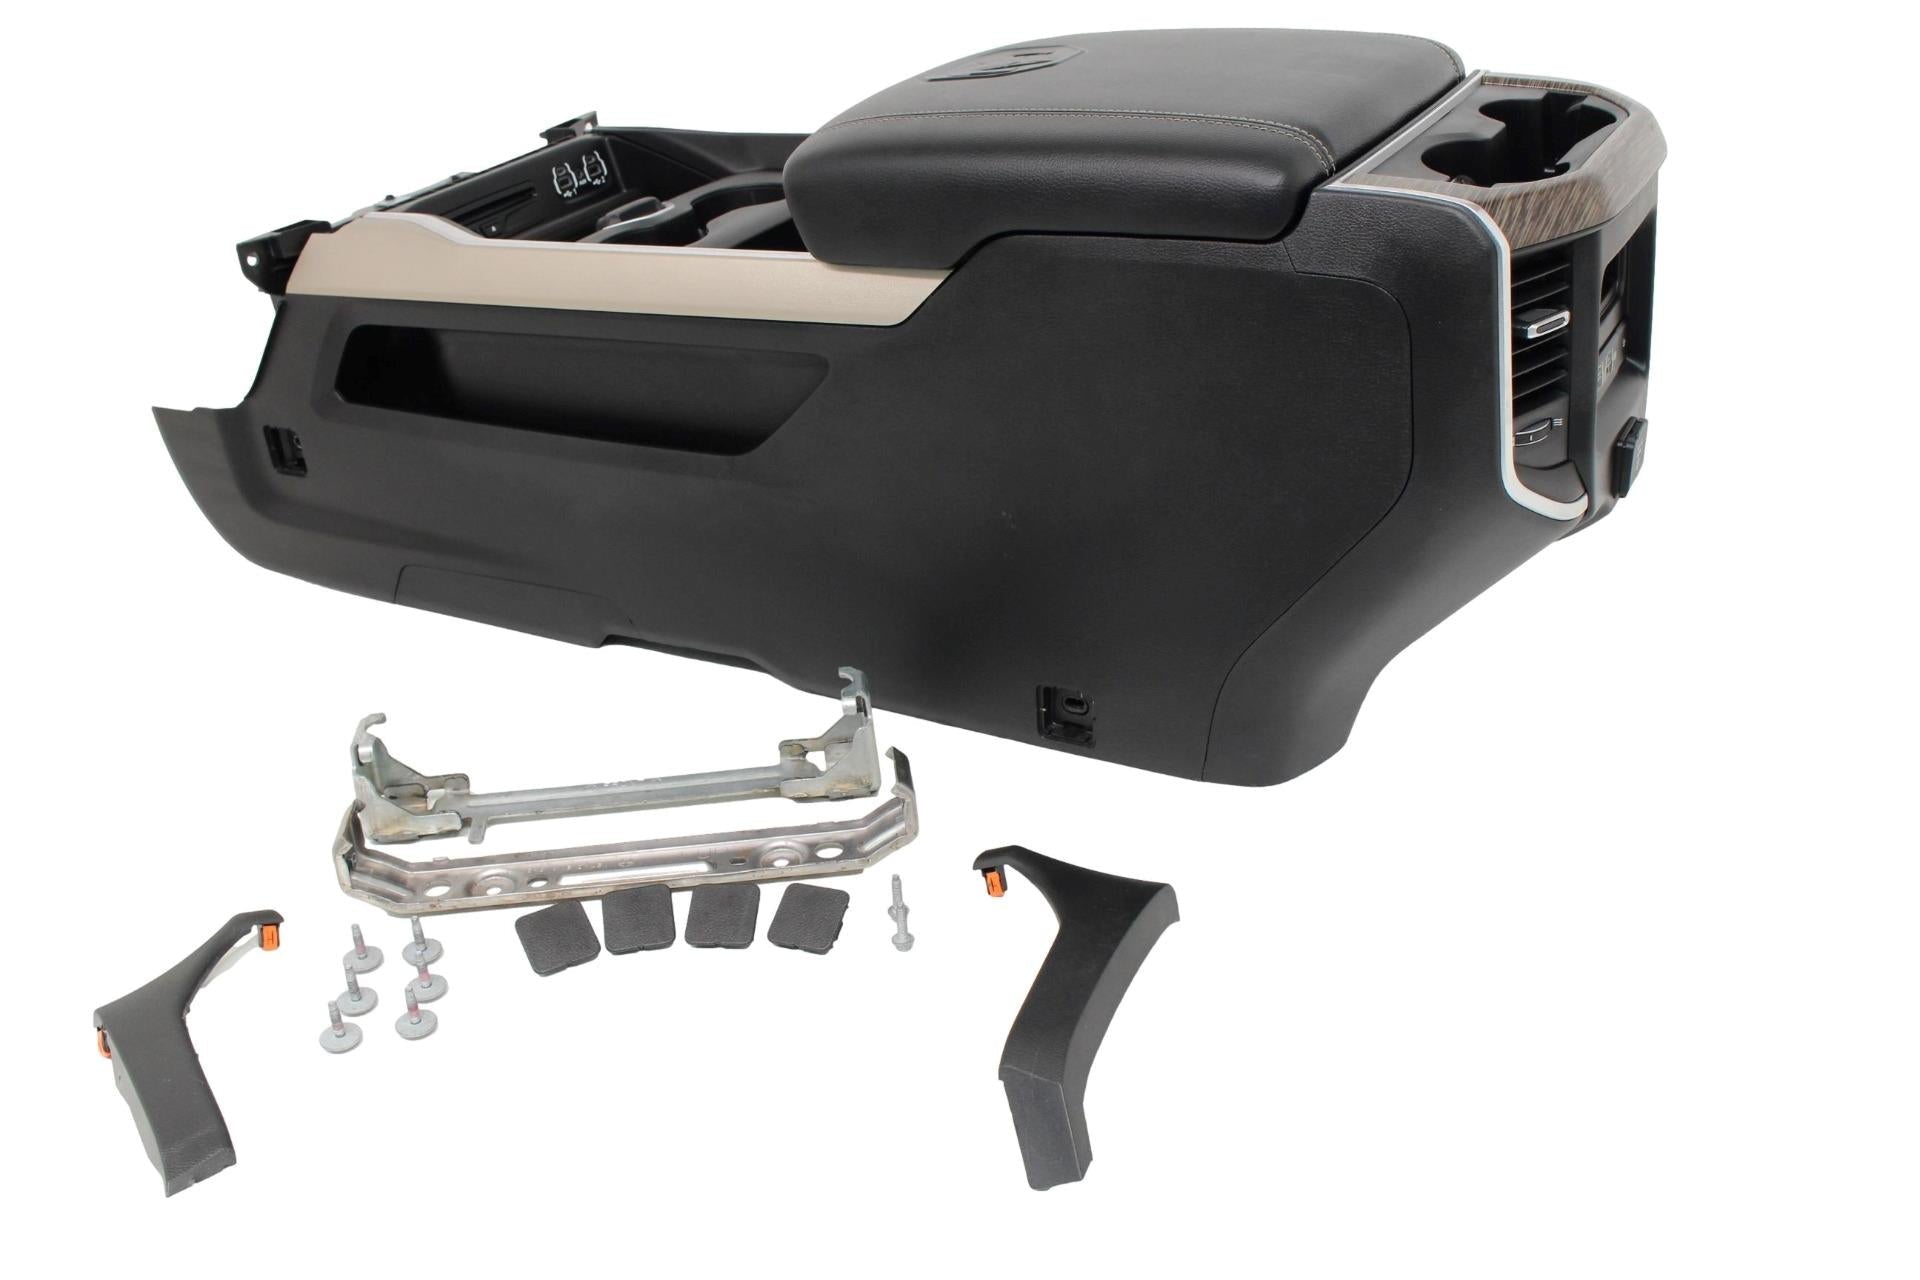
Ram 1500 Classic Console to Jumpseat Conversion
Needing seating for three? This is a direct swap, though you'll want to close-off the dashboard lower panel after removing the center console. The radio bezel will also need replaced for a flush fitment with no gaps. In addition to the seat, you will also need the four mounting brackets, seatbelt, and accompanying hardware.
Parts List
- OEM Ram Center Jumpseat
- Four
- Console Side Trim "Wings"
- Console Jumpseat Mounting Brackets
- Miscellaneous Hardware
Removing the old console:
The old console needs to be taken out before the new one can be installed. Remove the radio bezel first, and work your way down. Once that's done, remove the console by undoing the four bolts on the sides, and then remove the console mounting brackets from the floor.
Installation
After replacing the radio bezel, mount the console mounting brackets to the passenger seat and floor, then bolt the jumpseat into the vehicle.


0 comments